It looks like you're using an Ad Blocker.
Please white-list or disable AboveTopSecret.com in your ad-blocking tool.
Thank you.
Some features of ATS will be disabled while you continue to use an ad-blocker.
share:
It was being laid on by the village and we weren't about to turn it down.
An old lady who worked in the village liquor store knew us from passing
She sat with us and talked, setting the world to rights and commenting on the liberalistic looking band etc.
Then it was time to head back to Mike's Gulch well after nightfall and nearing the midnight hour...
1st – 3rd August
Channel Update!
I head into the wilderness for a while, but not before leaving a WR Log of my departure...
I have returned intact!
The next few days passed without incident. Work on the great dig continues, I went at it like a berserker for about half an hour and got all the remaining surface soil pick-axed to oblivion.
Mike, obviously impressed with my prowess wielding the thing said he was ok to carry on by himself.
That gave me plenty more time on the ‘Gulch Gateway Project’.
The Entranceway into Mike’s Gulch will hopefully be two sets of gates. One as a main-entrance for SUV’s etc, the other as a side or auxillary exit for ATV’s and the Dirt-Bike.
As for the fencing I’d done earlier this would be notched and nailed with thick spikes. I even bought some 10 inch one’s as this thing is going to be heavy-duty and substantial. Like a medieval town or fortress gateway.
I hope MMM and I can lift it when I’ve put it together on the ground as even the bottom cross-member alone is about 55-60 pounds.
Getting the notches made.

All in place, ready for nailing.
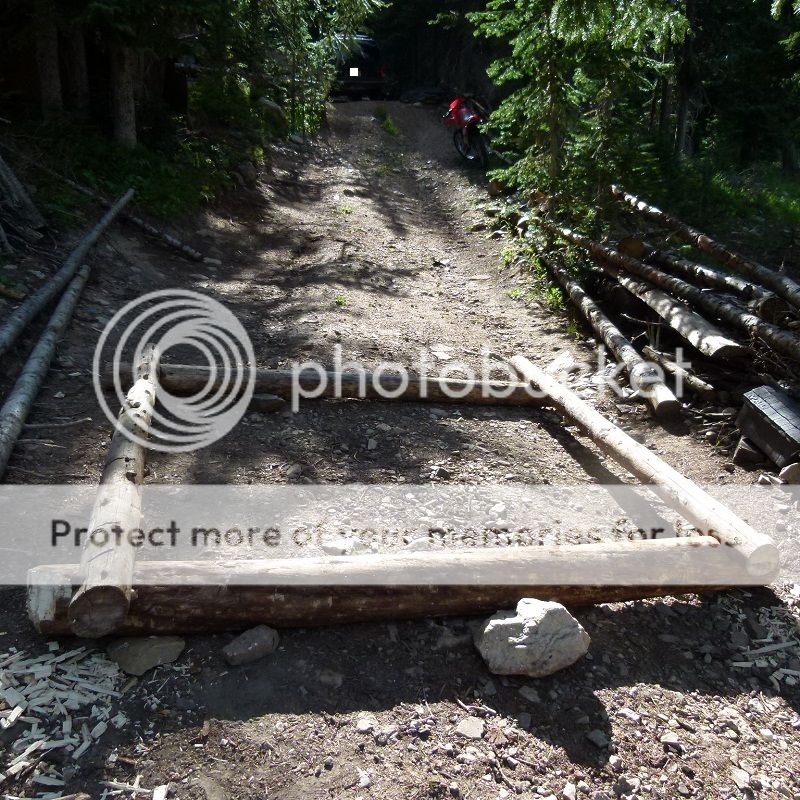
While I was busy working on it one of the non-liberal cabineer’s came along on foot.
She passed the message on that there was ‘a bit of wood’ they wanted rid off.
MMM was on scout-mode on the ATV so when he zoomed past I passed on the message.
Without saying a word he roared off to the Cabin in question.
He returned ten minutes later with a bit of wood on the front bars.
‘There’s a door and lots of wood, but we’ll need the wolverine to get it.’ Rambled Mike.
‘More than a bit of wood then.’ I mused gloomily, but the door would be handy, as Mike said it would work great on the Warehouse Shed.
Reluctantly I cleared all the logs I’d laid out and got the Wolverine out of mini-hibernation.
Then it was off to the Cabin of Wood where we loaded the Wolverine to the gills.
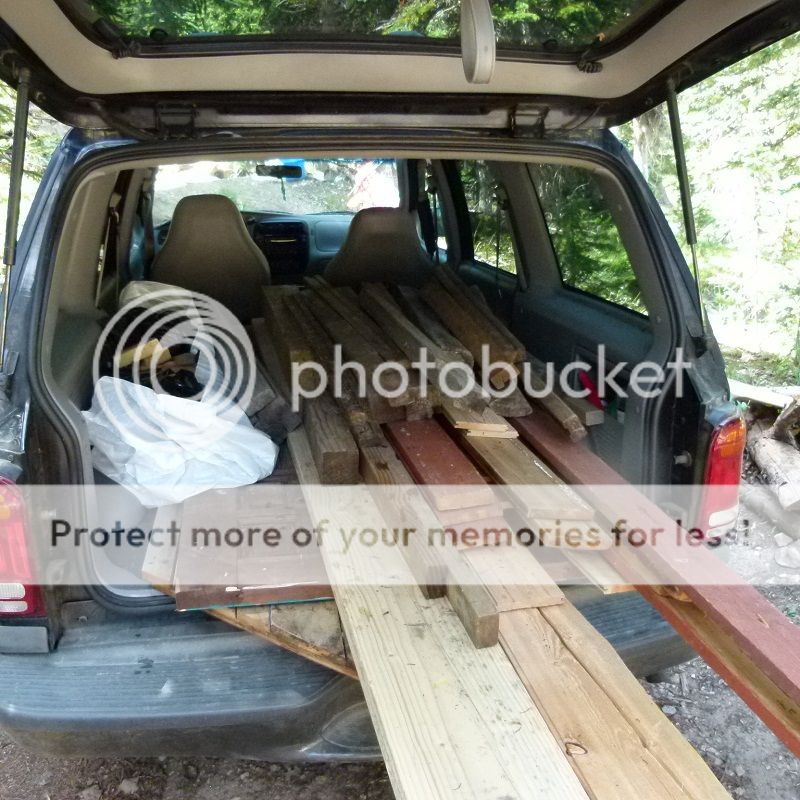
I was expressing dismay we’d be able to fit all of the wood materials in but MMM surprised me with his dogged ways;
With the tailgate wide open and Mike cradling this oversized wooded cage-box I drove back to the Gulch while MMM clung on in the trunk, wedged in amidst all kinds of wooden pieces.
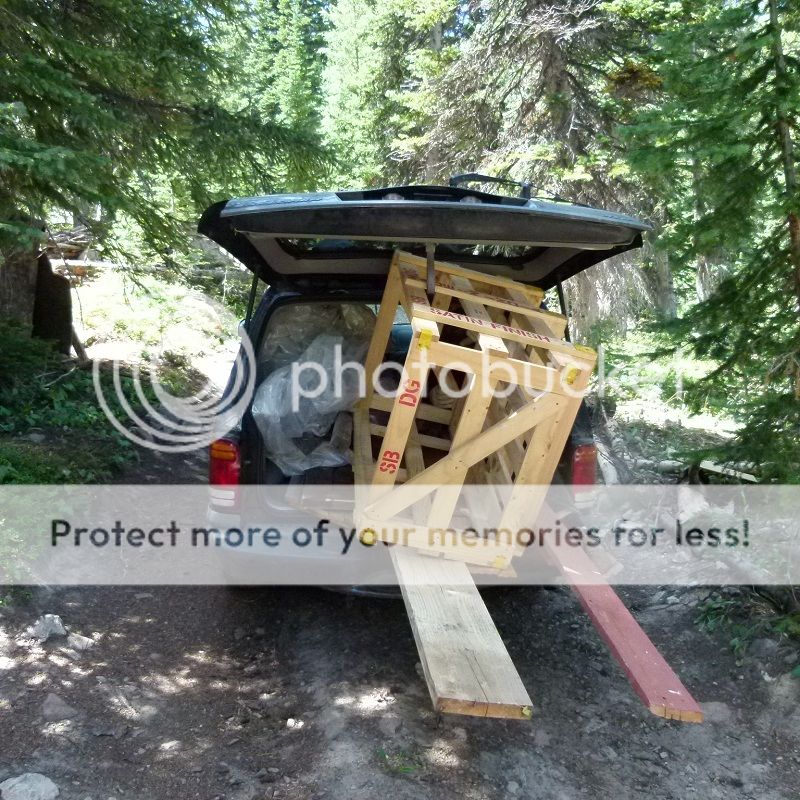
When it came time to fjord the spring Mike was stuck in kinda so I had to rumble on over it hoping he wouldn't tumble out amid all the planks and wood!!
This is what it looked like on returning to the Gulch, you can just make out MMM.
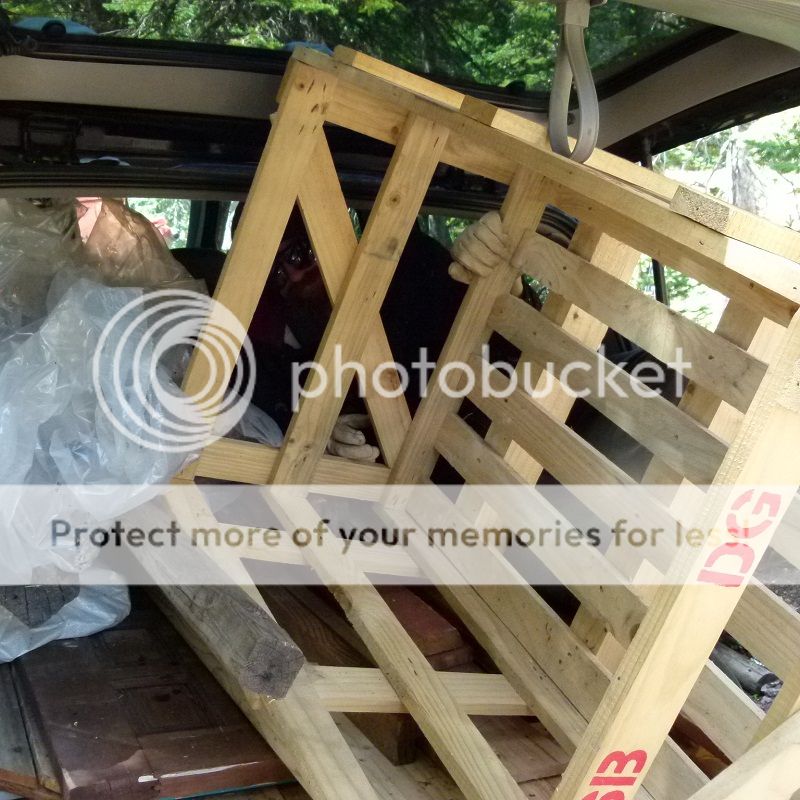

Carrying the gear up the gulch was arduous, but Mike just carried this like it was a sack of potatos!
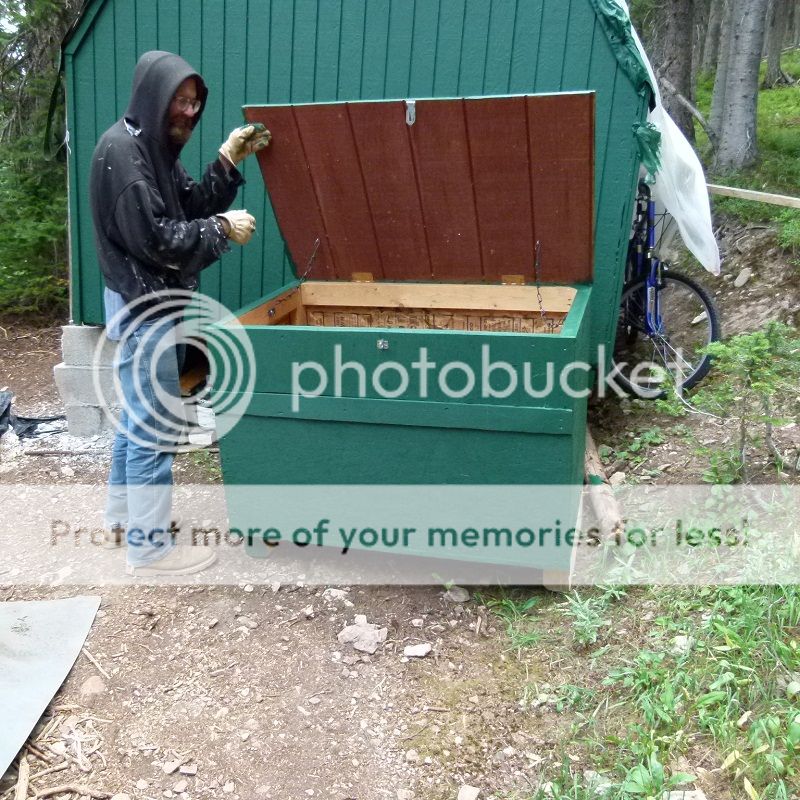
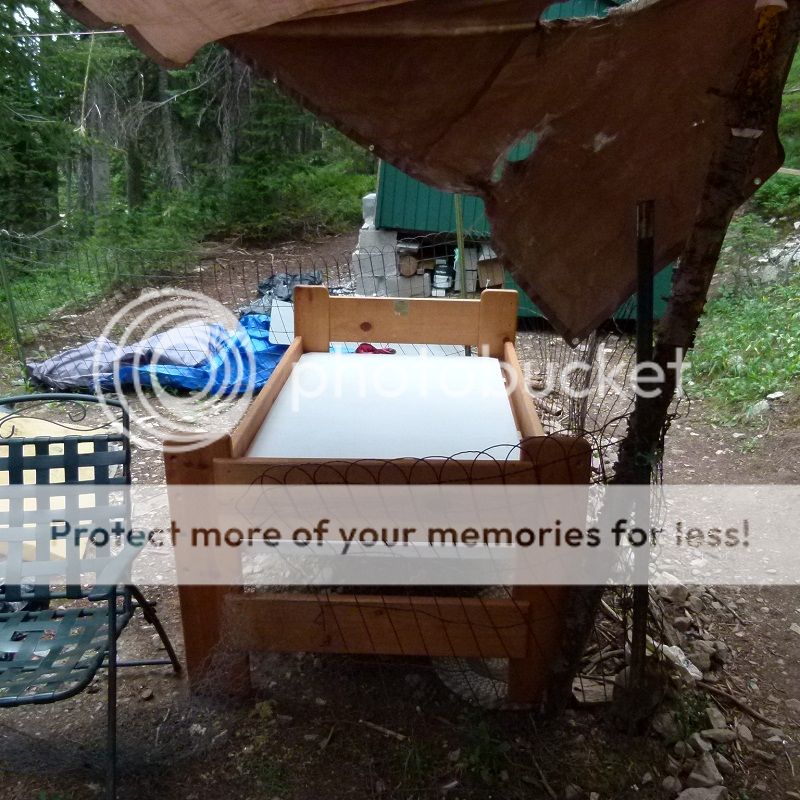
The cabin we got all the stuff from is proper generous, they were going to throw out a decent bed and a big storage box, generously they let Mike have it. If it wasn’t for the fire-restrictions this would of already been burned by them in haste Mike reckoned.
For the final installment of this weeks databurst, some forest friends came across the road to say hello!
PS, the bit I say at the end of the video is a joke btw
An old lady who worked in the village liquor store knew us from passing
She sat with us and talked, setting the world to rights and commenting on the liberalistic looking band etc.
Then it was time to head back to Mike's Gulch well after nightfall and nearing the midnight hour...
1st – 3rd August
Channel Update!
I head into the wilderness for a while, but not before leaving a WR Log of my departure...
I have returned intact!
The next few days passed without incident. Work on the great dig continues, I went at it like a berserker for about half an hour and got all the remaining surface soil pick-axed to oblivion.
Mike, obviously impressed with my prowess wielding the thing said he was ok to carry on by himself.
That gave me plenty more time on the ‘Gulch Gateway Project’.
The Entranceway into Mike’s Gulch will hopefully be two sets of gates. One as a main-entrance for SUV’s etc, the other as a side or auxillary exit for ATV’s and the Dirt-Bike.
As for the fencing I’d done earlier this would be notched and nailed with thick spikes. I even bought some 10 inch one’s as this thing is going to be heavy-duty and substantial. Like a medieval town or fortress gateway.
I hope MMM and I can lift it when I’ve put it together on the ground as even the bottom cross-member alone is about 55-60 pounds.
Getting the notches made.

All in place, ready for nailing.

While I was busy working on it one of the non-liberal cabineer’s came along on foot.
She passed the message on that there was ‘a bit of wood’ they wanted rid off.
MMM was on scout-mode on the ATV so when he zoomed past I passed on the message.
Without saying a word he roared off to the Cabin in question.
He returned ten minutes later with a bit of wood on the front bars.
‘There’s a door and lots of wood, but we’ll need the wolverine to get it.’ Rambled Mike.
‘More than a bit of wood then.’ I mused gloomily, but the door would be handy, as Mike said it would work great on the Warehouse Shed.
Reluctantly I cleared all the logs I’d laid out and got the Wolverine out of mini-hibernation.
Then it was off to the Cabin of Wood where we loaded the Wolverine to the gills.

I was expressing dismay we’d be able to fit all of the wood materials in but MMM surprised me with his dogged ways;
With the tailgate wide open and Mike cradling this oversized wooded cage-box I drove back to the Gulch while MMM clung on in the trunk, wedged in amidst all kinds of wooden pieces.

When it came time to fjord the spring Mike was stuck in kinda so I had to rumble on over it hoping he wouldn't tumble out amid all the planks and wood!!
This is what it looked like on returning to the Gulch, you can just make out MMM.


Carrying the gear up the gulch was arduous, but Mike just carried this like it was a sack of potatos!
The cabin we got all the stuff from is proper generous, they were going to throw out a decent bed and a big storage box, generously they let Mike have it. If it wasn’t for the fire-restrictions this would of already been burned by them in haste Mike reckoned.


For the final installment of this weeks databurst, some forest friends came across the road to say hello!
PS, the bit I say at the end of the video is a joke btw
edit on 9-8-2012 by WatchRider because: tag edit
WatchRider
Thank you for updating i kept looking to see if you had
Those deer you video taped would have made great venison chops over the open fire pit. Scrumptious!Then wash it all down with a hot cup of cowboy coffee now thats heaven..
The bed you got for free is a nice one i could imagine laying on it at night all tucked in and looking up to the stars what a site that would be if i didn't get eaten by a big bearOK I'm just being silly !
I'm looking forward to your next installment I'm really enjoying this thread thank you so much for taking the time to do this with all the pictures and videos..peace,sugarcookie1
Just checking in to see if there is any updates..peace,sugarcookie1
4th to 16th August
The rope used for pulling the rock of the ages had been bothering me for a while. Under the strain of the comealongs it had become as tight and difficult to undo as surely the Gordion Knot of Alexander the Greats time. I had my camera handy and decided to have a go at cracking the myriad and fiendish challenge…
The Gulch kicked into overdrive as Mike focused on his bunker landscaping project and I buzzed about with the gates. I had a bit of down-time for testing Mike’s armour plated discs which was a laugh and did some work on the warehouse complex also.
Here’s the latest on the gate saga…
First gate frame ready! They’ll be four of them in all. Two for the main entrance way and two for the emergency exit / auxiliary entrance
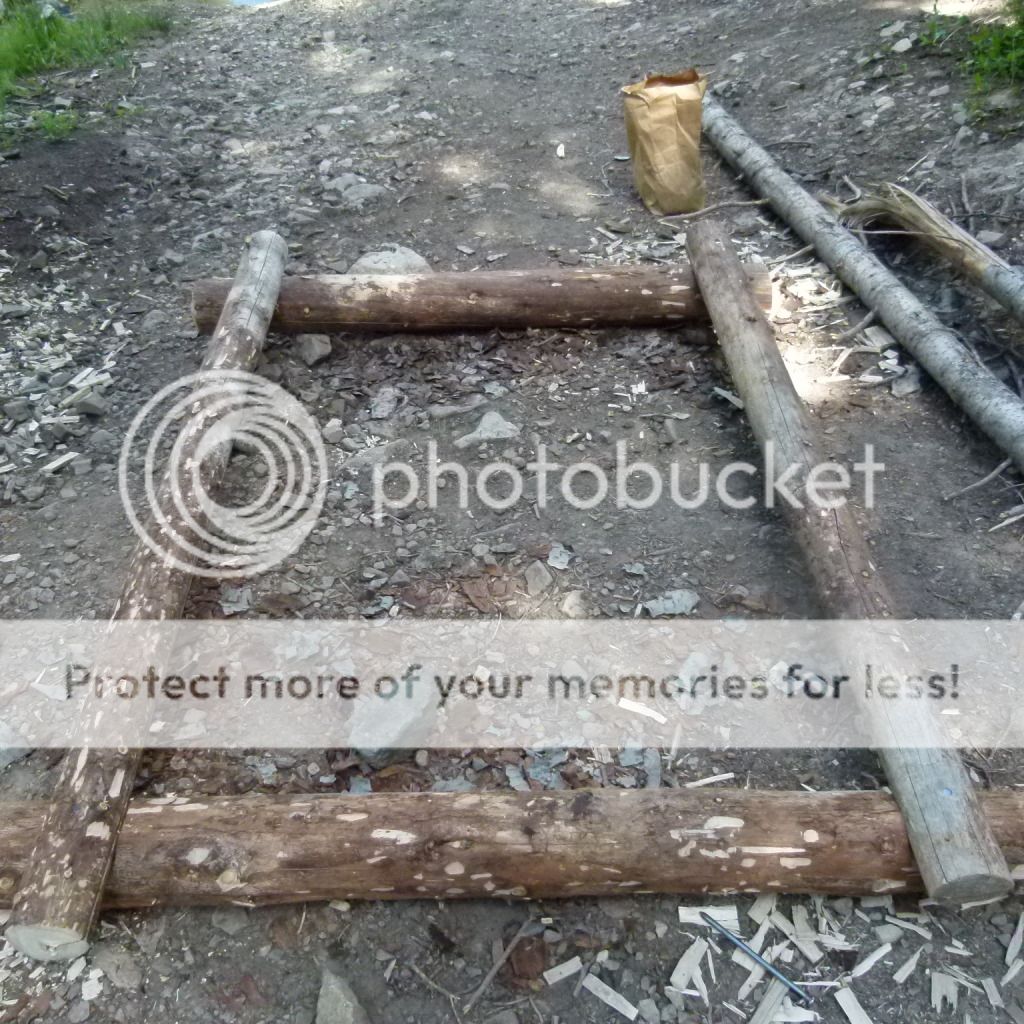
Second one ready!
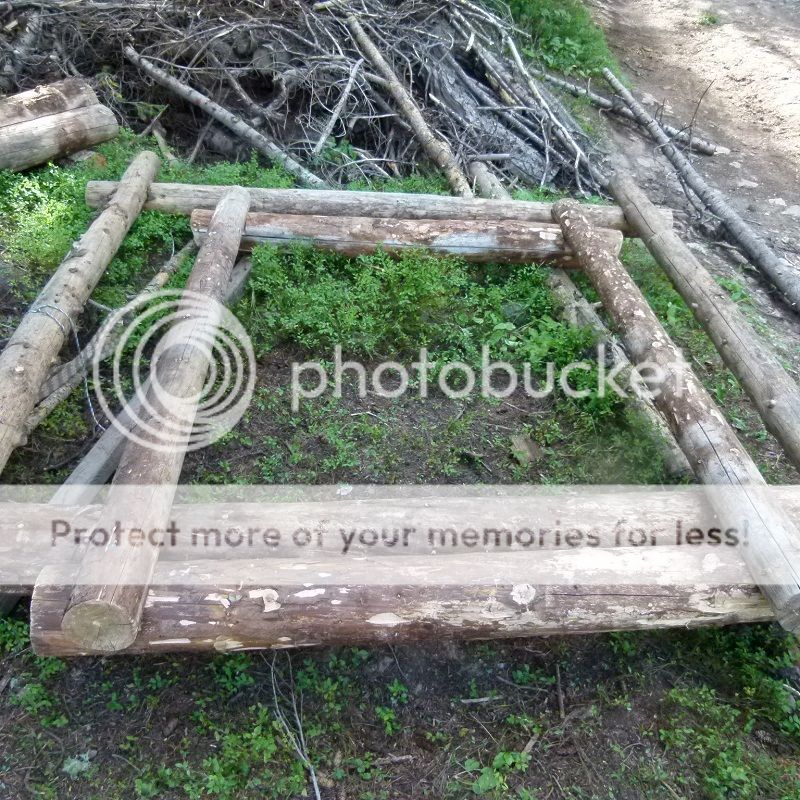
And a third one also done!
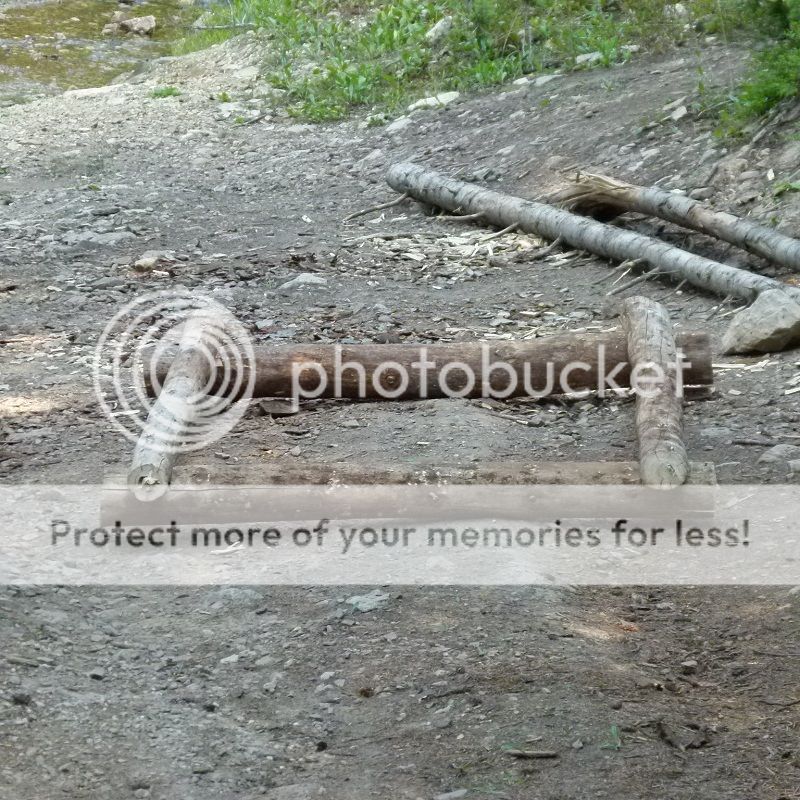
I get the fourth one in sized and notched, but leave it laying there in sections for now.
I’ll spike that later as I want to concentrate on the smaller gateway first.
This is partly because if there’s any screw-ups I want them on that entrance rather than the big main entranceway that everyone will notice more.
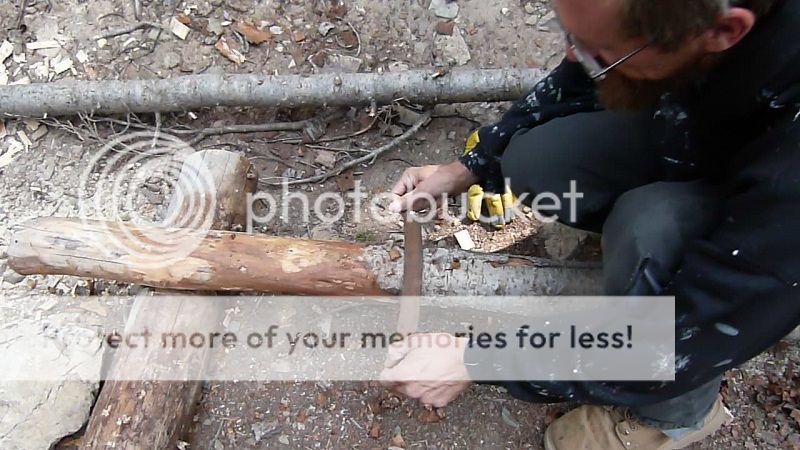
Taking off the bark from the logs, quite important to keep the rot-factor down
Concreting in the big post I raised earlier, the wedges have held it well so far, but it’ll need concrete for the strain of a gateframe and the looming snow in winter…
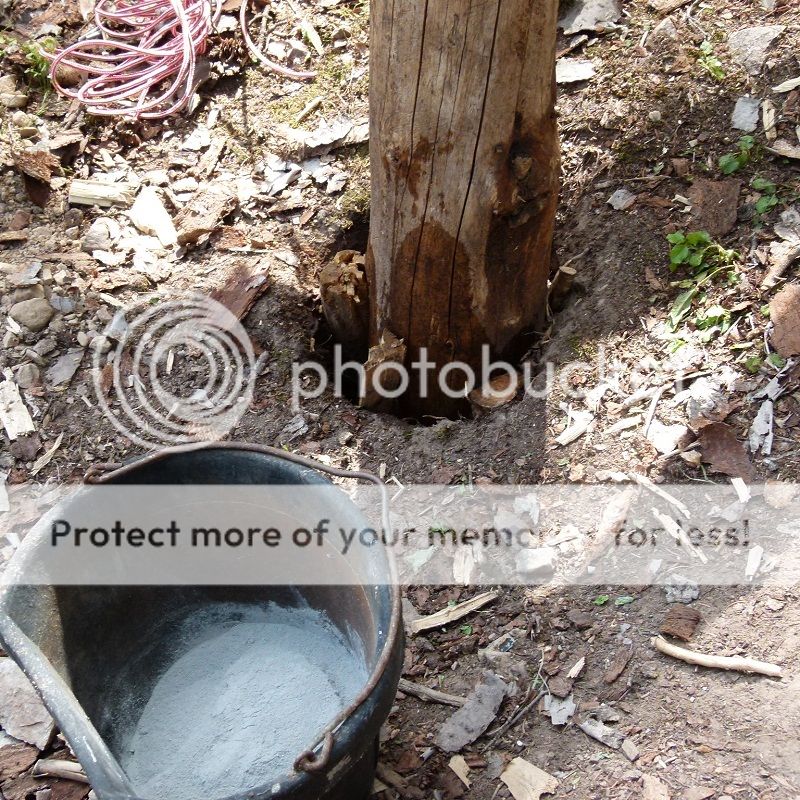
Now to let it set for a few days.

MMM reckons that if it dries out too quickly it’ll crack.
For the next few days though it’s rainy and cloudy.
I use this linseed oil stuff prior to getting the hinges on it, this area needs all the protection it can get:

Getting the hinges on it, these 14 inch one’s are the biggest I can find in the surrounding county!
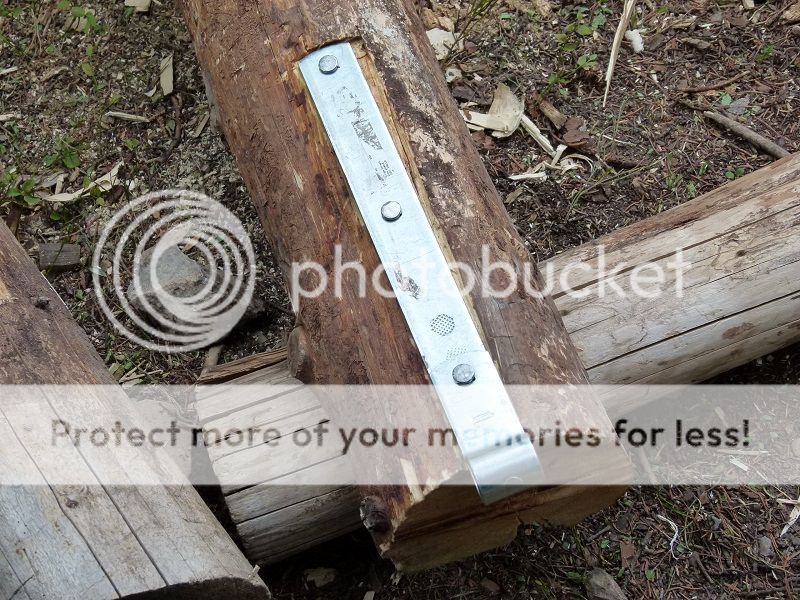
I hope they can cope with the weight and snowpack otherwise all this work is for naught when winter comes along…
While moving the clunking gateframe about on my own I nearly end up with it landing on me!
It’s difficult to describe but basically, with it upright and me trying to slide it into a better position it started to topped sideways!
I kinda pushed it back upright but as I did so the entire thing began spinning around on it’s axis while trying to fall over.
After spinning around about three times I let go at the right moment and it rested against the tree. If I’d of mistimed my crazy move the entire frame would of gone crashing down the mountainside!
Drama over I found a calm zone and moved forward to the next bit…
Both hinges on now, next step is putting the screw bolts into the tree itself.
These are what the hinge staples will sit on.
I’m kinda dreading this moment as precision carpentry / joinery isn’t my strong point.
If I get it wrong, all this work will be seriously flawed…
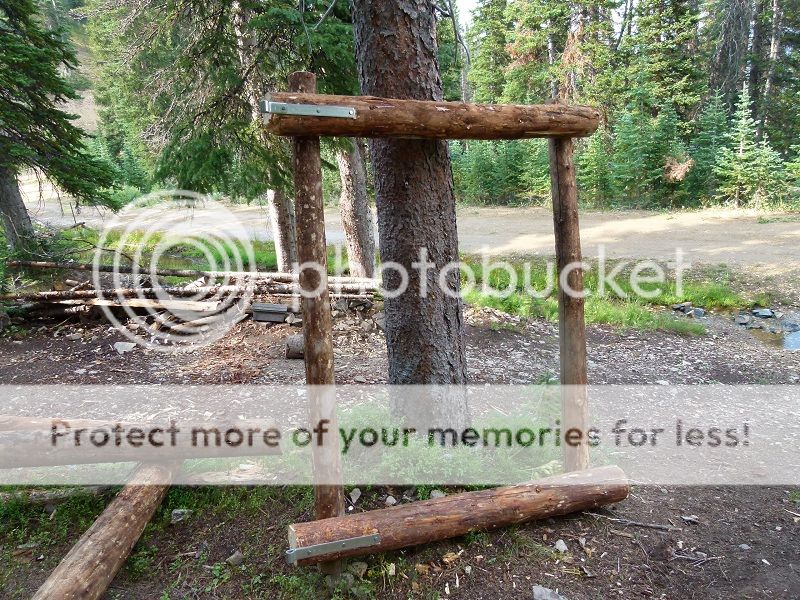
Let me tell you, getting the screw bolts in was not easy. In fact they are impossible to do by hand, unless you have a titanium wrist-hand.
I improvise with an old jack I find in a catche. This helped, but the tyre iron from the Wolverine’s breakdown kit was even better (not shown).
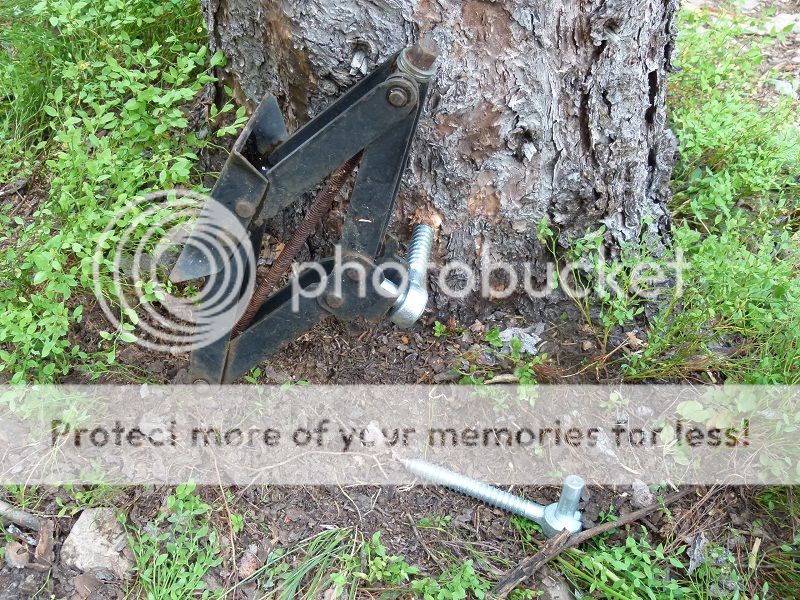
For getting the entire frame lifted onto the lower hinge Mountain Mike helped me.
Here’s the procedure, it may be a bit of quirky way but this how we did it.
1. Lower hinge in, lift up gate frame onto it. Level it up and mark where the upper hinge is to go in.
2. Remove frame from lower hinge and screw in second upper hinge.
At the end of stage one the clunking gate frame was frustratingly awkward to manipulate. Not surprisingly as it’s big hefty logs.
MMM lost his cool and the Mountain Rage briefly flared.
It wasn’t directed at me, but one of the other gate frames. Mike picked up a cinder block we’d been using as a support and hurled it at the frame.
CLONK! It bounced off the chunky wood with barely a mark on it! Now I know the gate frames are made of stern stuff!
After I’d got the second hinge bolt in we hung it up and it was nearly perfect! Mostly balanced and the spruce tree didn’t move a hair!
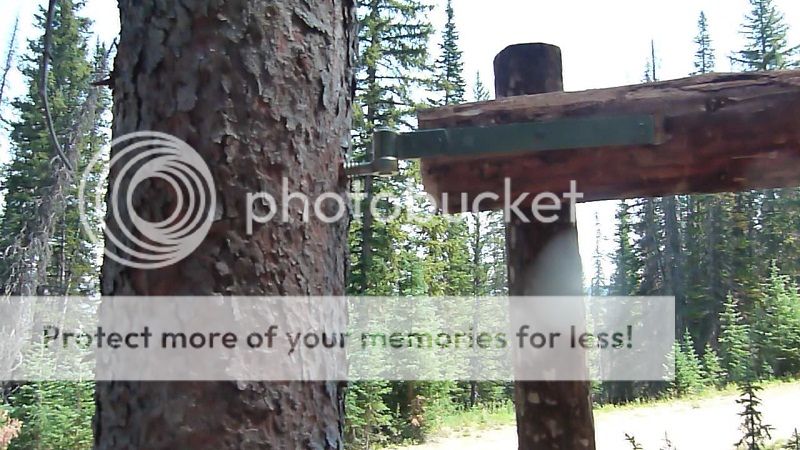
I used this grease on the hinges, not exactly axle grease but I’m sure this lithium stuff is the real deal.
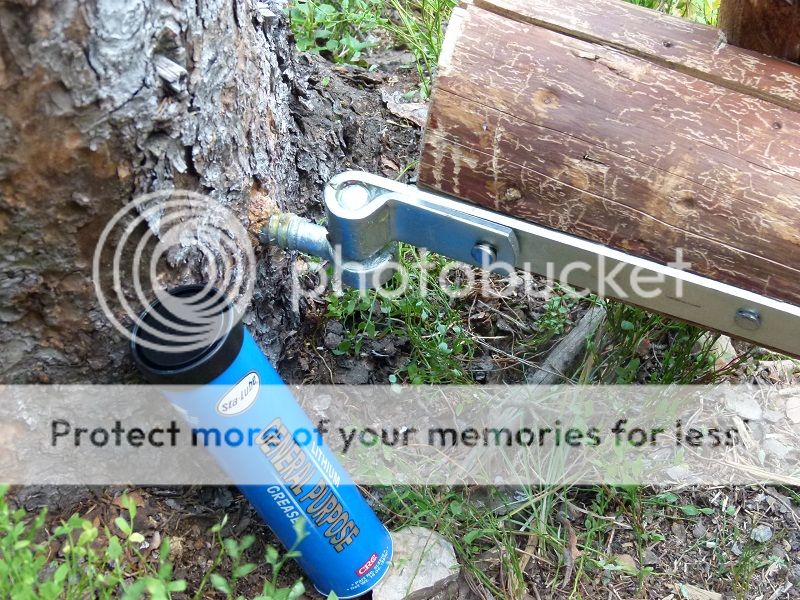
That was enough gatework for one day, the challenge of the second gateframe awaited us the next morning though.
The concrete footing for the post had had about 4 days to set and I set about screwing in the first bolt hanger.
Being the lower one I’d concentrated so much on being exactly lined up with the spruce hinge bolts I made a small blunder.
For the jack tool or even tyre iron I’d used previously for tightening it in had minimal clearance for rotating. It was so low to the ground even digging out a path only got us so far. By the time the screw bolt had gotten in so far the concrete base was in the way and there was no way I could damage that. Besides which the force required to turn the bolt in once it was over half-way into the post was gruelling.
MMM came over, took a moment then went to his tuff shed den.
He came back with a tiny socket set.
I used the tyre iron as a cheater bar onto the small socket wrench for the upper arc bit yet for the lower radius I had no way of turning it.
“It’s not going to be easy to get that to turn Mike.” I said, the screw bolt had to go in further, there was no way it could take the weight being so far out of the post
Yet MMM with some raging power I can hardly fathom seized the socket wrench resting in place and said.
“I don’t do things easy!” He said the words as man and socket melded for a brief moment of shear violent titanic struggle against wood and zinc-steel hinge bolt!
Sure enough MMM overcame the laws of physics and the screw bolt went in just enough.
We got the gate frame hung up, this time my guestimate of the upper hinge was off a bit, but with big washers I’d get it aligned better later.
After the epic struggle was over MMM went into mini-hibernation for an hour or two, I set about getting some planking and green metal sheets to wall over the gateway.
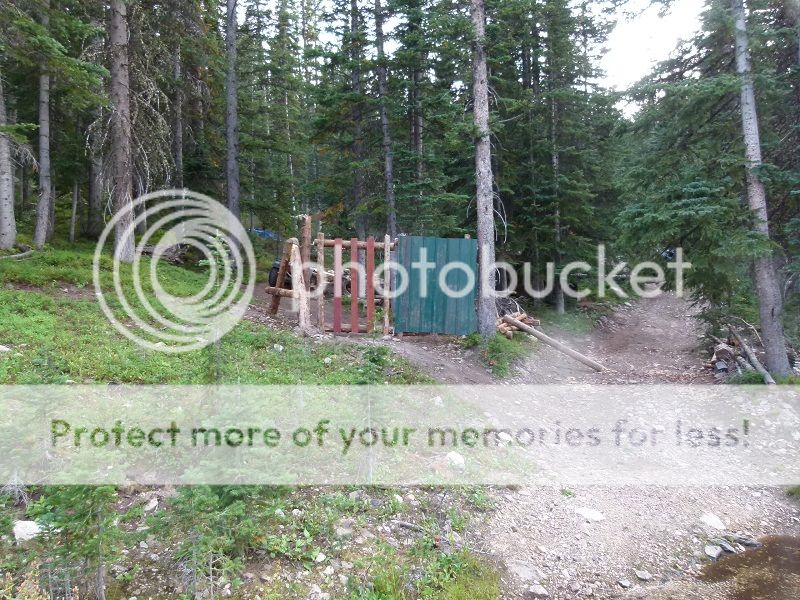
Catche Supplies are getting low on the green sheeting, need to get some more on the next supply run.
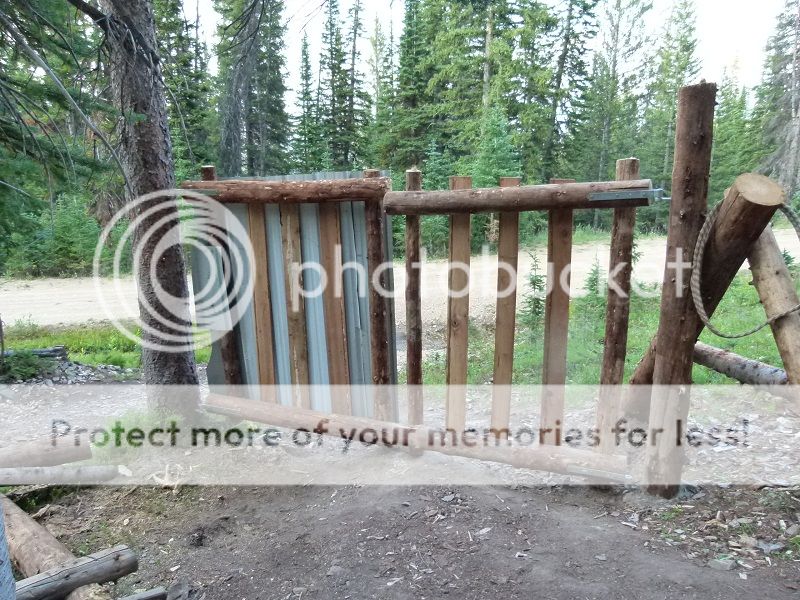
No gateway is complete without a method of locking it.
Taking inspiration from our olde ancestors I stormed up a plan.
Taking a 4x6 length I used my trusty wood chisel to make two ‘U’ shaped cut-outs. Then with MMM’s help I had it chainsawed in two. Making a pair of beefy brackets that any town gateway would be pleased to see.
That was the easy bit, getting it spiked onto the gate was a feat.

But on it went and with a big plank through both brackets the First Gateway is secure.
In later times I might add a second and even third pair of brackets, but that is for another time.
These are what the hinge staples will sit on.
I’m kinda dreading this moment as precision carpentry / joinery isn’t my strong point.
If I get it wrong, all this work will be seriously flawed…

Let me tell you, getting the screw bolts in was not easy. In fact they are impossible to do by hand, unless you have a titanium wrist-hand.
I improvise with an old jack I find in a catche. This helped, but the tyre iron from the Wolverine’s breakdown kit was even better (not shown).

For getting the entire frame lifted onto the lower hinge Mountain Mike helped me.
Here’s the procedure, it may be a bit of quirky way but this how we did it.
1. Lower hinge in, lift up gate frame onto it. Level it up and mark where the upper hinge is to go in.
2. Remove frame from lower hinge and screw in second upper hinge.
At the end of stage one the clunking gate frame was frustratingly awkward to manipulate. Not surprisingly as it’s big hefty logs.
MMM lost his cool and the Mountain Rage briefly flared.
It wasn’t directed at me, but one of the other gate frames. Mike picked up a cinder block we’d been using as a support and hurled it at the frame.
CLONK! It bounced off the chunky wood with barely a mark on it! Now I know the gate frames are made of stern stuff!
After I’d got the second hinge bolt in we hung it up and it was nearly perfect! Mostly balanced and the spruce tree didn’t move a hair!

I used this grease on the hinges, not exactly axle grease but I’m sure this lithium stuff is the real deal.

That was enough gatework for one day, the challenge of the second gateframe awaited us the next morning though.
The concrete footing for the post had had about 4 days to set and I set about screwing in the first bolt hanger.
Being the lower one I’d concentrated so much on being exactly lined up with the spruce hinge bolts I made a small blunder.
For the jack tool or even tyre iron I’d used previously for tightening it in had minimal clearance for rotating. It was so low to the ground even digging out a path only got us so far. By the time the screw bolt had gotten in so far the concrete base was in the way and there was no way I could damage that. Besides which the force required to turn the bolt in once it was over half-way into the post was gruelling.
MMM came over, took a moment then went to his tuff shed den.
He came back with a tiny socket set.
I used the tyre iron as a cheater bar onto the small socket wrench for the upper arc bit yet for the lower radius I had no way of turning it.
“It’s not going to be easy to get that to turn Mike.” I said, the screw bolt had to go in further, there was no way it could take the weight being so far out of the post
Yet MMM with some raging power I can hardly fathom seized the socket wrench resting in place and said.
“I don’t do things easy!” He said the words as man and socket melded for a brief moment of shear violent titanic struggle against wood and zinc-steel hinge bolt!
Sure enough MMM overcame the laws of physics and the screw bolt went in just enough.
We got the gate frame hung up, this time my guestimate of the upper hinge was off a bit, but with big washers I’d get it aligned better later.
After the epic struggle was over MMM went into mini-hibernation for an hour or two, I set about getting some planking and green metal sheets to wall over the gateway.

Catche Supplies are getting low on the green sheeting, need to get some more on the next supply run.

No gateway is complete without a method of locking it.
Taking inspiration from our olde ancestors I stormed up a plan.
Taking a 4x6 length I used my trusty wood chisel to make two ‘U’ shaped cut-outs. Then with MMM’s help I had it chainsawed in two. Making a pair of beefy brackets that any town gateway would be pleased to see.
That was the easy bit, getting it spiked onto the gate was a feat.

But on it went and with a big plank through both brackets the First Gateway is secure.
In later times I might add a second and even third pair of brackets, but that is for another time.

Found some time to get a shelf put up in the warehouse complex.
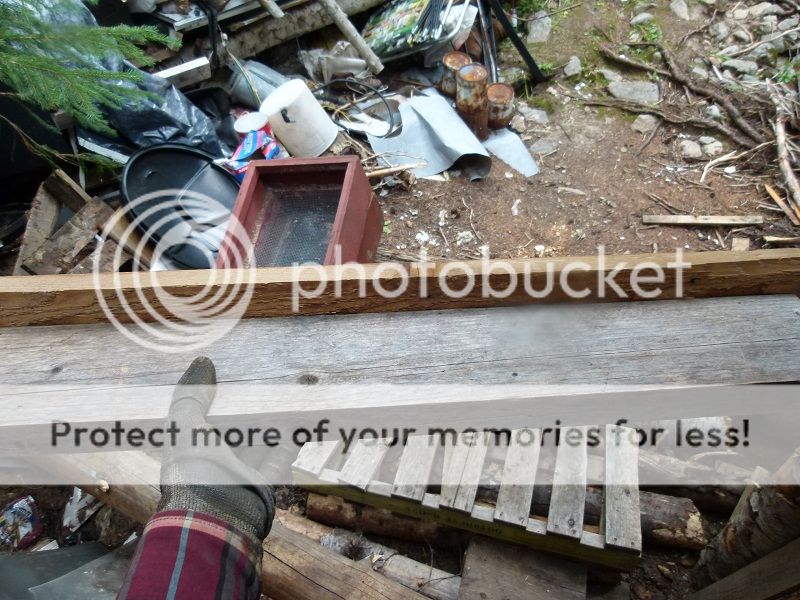

Mike has loads of this thin plywood, it makes for great battening / noggin material for nailing onto.


A nice view of the snowy range, enjoy it while it lasts though, as until the forest fires stop raging about the view is obscured!
This picture was taken just before the smoky haze descended…

Meanwhile, MMM has been making more doings on his landscaping project to end all landscaping projects…
Hole nearly dug out…
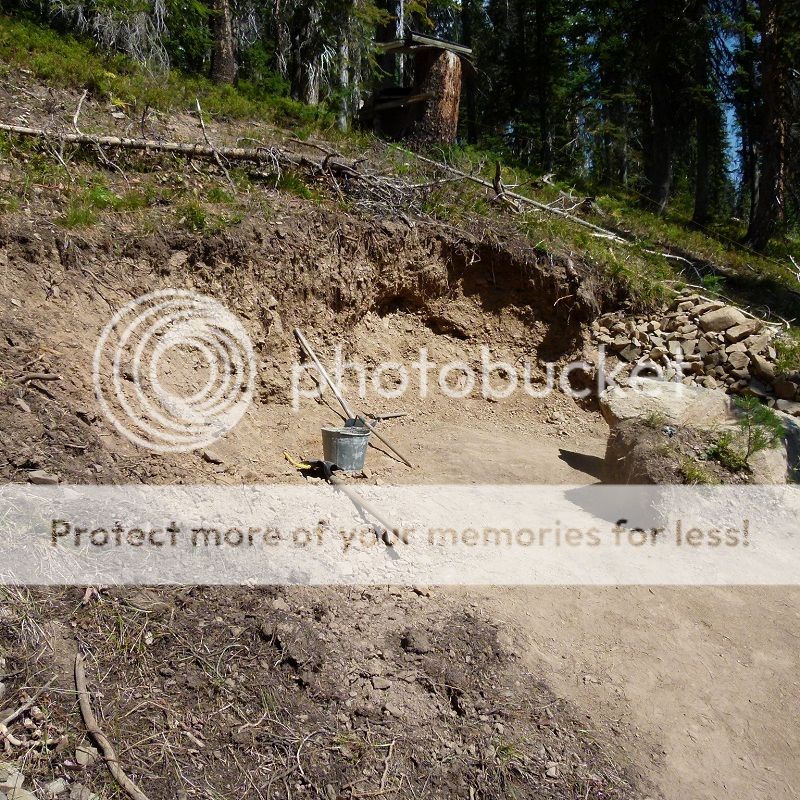
The earthworks not only is massive and dense, but Mike is going to the next level and reinforcing it with blocks of SOLID concrete! I am not joking, these things weigh beyond 80 lbs in weight. MMM loads them up on one side of the Gulch and trundles them over to the bunker in a wheelbarrow!

I helped him carry one off his barrow to the earthworks; even with two it’s heavy, so the mountain powers must be helping Mike as he get’s about 6 - 8 of these done per day!
I think even a tank would be pressed to blast through this lot of defences!
This bit of kit is impressive, I don’t know where MMM got the spool from but it solves the drainage issue he had from that short bit of pvc.
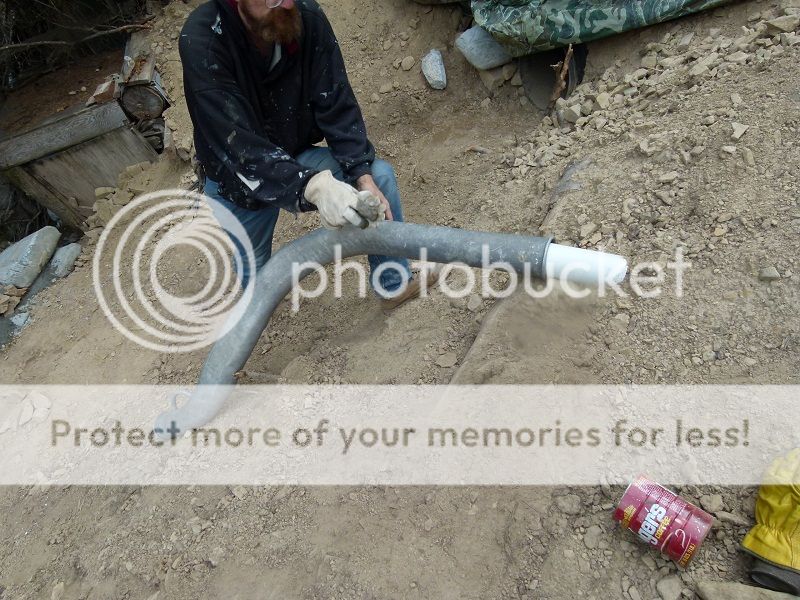
Mike wanted to show this off, it’s the actual bunkers armoured wall!! A thick H or I beam! It must of weighed a lot, but it’s in position and not much can shift it!
Some time in the future we hope to show various types of armour plating being put through it’s paces.
In the meantime, here’s the armoured wall!

This is awesome. Reminds me of when I built my bunker. Dunno if it is still standing these days, but it should be
WatchRider
Another great episode!!I have to tell you i would have just cut that knot from the tree that was way to much work but i understand the challenge of it..
And taking off the bark from the logs looked like allot of work also more then i would have wanted to do but you did a great job..
That was a great idea using grease on the hinges i bet that made it a bit more easy i will have to remember that when I'm doing stuff around the farm ..
Thank you for the Update!
peace,sugarcookie1
No time for much of a databurst this time folks.
Been busy trying to build the final gate frame. MMM is scurrying about getting the hole finished off, the he'll hopefully be chainsawing a massive dead-tree down.
Ok, the US adventure draws to a close now.
I still have a few videos to upload though, plus a nice surprise for the forum. That should come in a few days time.
Here's some pic's in the meantime...
I'll miss these rugged, swooping views...

This place was the buzz for BBQ's, plenty of hearty food cooked up
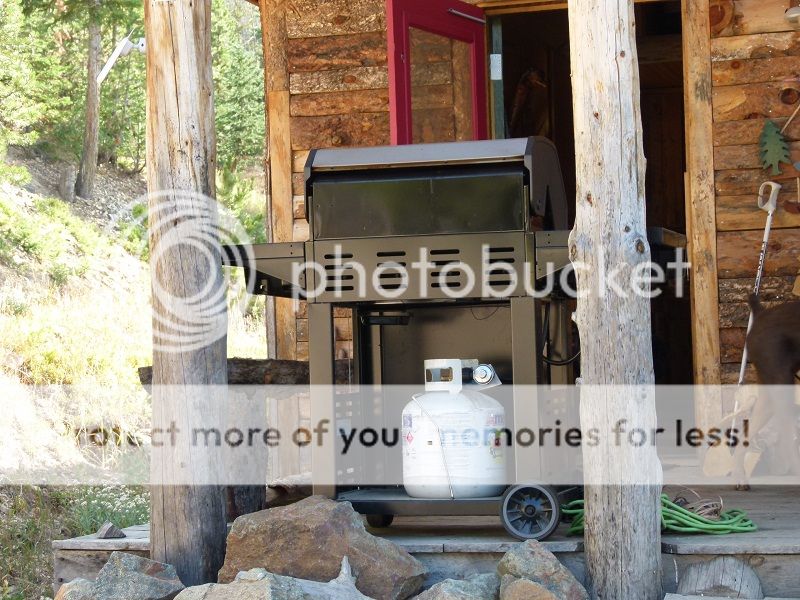
There's a sign of freedom, an 'assault weapon' SKS and an old-school Lee-Enfield we'd take with us around the 'mean' mountain trails

Mike's tent, surrounded by a metal mesh.

Drainage for the bunker:

Finally got the Black Powder Rifle out for some shootin'
I waited 'til night-time so the flames really showed
MMM took the third shot but it was so dark you couldn't see much until the hammer fell...
Been busy trying to build the final gate frame. MMM is scurrying about getting the hole finished off, the he'll hopefully be chainsawing a massive dead-tree down.
Ok, the US adventure draws to a close now.
I still have a few videos to upload though, plus a nice surprise for the forum. That should come in a few days time.
Here's some pic's in the meantime...
I'll miss these rugged, swooping views...

This place was the buzz for BBQ's, plenty of hearty food cooked up

There's a sign of freedom, an 'assault weapon' SKS and an old-school Lee-Enfield we'd take with us around the 'mean' mountain trails

Mike's tent, surrounded by a metal mesh.

Drainage for the bunker:

Finally got the Black Powder Rifle out for some shootin'
I waited 'til night-time so the flames really showed
MMM took the third shot but it was so dark you couldn't see much until the hammer fell...
new topics
-
Paramilitary Leaks - John Williams
Whistle Blowers and Leaked Documents: 2 hours ago -
Some sausage, some chicken, some sauce, some onions and some garlic...and some peppers!
Food and Cooking: 3 hours ago -
Hearing more ambulances lately
Medical Issues & Conspiracies: 4 hours ago -
Los Angeles brush fires latest: 2 blazes threaten structures, prompt evacuations
Mainstream News: 4 hours ago -
House Passes Laken Riley Act
Mainstream News: 5 hours ago -
The more I think about it
General Chit Chat: 5 hours ago -
What Comes After January 20th
Mainstream News: 7 hours ago -
Canada as a state .. how would it work?
General Chit Chat: 7 hours ago -
Those stupid GRAVITE commercials
Rant: 8 hours ago -
Let's Buy Greenland
General Chit Chat: 9 hours ago
top topics
-
House Passes Laken Riley Act
Mainstream News: 5 hours ago, 21 flags -
What Comes After January 20th
Mainstream News: 7 hours ago, 18 flags -
Claim: General Mark Milley Approved Heat and Sound Directed Energy Weapons During 2020 Riots
Whistle Blowers and Leaked Documents: 13 hours ago, 12 flags -
Planned Civil War In Britain May Be Triggered Soon
Social Issues and Civil Unrest: 12 hours ago, 7 flags -
Let's Buy Greenland
General Chit Chat: 9 hours ago, 5 flags -
Those stupid GRAVITE commercials
Rant: 8 hours ago, 5 flags -
Hearing more ambulances lately
Medical Issues & Conspiracies: 4 hours ago, 4 flags -
Los Angeles brush fires latest: 2 blazes threaten structures, prompt evacuations
Mainstream News: 4 hours ago, 4 flags -
The more I think about it
General Chit Chat: 5 hours ago, 4 flags -
Canada as a state .. how would it work?
General Chit Chat: 7 hours ago, 3 flags
active topics
-
-@TH3WH17ERABB17- -Q- ---TIME TO SHOW THE WORLD--- -Part- --44--
Dissecting Disinformation • 3964 • : 777Vader -
House Passes Laken Riley Act
Mainstream News • 13 • : KrustyKrab -
Judge rules president-elect Donald Trump must be sentenced in 'hush money' trial
US Political Madness • 58 • : JadedGhost -
Meta Llama local AI system is scary good
Science & Technology • 46 • : glend -
Let's Buy Greenland
General Chit Chat • 15 • : BingoMcGoof -
ILLUMINATION: Dimensions / Degrees – Da Vincis Last Supper And The Philosophers Stone
Secret Societies • 20 • : Compendium -
Los Angeles brush fires latest: 2 blazes threaten structures, prompt evacuations
Mainstream News • 9 • : BeyondKnowledge3 -
Paramilitary Leaks - John Williams
Whistle Blowers and Leaked Documents • 5 • : Boomer1947 -
This is why ALL illegals who live in the US must go
Social Issues and Civil Unrest • 38 • : fringeofthefringe -
What Comes After January 20th
Mainstream News • 22 • : WeMustCare
