It looks like you're using an Ad Blocker.
Please white-list or disable AboveTopSecret.com in your ad-blocking tool.
Thank you.
Some features of ATS will be disabled while you continue to use an ad-blocker.
share:
Excursion to America…
Arriving on my quest to reach Mike’s Mountain Hold wasn’t easy.
Going through all the ‘Gatekeeper’ areas of airports on both sides of the Atlantic was a bit of an ordeal. But nothing to worry anyone who has travelled about a bit and doesn’t get intimidated easily.
I had the paperwork for temporarily exporting my trusty Benelli shotgun.
The customs folk at the British Airport were most intrigued!
I had all the necessary paperwork, yet a few questions were asked.
On arriving at the first airport I had to pass through the auspices of the DHS!
They didn’t like my passport as it was quite rough and tumble in appearance.
After asking me a barrage of questions I made my answers back. I’d wrongly assumed that as other country’s were ok with my passport’s condition that the USA would too. How wrong I was
I was sent into ‘secondary inspections’ with a red flagged folder!
Was I now in Team America’s bad books?
The secondary inspections area had a sign outside it that assured being treated with respect and courtesy etc. That looked good, although the somewhat shabby waiting room, manned by another 3 DHS guys, had an edge of oppression, even fear to it.
Sat down were a few roguish characters, Black, Mexican and of course Watch Ryder who now was in their midst…
I walked right to the front.
Nobody said anything to me, not even the DHS dudes who were wordlessly tapping away at computer screens. They were almost in another world the concentration they had.
As I looked around for some ticket machine like some banks have I saw nothing.
Then a fourth DHS guy came in through a side door and, without a word, snatched the red folder containing my passport and other papers from my hands.
He walked around the counter, threw it in an ‘in-tray’ then told me to take a seat.
I asked him was it ok to go get my bags from the carrosel area.
“Nope, wait here until you’re called forward. Don’t worry about your bags, they’ll be kicked off to the side when it’s done moving.’
Rough and tumble indeed!
After watching a Mexican sounding lady get the third degree it was my turn to be assayed before the gatekeepers of the USA.
He asked me similar questions to what I’d been asked earlier. I answered again, honestly, in my chirpy, happy go lucky manner. Or at least as best I could given the long flight over the Atlantic!
‘Ok go get your bags.’ He said neutrally after the barrage was over.
I did so, noting the sniffer dogs being brought out nearby.
The DHS certainly isn’t for show that’s for sure!
As I walked back in the door with my Bergen on my back and jumbo-bag trundling in the young DHS dude’s eye’s were astounded at my set-up.
The guy wondered, after marvelling at 120 litre capacity Bergen, short haircut and style if I was going to join a militia! LOL.
I told him I was ex-military doing some adventure travel around the US, which is the truth of course. This seemed to set him at ease.
Is there some kind of a hidden-license having a military background with government / federal types I wonder??
Just prior to starting on my bags I told him the jumbo one had my shotgun inside with all the trimmings, tags etc.
Before he had chance to grill me I showed him my approval paperwork from the ATF gatekeepers.
He looked at it briefly and seemed ok with it but asked some of his companions for a second opinion.
They were talking about getting the ATF to come and look at it, but in the end he did his own check, comparing the serial numbers on the paperwork to that of the Beneli.
One of his companion’s amusingly said they’d seized 2 firearms yesterday.
If I hadn’t of gotten the approval papers from the ATF I’m sure Ryder’s would of made a third!
After the first few items of specialist equipment bags being searched I reminded him of my ex-military background, otherwise he really would of reckoned me to be a rebel militia dude. He chilled out a bit then and one of the DHS was an ex-marine chirped up a few friendly comments (as I was Army not Marines).
After pulling all my stuff from my Bergen and jumbo-bag I had to put it back in. He did apologise for having to search my stuff and as I put my stuff back in the bags he went back to the computer counter and began tapping away at the keys.
I was told to sit down again, after a few more minutes he called me forward again.
‘You’re good, have a nice trip.’ He said, slamming a stamp into my battered passport giving it the mark of approval for a few months, then the Ryder was free to fly again into Mountain Man Mike’s (MMM) neck of the woods…
Arrival
I arrived at the city retreat exhausted but happy to of made it.
I was in Mountain Man Mike’s neck of the woods now.
I got to a motel not far from Mike’s place having arrived at the infamous Denver Airport.
Meeting up with MMM was interesting.
He’d earlier told me he’d often scare the city twin’s he’d had on his land the previous year by walking up silently behind them, I soon realised that MMM’s claim was not unfounded.
As I checked out of the motel (where I’d arranged to meet MMM) I stood talking to the motel woman behind the counter. I’d envisaged Mike waiting outside in his pick-up.
He wasn’t, he was sat about twelve feet behind me in the lobby, I’d not even noticed him sat stealthily there!
Compared to the video footage taken of him he’s a lot taller than I thought, taller even than me in fact!
We had roughly ten days or even less before we needed to be on the road to the Mountain Hold (MMM’s land) so the clock was ticking.
Before we even went to his city location it was off to the sprawling Wal-Mart behemoth for supplies.
I’d taken a fair chunk of change with me and it was a hard temptation to resist buying all the goodies and gigdits they had on offer.
I still needed the essentials though so here’s what I got...
Two tents for both the city set-up and the Wilderness. One small and light, the other large and substantial. I’ll explain more on this later.
Several Weeks Food supplies (various dried foods etc)
Shotgun shells (Various Types)
Propane Gas and Stove
[I]

[B]
Getting a vehicle is undoubtably one of the most troublesome and challenging things for most folks when it comes to transport.
Faced with doing this in a ‘foreign’ country was even more difficult.
However I had all my papers and without a decent 4x4 machine we were either walking up to MMM’s place or pedalling!
Mike wasn’t in a position to get a BOV as he’d sold his old truck when times had gotten hard, his resources were tight too.
My last BOV in the USA met a strange demise and it was time for another to replace it.
I’d been scanning craigslist for a while and finally found some possible matches.
Mike was adamant we avoid dealers, I on the other hand had no luck getting hold of any of the private sellers on CL. They either wouldn’t return emails or calls would be days in delay.
The dealers on the other hand seemed more promising…
I was more keen on just using raw instinct and coursework to get a decent one. Hoping some of my Ryder luck might carry the day
I settled on two vehicles for inspection.
One was a Ford Explorer, the other a Jeep Grand Cherokee
I’d earlier done some checking with the Ford Explorer at Carsurvey.org and the general consensus was they were pretty reliable. The Jeep on the other hand was more mixed results…
The dealer was an interesting arab fellow who’d been in the states since 1981!
The Jeep was in ragged condition, as I checked it I found the front bumper was loose while the rear bumper damn near came off in my hand.
The interior was dirty, the fan blower vibrated the whole machine, door trim was loose (you know when the interior door handle is about done).
Nearly all the power windows wouldn’t work.
The engine didn’t start first time either.
It would cost at least $1000 to get it back to BOV standards. The final straw was it had no roof bars.
They wanted $2500 for that one which was nearly 20 years old!
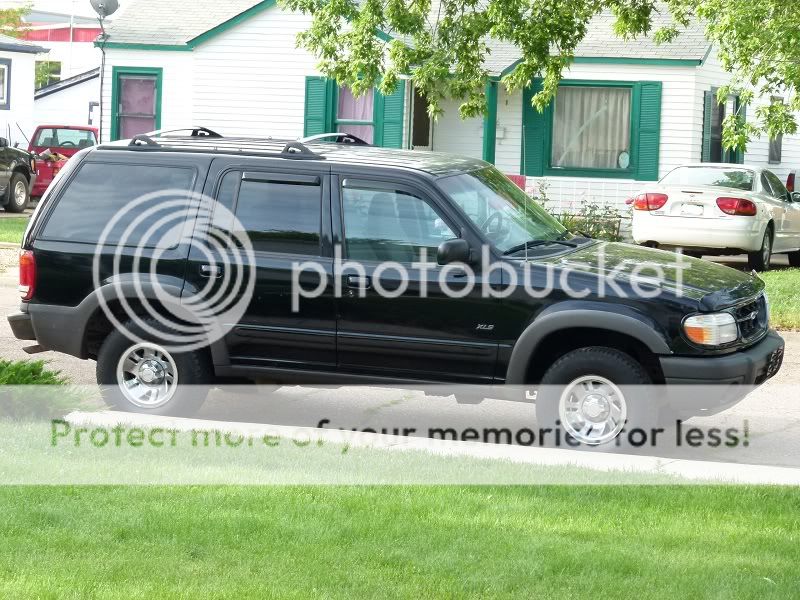
The other one was the Explorer, something my instincts seemed in-tune with.
Everything was mostly ok on this, and it even had on-the-fly 4x4 controls!
There were roof bars fitted also.
For less than 3000 dollars it seemed ok and a good deal.
I was a bit concerned that the ABS light was on and there was the sound of a worn bearing from the front driver’s side. Something I reckoned to be connected.
All in all for the price it was an ok deal. The ‘book price’ for it was about $4700.
One test drive later and the Ryder had his BOV again!
The ‘gatekeeper tests’ aka emission’s evaluation it flew through ok too.
Such a vehicle needed a name so I came up with ‘The Wolverine’ or the ‘Wolve’ for short as it had a kinda wolverine vibe about it when you slammed it into low-ratio 4x4!
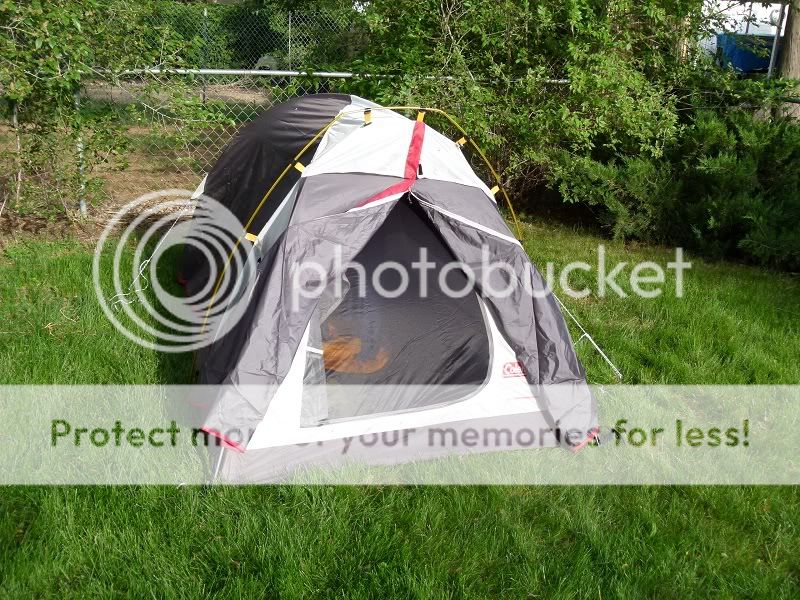
Mike’s garden in the city was by no means without nature. I set my backpacker tent up...
I’d taken a fair chunk of change with me and it was a hard temptation to resist buying all the goodies and gigdits they had on offer.
I still needed the essentials though so here’s what I got...
Two tents for both the city set-up and the Wilderness. One small and light, the other large and substantial. I’ll explain more on this later.
Several Weeks Food supplies (various dried foods etc)
Shotgun shells (Various Types)
Propane Gas and Stove
[I]

[B]
Procuring a BOV
[/B]Getting a vehicle is undoubtably one of the most troublesome and challenging things for most folks when it comes to transport.
Faced with doing this in a ‘foreign’ country was even more difficult.
However I had all my papers and without a decent 4x4 machine we were either walking up to MMM’s place or pedalling!
Mike wasn’t in a position to get a BOV as he’d sold his old truck when times had gotten hard, his resources were tight too.
My last BOV in the USA met a strange demise and it was time for another to replace it.
I’d been scanning craigslist for a while and finally found some possible matches.
Mike was adamant we avoid dealers, I on the other hand had no luck getting hold of any of the private sellers on CL. They either wouldn’t return emails or calls would be days in delay.
The dealers on the other hand seemed more promising…
I was more keen on just using raw instinct and coursework to get a decent one. Hoping some of my Ryder luck might carry the day
I settled on two vehicles for inspection.
One was a Ford Explorer, the other a Jeep Grand Cherokee
I’d earlier done some checking with the Ford Explorer at Carsurvey.org and the general consensus was they were pretty reliable. The Jeep on the other hand was more mixed results…
The dealer was an interesting arab fellow who’d been in the states since 1981!
The Jeep was in ragged condition, as I checked it I found the front bumper was loose while the rear bumper damn near came off in my hand.
The interior was dirty, the fan blower vibrated the whole machine, door trim was loose (you know when the interior door handle is about done).
Nearly all the power windows wouldn’t work.
The engine didn’t start first time either.
It would cost at least $1000 to get it back to BOV standards. The final straw was it had no roof bars.
They wanted $2500 for that one which was nearly 20 years old!
The other one was the Explorer, something my instincts seemed in-tune with.
Everything was mostly ok on this, and it even had on-the-fly 4x4 controls!
There were roof bars fitted also.
For less than 3000 dollars it seemed ok and a good deal.
I was a bit concerned that the ABS light was on and there was the sound of a worn bearing from the front driver’s side. Something I reckoned to be connected.
All in all for the price it was an ok deal. The ‘book price’ for it was about $4700.
One test drive later and the Ryder had his BOV again!
The ‘gatekeeper tests’ aka emission’s evaluation it flew through ok too.
Such a vehicle needed a name so I came up with ‘The Wolverine’ or the ‘Wolve’ for short as it had a kinda wolverine vibe about it when you slammed it into low-ratio 4x4!

Mike’s garden in the city was by no means without nature. I set my backpacker tent up...


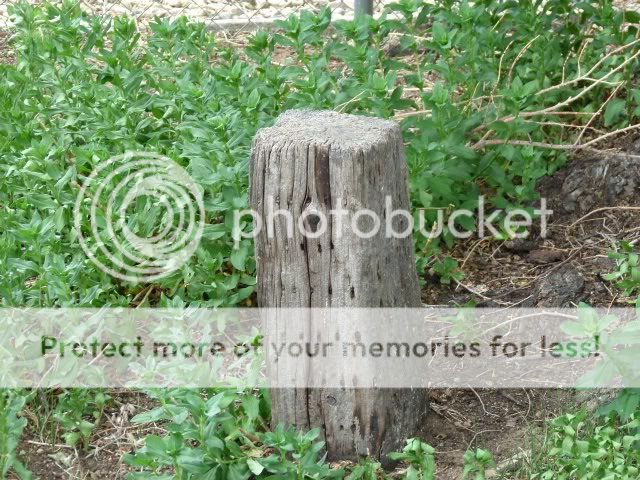
Big tree squirrels scurried about every morning!
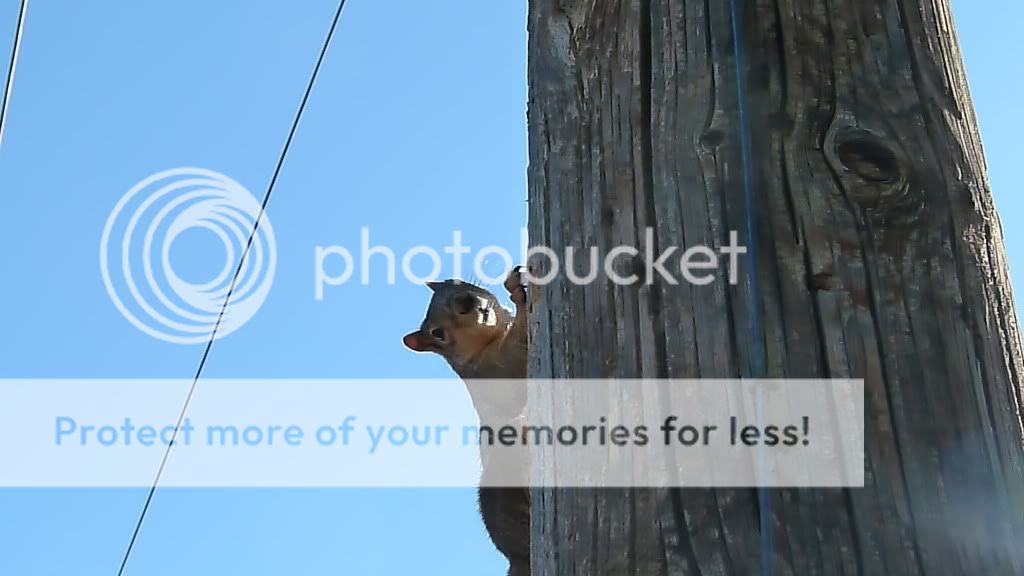
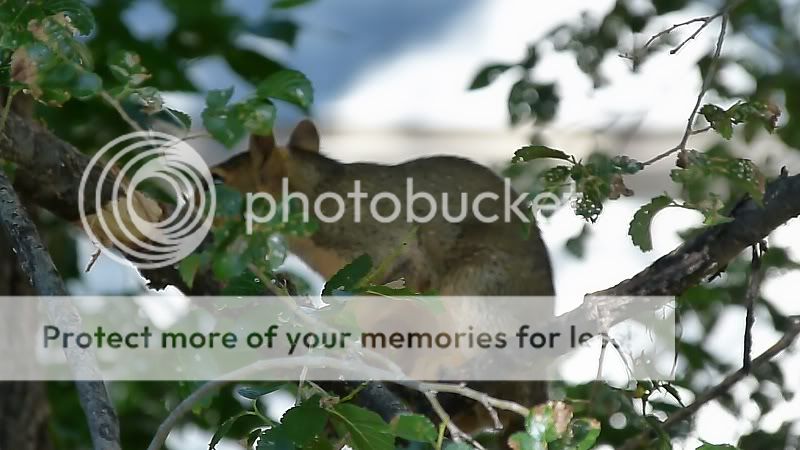
I’d feed them oats on this stump and they’d soon make short work of it!
Getting to the Wilderness Area…
[B]Getting to the Wilderness Area…[/B]
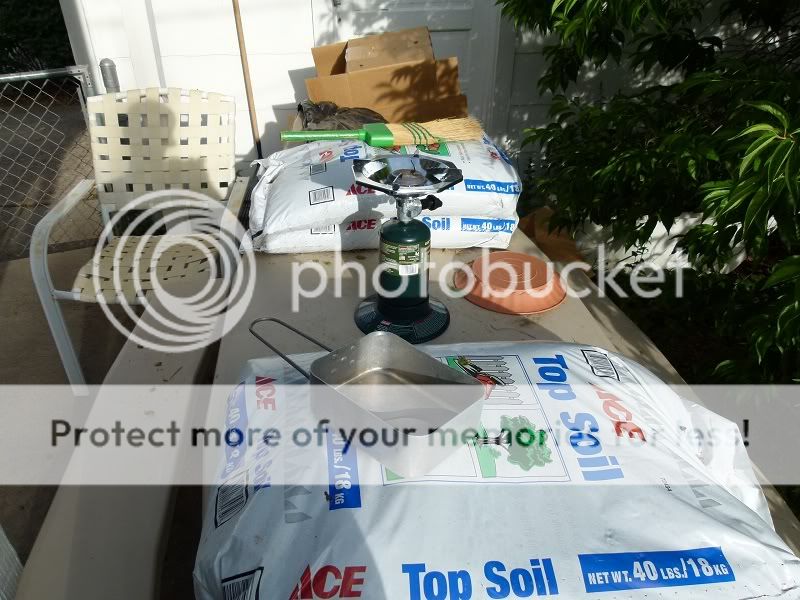
The stove set-up I'd be relying on mostly for food cooking etc.
Mike's place does have a campfire area, but Forestry restrictions mean using it can be dicey with all the fires raging about in Colorado...
For getting up to the Mountain Hold where Mike had his base there we had some challenges.
The Oregon Kid was coming in by bus on the Friday (following an epic 30 hour trip!) which initially meant we’d be going all in one vehicle. That would mean not much space for gear.
Our luck turned though as MMM managed to secure the use of an old pickup to go up there with.
It was an old battlebus of a pickup but it just kept on truckin’.
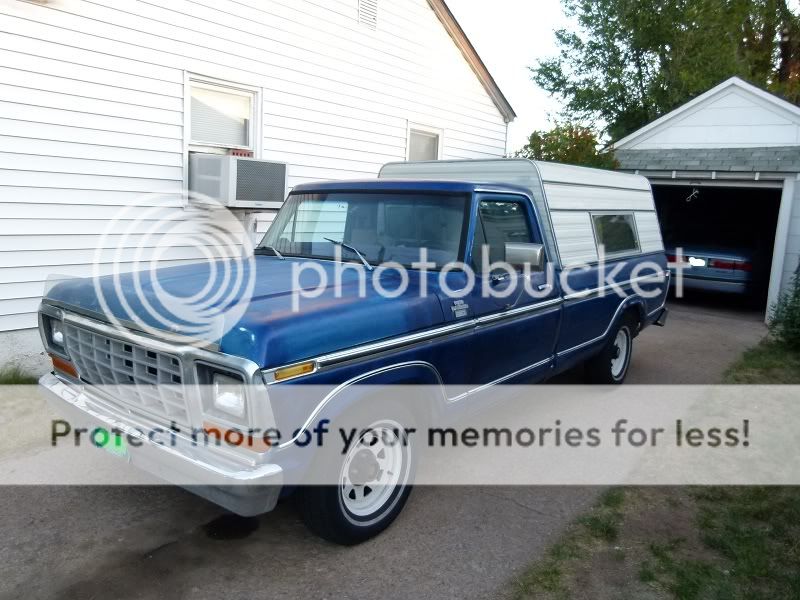
We’d be going up as a convoy now and we’d be able to take with us everything but the kitchen sink!
[B]Prepping gear for the trip into the wilderness[/B]
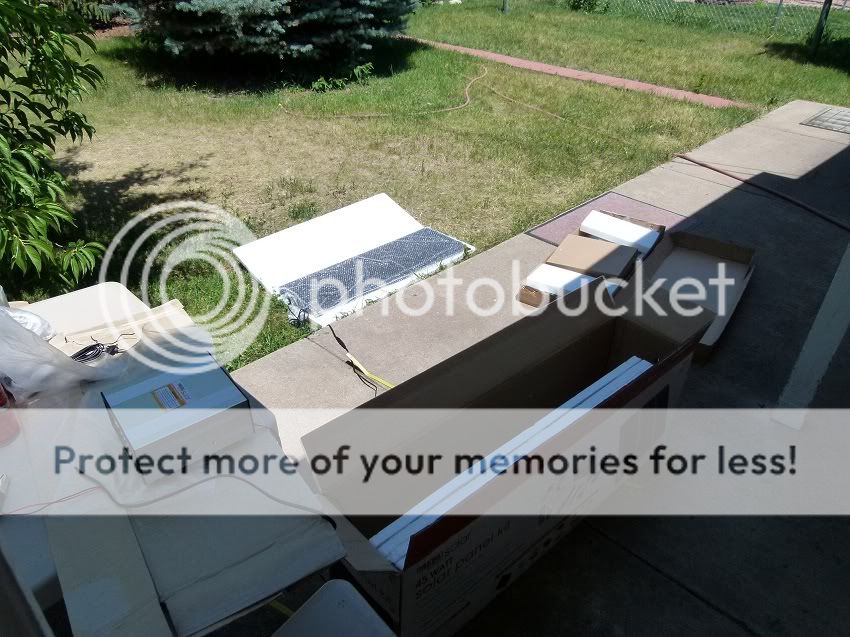
Mike's new solar array
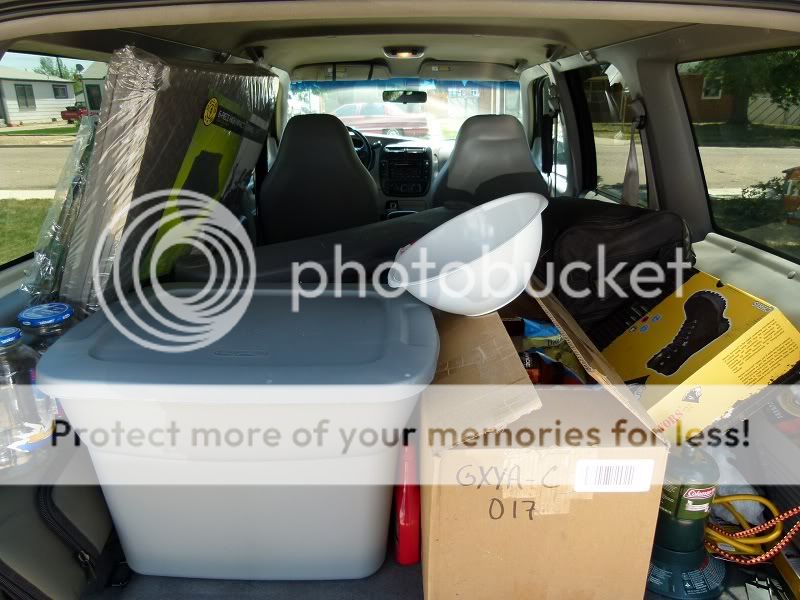
Filled up!
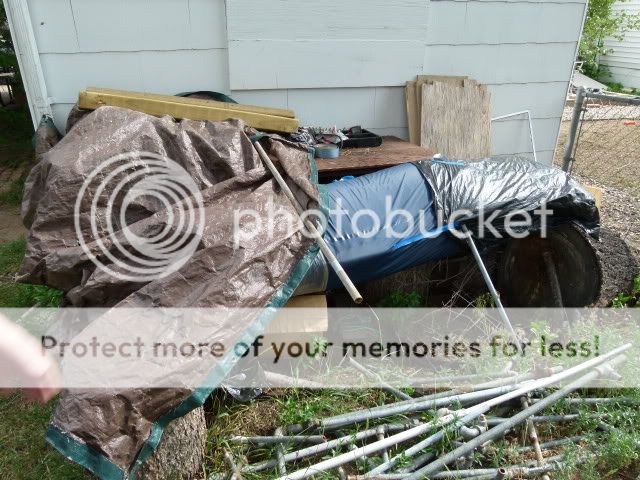
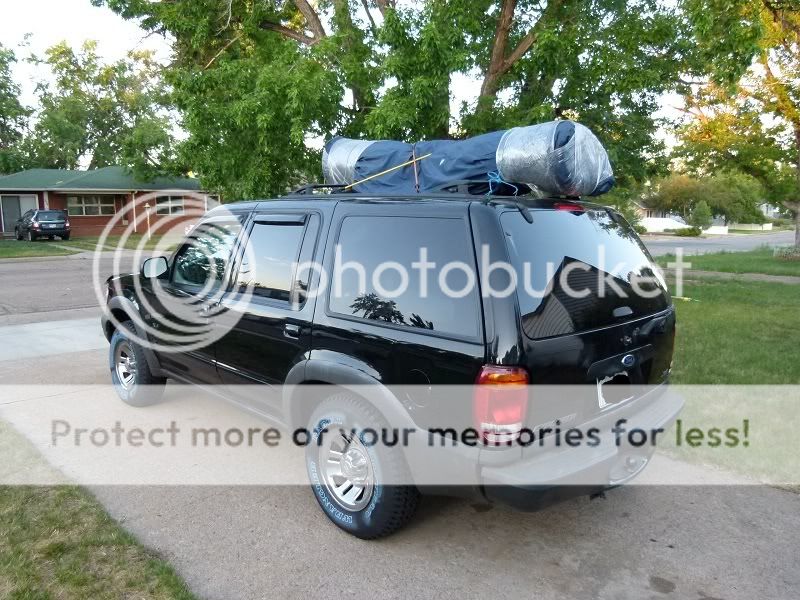
The waterproof sheeting was pretty easy to secure, bungee's then rope as an added safety factor.
The last time MMM was in his Mountain Hold not that much was done, this time though hopefully they’ll be lots of projects completed.
edit on 18-7-2012 by WatchRider because: picture fix
edit on 18-7-2012 by WatchRider because: More picture
editing
edit on 18-7-2012 by WatchRider because: edit typo
We met up with the Oregon Kid (OK) without incident. Young, from a large city but quite keen to learn the basics of survivalism. He hadn't made
many posts on the S Boards but MMM was throwing him a friendly invitation all the same
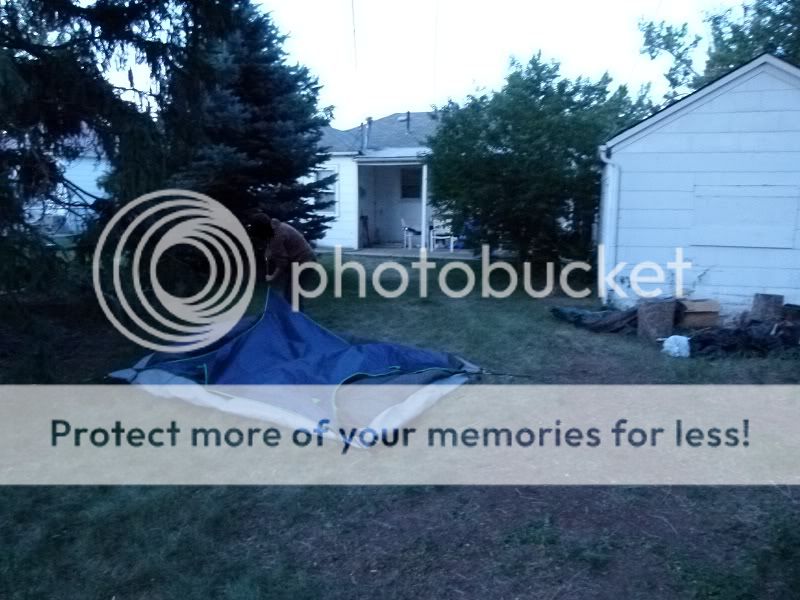
After a few more days of getting him sorted out with provisions and the like we were nearly ready!

[B]Lining up for the departure[/B]
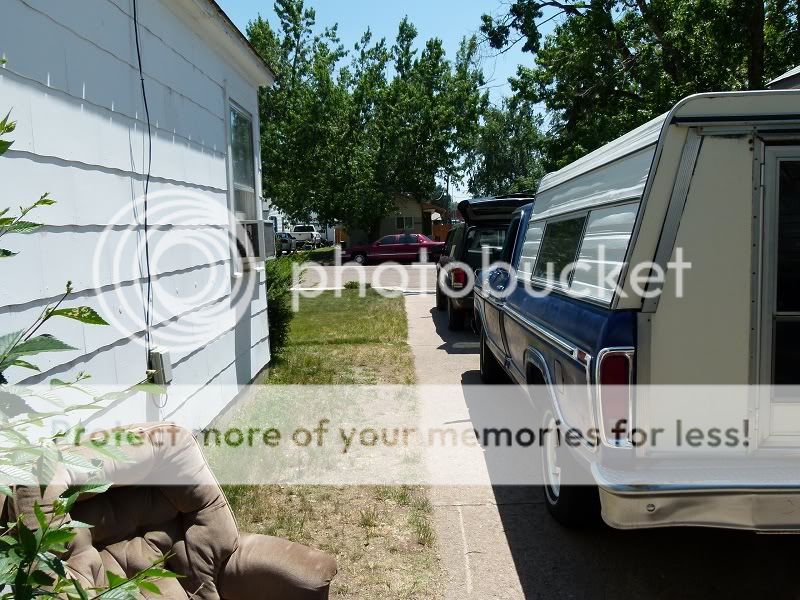
Into the Mountains!
Getting to MMM’s Retreat was a bit tricky due to the dreadful forest fire that raged through parts of Colorado in early June. It was so bad that one of the key highways was closed and MM reckoned we’d have to detour via Cheyenne.
The day we were due to travel, the road was re-opened and the way was clear once more.
It was quite a sight too, once we were about a quarter of the way there we could see ash and smoke in the distance!
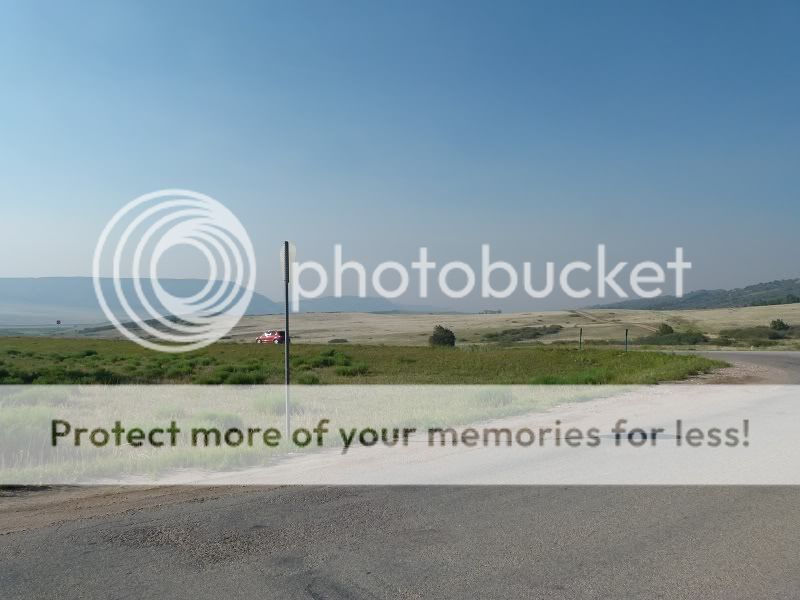
It was my first time driving at such high-elevations and the ‘Wolverine’ struggled to climb up some of the mountain highway stretches. I feared my engine was about to fail. (I later learned this was to do with the 91 octane fuel I’d added earlier so no worrys).
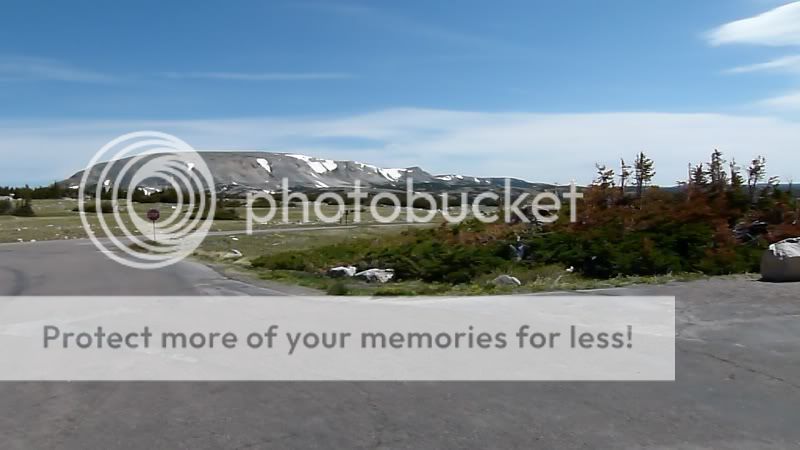
We pulled in at some awesome views on the Snowy Range.
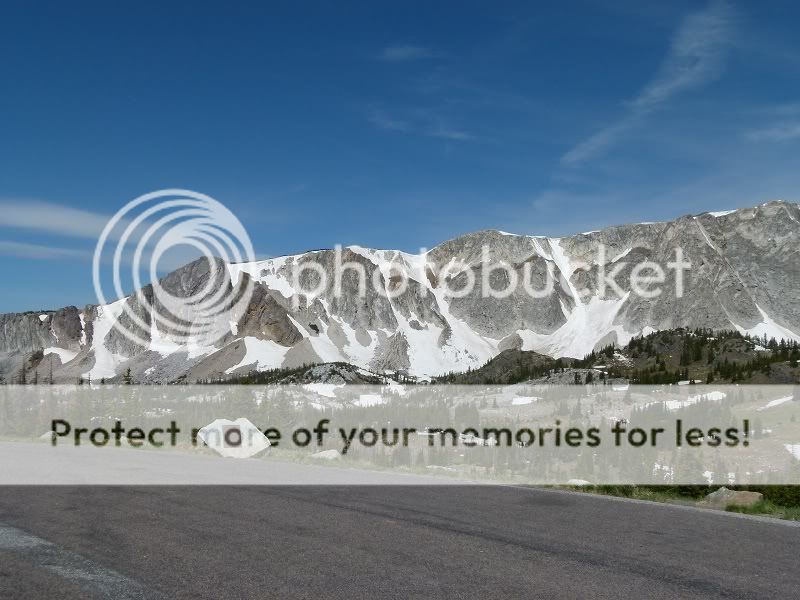
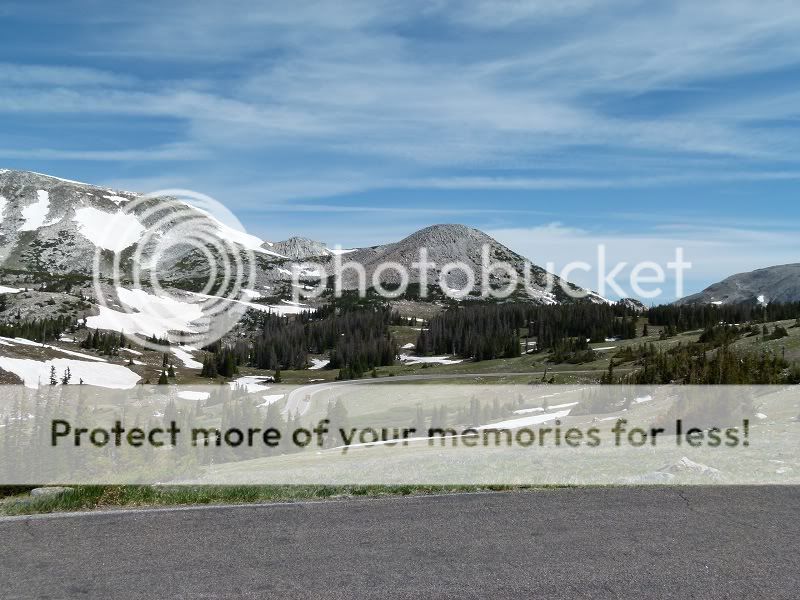
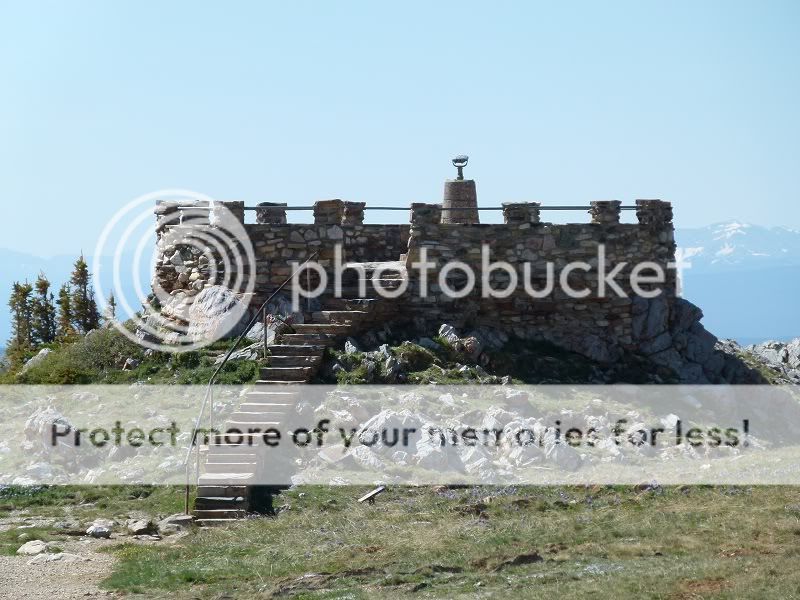
This is one of the viewpoint positions! It look's like a pocket fort.
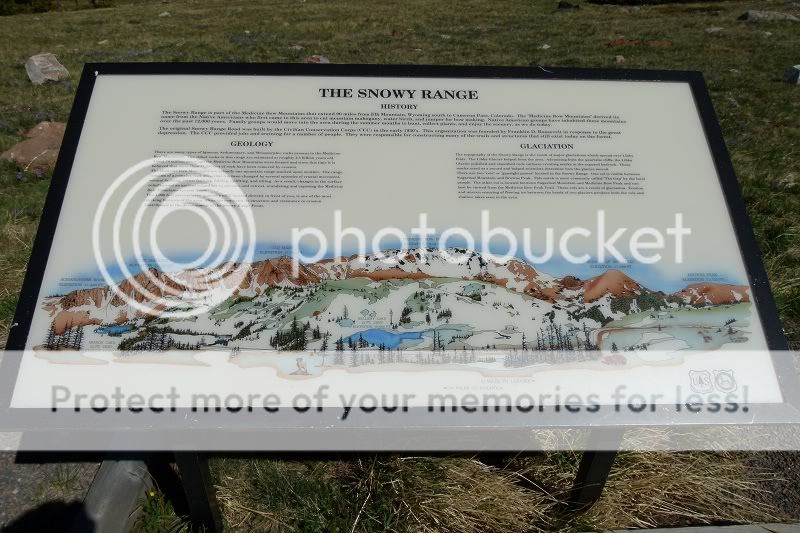
Snowy range intel.
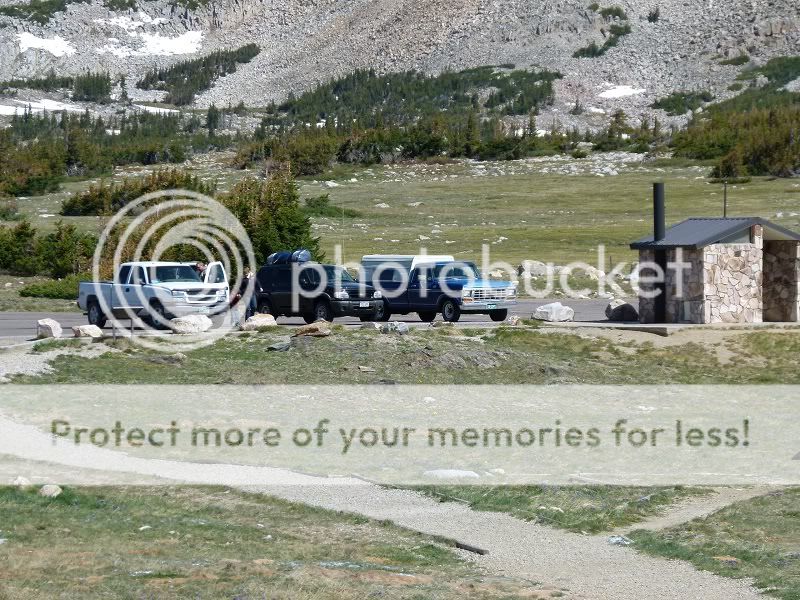
The convoy briefly rests...
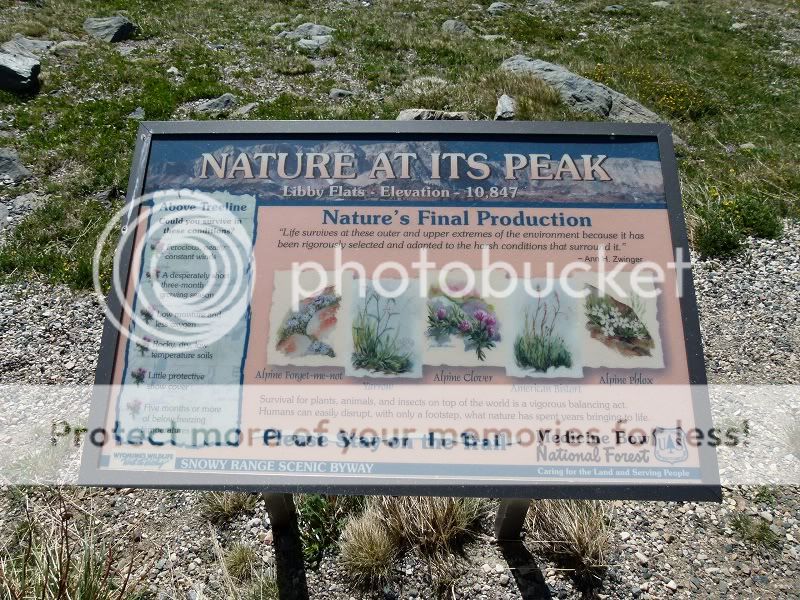
There was a couple in the area from Indiana who were travelling through, we chatted for a while then, like the olden times when partings must, we headed north and they headed south!
I asked MMM If his old battered machine was suffering from reduced power and he confirmed it,
When we reached the mile-stone of Encampment the power to my engine was back.
Then while making the final move to the Mountain Retreat the ascent saw my vehicle loosing power again, it coped ok with the roads though. (It coped even better when I went back to 87-88 octane)
After climbing up into the mountains once more we made a turn and rumbled on down a private dirt road. The state highway used to be like the dirt road until twenty or so years ago...
Once at the clear dividing line of Mike’s Base Spring which is the entrance I put the ‘Wolverine’ into 4x4 mode and blasted on through.

After a few more days of getting him sorted out with provisions and the like we were nearly ready!

[B]Lining up for the departure[/B]

Into the Mountains!
Getting to MMM’s Retreat was a bit tricky due to the dreadful forest fire that raged through parts of Colorado in early June. It was so bad that one of the key highways was closed and MM reckoned we’d have to detour via Cheyenne.
The day we were due to travel, the road was re-opened and the way was clear once more.
It was quite a sight too, once we were about a quarter of the way there we could see ash and smoke in the distance!

It was my first time driving at such high-elevations and the ‘Wolverine’ struggled to climb up some of the mountain highway stretches. I feared my engine was about to fail. (I later learned this was to do with the 91 octane fuel I’d added earlier so no worrys).
We pulled in at some awesome views on the Snowy Range.


This is one of the viewpoint positions! It look's like a pocket fort.

Snowy range intel.

The convoy briefly rests...


There was a couple in the area from Indiana who were travelling through, we chatted for a while then, like the olden times when partings must, we headed north and they headed south!
I asked MMM If his old battered machine was suffering from reduced power and he confirmed it,
When we reached the mile-stone of Encampment the power to my engine was back.
Then while making the final move to the Mountain Retreat the ascent saw my vehicle loosing power again, it coped ok with the roads though. (It coped even better when I went back to 87-88 octane)
After climbing up into the mountains once more we made a turn and rumbled on down a private dirt road. The state highway used to be like the dirt road until twenty or so years ago...
Once at the clear dividing line of Mike’s Base Spring which is the entrance I put the ‘Wolverine’ into 4x4 mode and blasted on through.

Arrival.
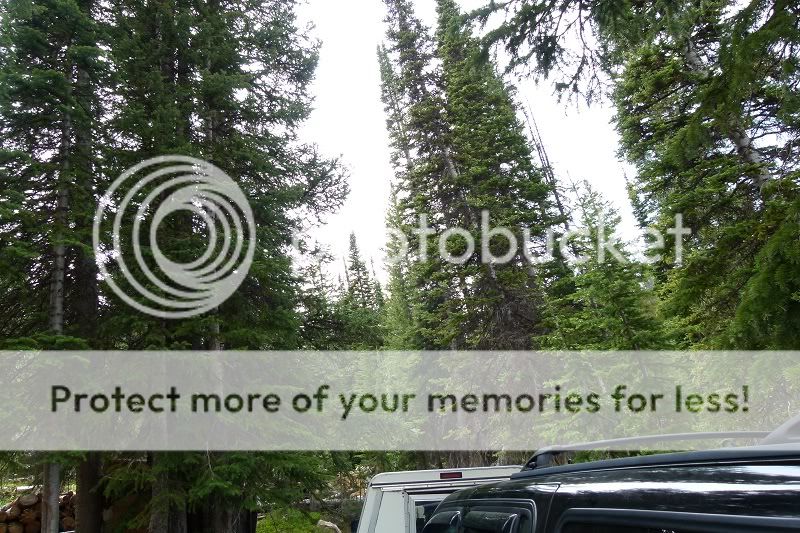
To tell of the land mike has could take a lifetime so I’ll instead talk of the areas without giving an exact layout or tactical map for obvious reasons.
Pictures are hard to show off Mikes Retreat in all it’s glory. Mike showed us around pointing out areas of interest and where might be good to set-up tents.
It was like something off an adventure book; streams of spring water ran down through it, meandering about somewhat but all crossable.
The pleasant scent of forest flowers and pine was in the air while little chipmunks sometimes came out to see what we were up to.
Vast complexes of wooden timbers mike had built single-handed reached up almost as high as the engleman spruces and fir-trees that were EVERYWHERE!
I pride myself on self-reliance, but even I’d be unable to put together the buildings Mike has thrown together over the years.
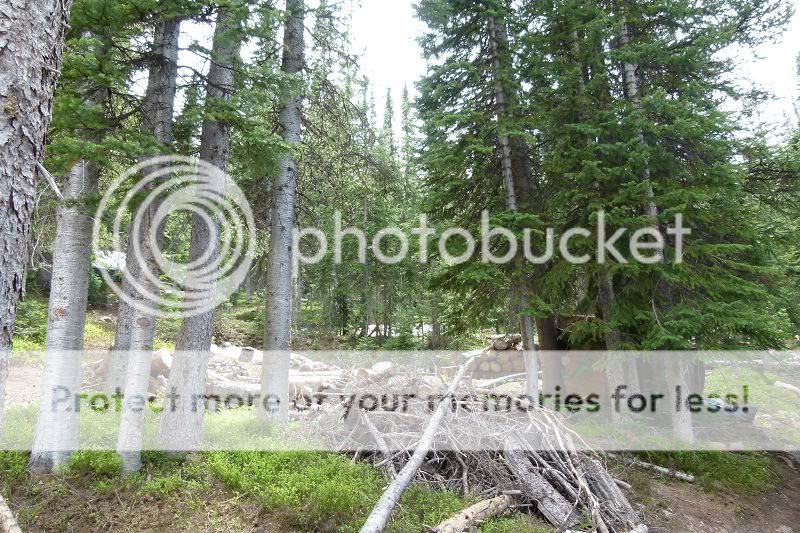
Decentralised areas of raw building materials were hither and thither. Make no mistake if Mike had the time to do so there would be cabin’s, workshops and tunnels all over the place. As it is there are vast resources that Mike’s accumulated at very little cost over the years.
In detail:
The disused ‘sheds’. I call them pocket-warehouses as they stretch for many yards towards the side of the mountain.
These dominate a small portion MMM Base. Yet to see how MMM has situated it you have to be trespassing as the dense forest conceals much from the eye.
Had there not been a partial collapse of the shed-warehouse due to snowfall it would have been able to catche vast supplies.
I looked at it as a project but it would require such a concentrated effort to rebuild all other work would have to be suspended.
Indeed a previous shed area had suffered a similar, more complete collapse and it made me think of Mike battling it out by building structures against the winter elements. Two of his battles were partially lost during the pounding winter snows.
Yet his third installation, An Underground Bunker was much more successful...
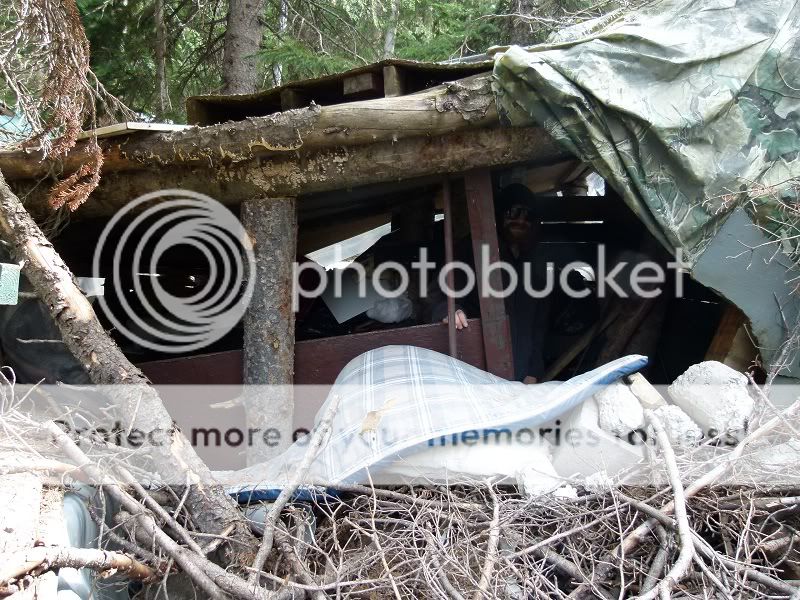
But before I can speak about that we had a lot to do. Gear had to be unloaded and some areas de-winterised for access and use!
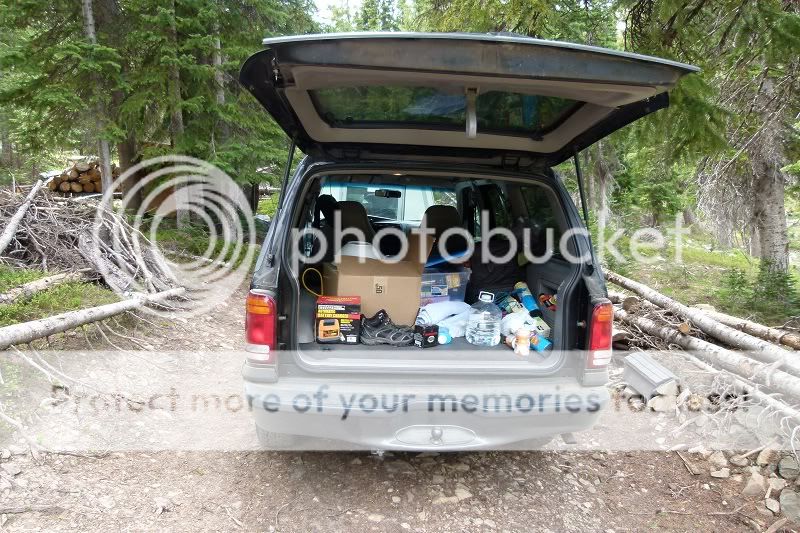
This is the sight that greeted me on 'popping the trunk'. I had to get this to a suitable area of shelter deep in the Mountain Hold! My fitness was tested, but stood the challenge
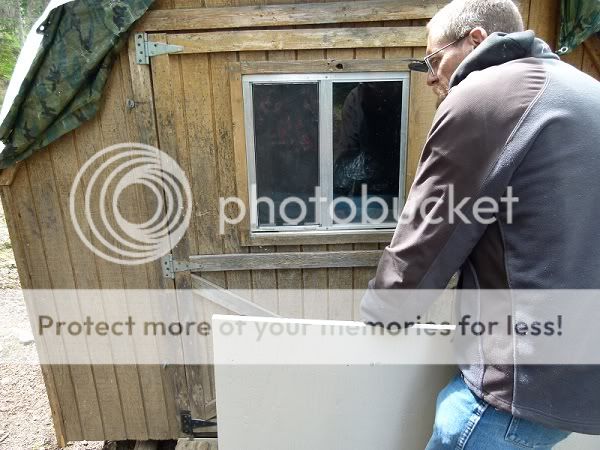
Mike sorts out the 'tuff shed', I gave him a hand as the nails were deep and embedded on the ply-shield.
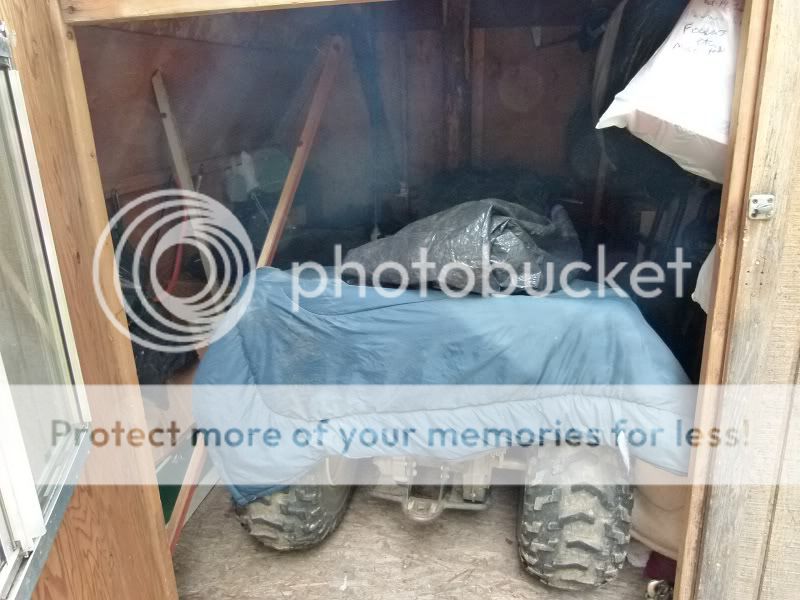
MMM's mean machine await's, but can it be awakened?
That's all for this databurst folks! Thanks for your time and support so far

To tell of the land mike has could take a lifetime so I’ll instead talk of the areas without giving an exact layout or tactical map for obvious reasons.
Pictures are hard to show off Mikes Retreat in all it’s glory. Mike showed us around pointing out areas of interest and where might be good to set-up tents.
It was like something off an adventure book; streams of spring water ran down through it, meandering about somewhat but all crossable.
The pleasant scent of forest flowers and pine was in the air while little chipmunks sometimes came out to see what we were up to.
Vast complexes of wooden timbers mike had built single-handed reached up almost as high as the engleman spruces and fir-trees that were EVERYWHERE!
I pride myself on self-reliance, but even I’d be unable to put together the buildings Mike has thrown together over the years.

Decentralised areas of raw building materials were hither and thither. Make no mistake if Mike had the time to do so there would be cabin’s, workshops and tunnels all over the place. As it is there are vast resources that Mike’s accumulated at very little cost over the years.
In detail:
The disused ‘sheds’. I call them pocket-warehouses as they stretch for many yards towards the side of the mountain.
These dominate a small portion MMM Base. Yet to see how MMM has situated it you have to be trespassing as the dense forest conceals much from the eye.
Had there not been a partial collapse of the shed-warehouse due to snowfall it would have been able to catche vast supplies.
I looked at it as a project but it would require such a concentrated effort to rebuild all other work would have to be suspended.
Indeed a previous shed area had suffered a similar, more complete collapse and it made me think of Mike battling it out by building structures against the winter elements. Two of his battles were partially lost during the pounding winter snows.
Yet his third installation, An Underground Bunker was much more successful...

But before I can speak about that we had a lot to do. Gear had to be unloaded and some areas de-winterised for access and use!
This is the sight that greeted me on 'popping the trunk'. I had to get this to a suitable area of shelter deep in the Mountain Hold! My fitness was tested, but stood the challenge

Mike sorts out the 'tuff shed', I gave him a hand as the nails were deep and embedded on the ply-shield.

MMM's mean machine await's, but can it be awakened?

That's all for this databurst folks! Thanks for your time and support so far
edit on 18-7-2012 by WatchRider because: renewal edit
Mountain Mike’s Bunker – The Overview
The crowning achievement would have to be the bunker Mike’s built.
I specifically requested MMM not show me where it was on arrival, as I wanted to see how hard it would be for an absolute stranger or group to find his strongpoint.
I’d seen the pictures and video, but they only give the slightest idea of the lay of the land. After about two minutes of scampering about I still couldn’t locate it!
With the shed and store areas to confuse and bewilder I had to ask for an indication, which Mike pointed to and I was very impressed at the camouflage effect he has achieved. It blends in very well and even the outer entrance is deceptive to the eye.
Entering it is in fairly tight confines. Any attacker would have an absolute nightmare trying to ferret out MMM from this fortification.
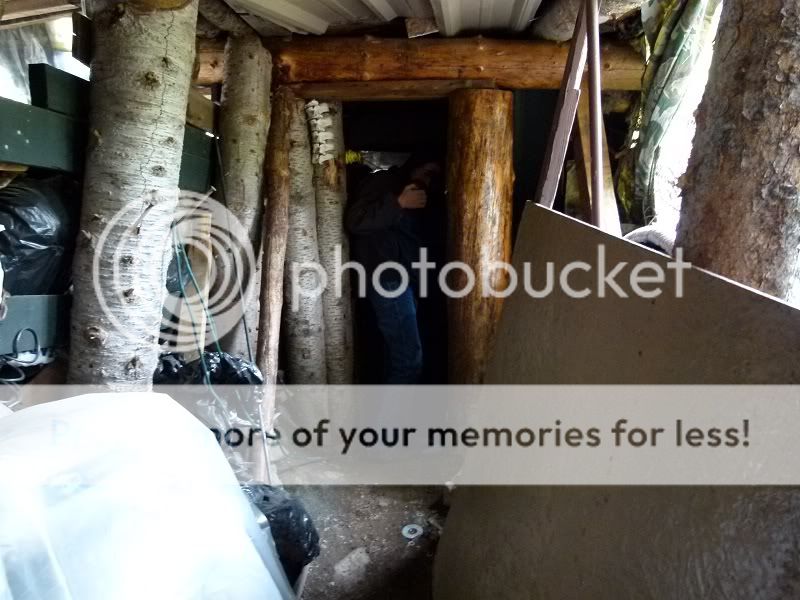
On arriving at the Mountain Hold Mike’s first move was to check on his bunker. Great locks and chains prevented all but the most prepared and determined intruder from breaking in in his absence.
The steel door is heavy-duty, industrial rated. A .338 lapua *might* go through cleanly, but even against that Mike has a secondary armour-belt to deter even that (possibly breaching charges and .50 cal too).

All sorts of gear was crammed inside. One of the most critical bit’s of kit was Mike’s Big Berkey Water Filter!
British-made no less and we’d use it for our drinking water. It was a slow way but we’d constantly top it up and have enough water for three easily at any one time.
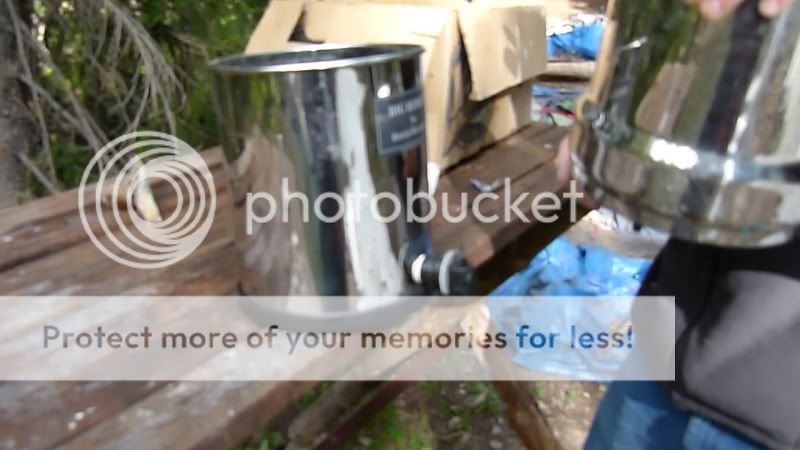
As an aside Mike’s water supply’s were clean, but cows would soon arrive in the coming months in areas above MMM land and their vile waste could potentially taint the water a bit.
Also the system for re-filling the 6 gallon jug was awkward and cumbersome. I made a Ryder-note to improve that later!
Now a certain poster on a survivalist forum reckoned that Mike’s bunker was a deathtrap, even saying it would collapse due to shoddy construction.
Well I went through the bunker complex quite thoroughly and I can tell you that place is rock-solid. I walked on the bunker roof (even that is a fortification!), jumped, banged and ran about.
It was something incredibly substantial, very likely the toughest roof in the county, if not the state (discounting military installations).
The roof-section would require an arsenal of shaped charges to attempt a direct breach. Even this would be hazardous for Mike has gun loops set into strategic places plus an escape hatch (I could not find this and had to ask Mountain Man to show me).
[I]
I will post a picture of the actual concrete construction, right now I'm rushing...[/I]
Some more elaborate gear was on the roof and as Mike has said, he has not even told half of what’s really on his land.
He repeated this to me as I examine it. This meant, don’t mention it online so I can’t say what it exactly is ;
Now we do have some project-work to reinforce the escape-hatch and other things too at a later stage.
The next part, will be about setting up my tent and about living on MMM land, plus lot's of other stuff...
Thanks to all for your support and attention.
edit on 18-7-2012 by WatchRider because: tag
edit on 18-7-2012 by WatchRider
because: Remove irrev. text
Living on the Mountain Land.
Living on the Mountain Hold Mike has made his own isn’t for everyone. The elevation will kill if you are not careful. It get’s cold (as I type this entry it’s 2200 hrs and the temperature is about 40 farenheit), during the daytime, dusk and dawn for a couple of months insects can be bothersome if you aren’t savvy.
Also you need to be able to cook, clean and be capable of using a field latrine, or even dig your own hole (away from the Mountain Hold of course).
The area that the previous ‘guest’ had lived on last year was unsuitable for me. Trash, beer cans and other rubbish was all over that area. We got that tidyed later though. What we couldn’t burn we’d take back to a city and trashcan / recycle.
It took me 2 hours to choose my tent-site.
Then unloading the SUV of all my gear, food and equipment then setting up the tent had me exhausted.
The next day I started thinking on where I wanted X, Y and Z.
I used my small tent at first as land is sloping and undulating.
In a few weeks I hope to set up the 2 Room Cabin Tent nearby. At the moment wood, materials and the like is on the area suitable for it. So that will have to be moved at some point…
Back to the first tent area.
I made my sleeping area flat with some wooden boards, then got two layers of padding down underneath the tent for insulation.
This area had numerous advantages. It was close to the side of a mountain, where I had some ideas for building projects, it was also near to Mike’s Bunker which had attachment areas for some of my kit.
Finally it also had a nice spring running next to it. I mentally made a note to run a water supply hose down to it as the spring was quite narrow and low-flowing.
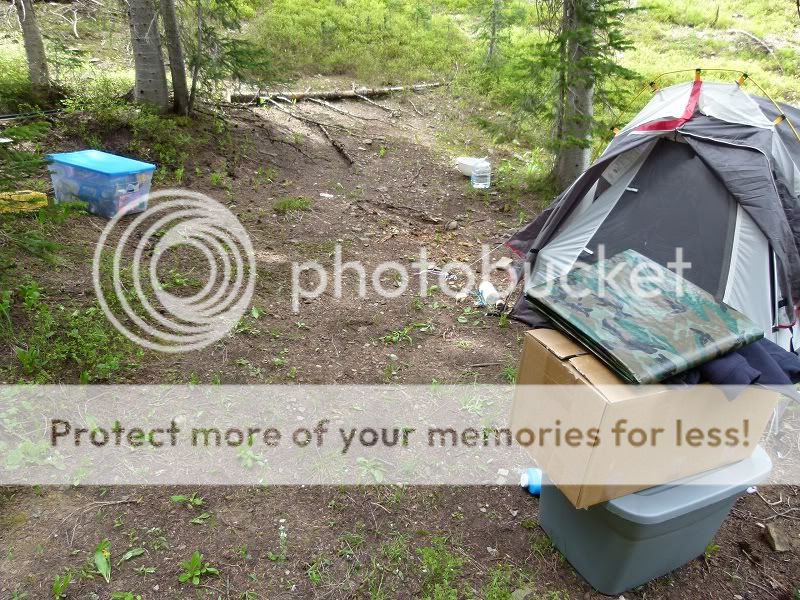
As a finishing touch I added a camo tarp as a windbreak. This had the added effect of some privacy and concealment from prying eyes driving up and down the main approach road.
I will tell you this, experience in basic woodworking, wild-camping and carpentry / joinery is a bonus here.
Also useful is metal fabrication.
There isn’t any firing range set-up (YET!) and Mike doesn’t like to telegraph gun-play at certain periods of the week etc.
I haven’t asked MM but I would be very surprised if he was unarmed up here, so any folks out to cause trouble better watch out…
edit on 18-7-2012 by WatchRider because: picture remov
edit on 18-7-2012 by WatchRider because: Remove irrev. text
Mountain Wound
On the second day of getting to the land I was reminded of how things can turn if you aren’t careful.
While I was working on getting some water plumbed in from the nearby spring to my tent Mike took a stumble and sliced his hand open.
It’s easy to do if you lose concentration, part of the reason was he was concerned about the Oregon Kid and trying to keep an eye on him. This is understandable as if anything happens to him Mike could take heat due to his young age.
Anyway I’m just finishing up the hose system while Mike is before me obviously embarrassed his hand is a bloody mess.
I could tell Mike didn’t want to make a big deal about it to the Oregon Kid either.
With his hand bleeding from a one inch or so cut I could see it wasn’t pumping and seemed to partly gashed in two places.
I grabbed my trusty EDC and pulled out my first aid kit. Just before I could begin Mike asked if I could film it! My camera was at my side and as WR I obliged (footage showed later).
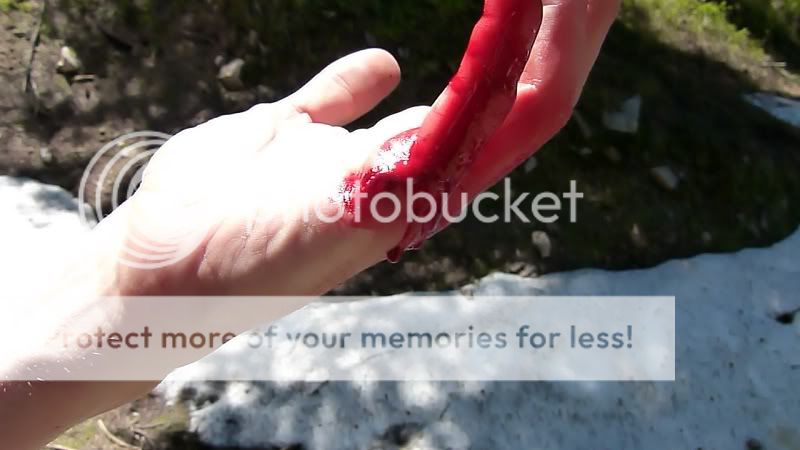
The wound looked like a clean cut, no dirt or debris in the wound.
I made up three narrow butterfly stitches using zinc-oxide tape and the tiny scissors from my EDC, prior to putting the B. stitches on I put some antiseptic cream on the cut.
Mike hardly even flinched when I put them on!
That’s Mountain Man levels of pain threshold!
It should be noted that Butterfly stitches are not *true* sutures or stitches, but are ok for light to medium cuts. Mike’s I would reckon was at least a medium cut possibly more!
I also believe that they leave a ‘cleaner’ scar than invasive stitches…
After I’d done that I put a large band-aid over the stitches.
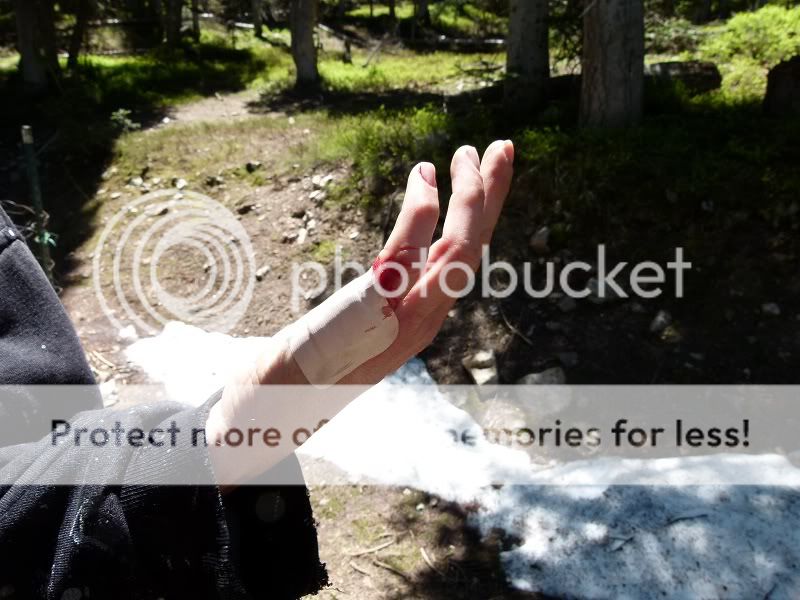
Despite the clean cut I advised MMM that a clinic or hospital might be a good idea for antibiotics and a second-opinion as to whether needle and thread sutures would be needed.
I was 50/50 in my heart on whether wounds of beyond 1 inch long and deep looking required more than what I’d performed.
Although I’ve been patched up myself a few times and know basic first aid. I’m not a paramedic and would be pissed off if he ended up with a septic wound etc.
MMM said he’d see how he’d get on as the days progressed and, in the spirit of the libertarian way I wasn’t going to object to the Mountain Man trusting his rugged immune system.
2 days after injury
Inspecting the stitches.
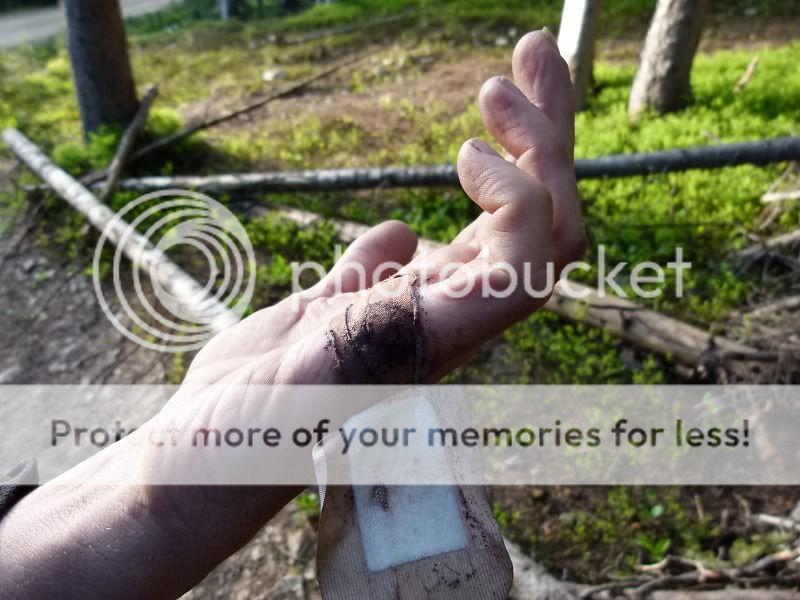
Mike insisted on keeping the stitches in for 4 days or so, stating that constantly changing dressings can make the wound worse. MMM mentioned the Vietnam War as a reference and I wasn’t going to argue in either case.
A part of me did fear the wound might develop an infection after being bound up for that long.
No smell of it ‘going-off’ over the following days.
Then it became time 4 days later for MMM to remove my handywork….
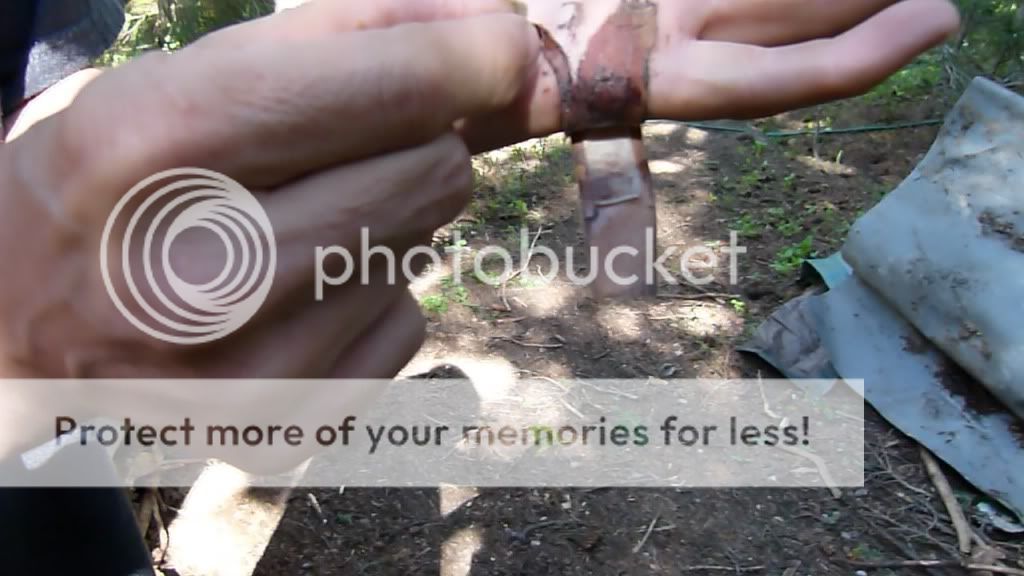
10 days after injury
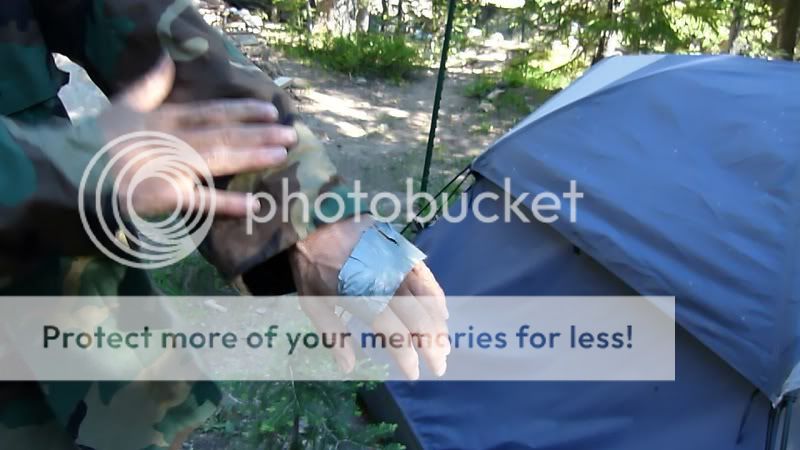
Looking good.
MMM did state it felt a bit numb at first, along with it being slightly paler but that’s normal when a wound is bound up without getting full blood flow.
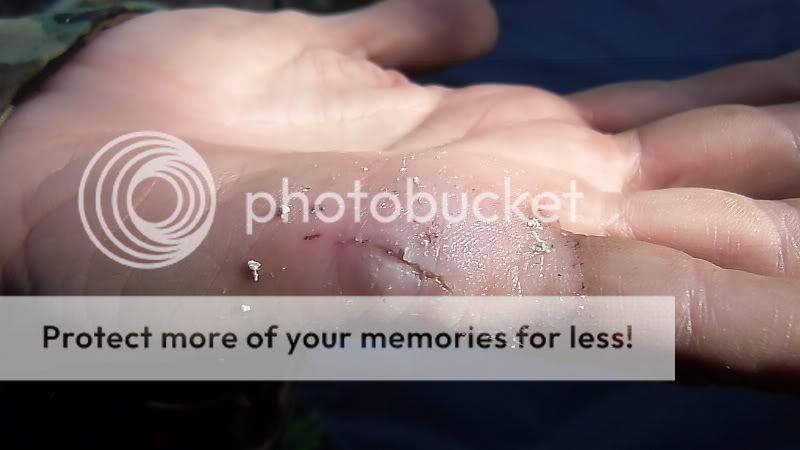
No infection and the cut seem’s to be mending well!
He didn’t have any pain from it and his healing rate is impressive.
So there you have it folks, MMM take’ them knocks and keep’s on truckin’
Here is the video of the beginning to end saga of the hand injury! It’s quite graphic but nothing rough and tumble folks would flinch at.
Building a Solar Shower Area
Using my previous experience I managed to throw together a decent shower, complete with camouflage privacy surround.
It wasn’t that easy, as the area I chose was on a fairly sharp gradient and was rocky as hell.
But with some western innovation I soon had it level.
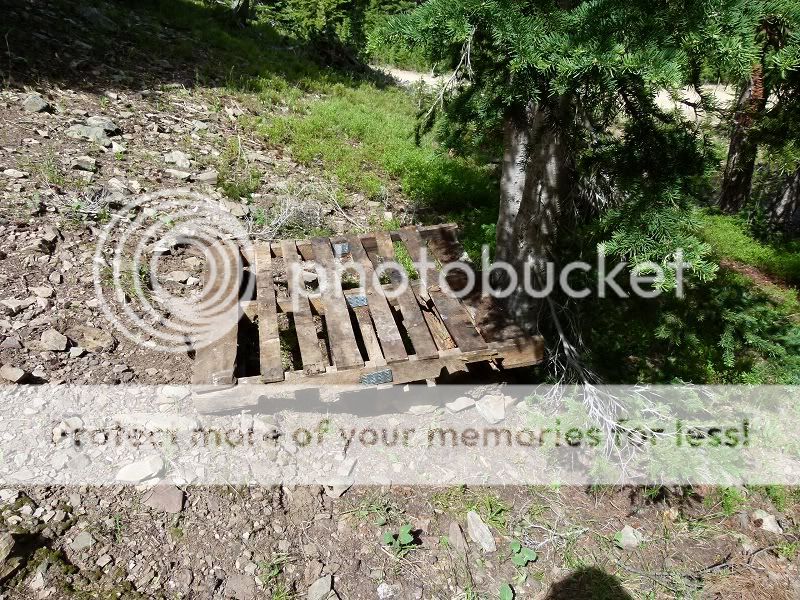
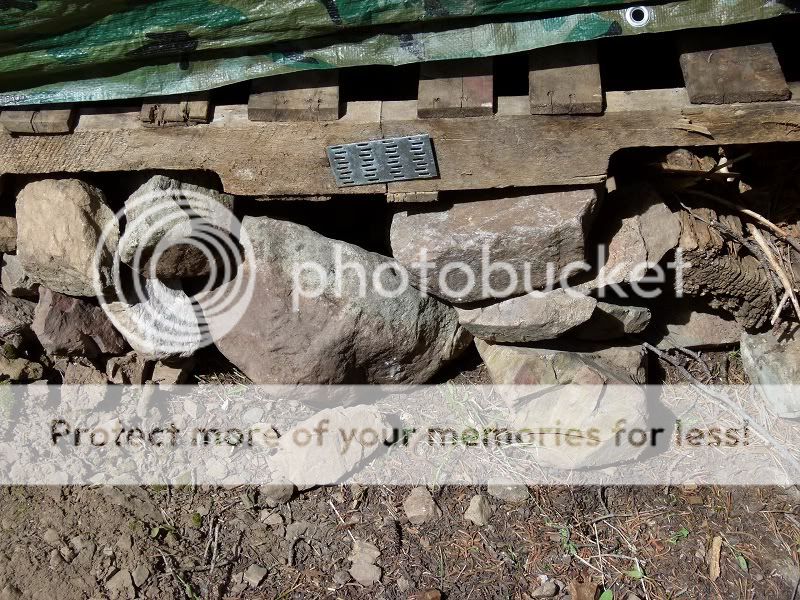
Then it was just a case of getting support uprights into the ground and wrapped with camo poncho’s
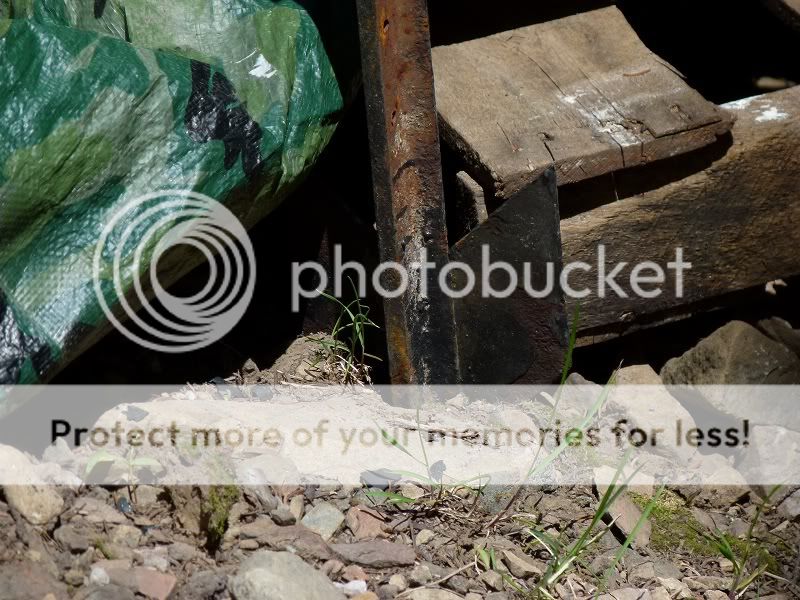
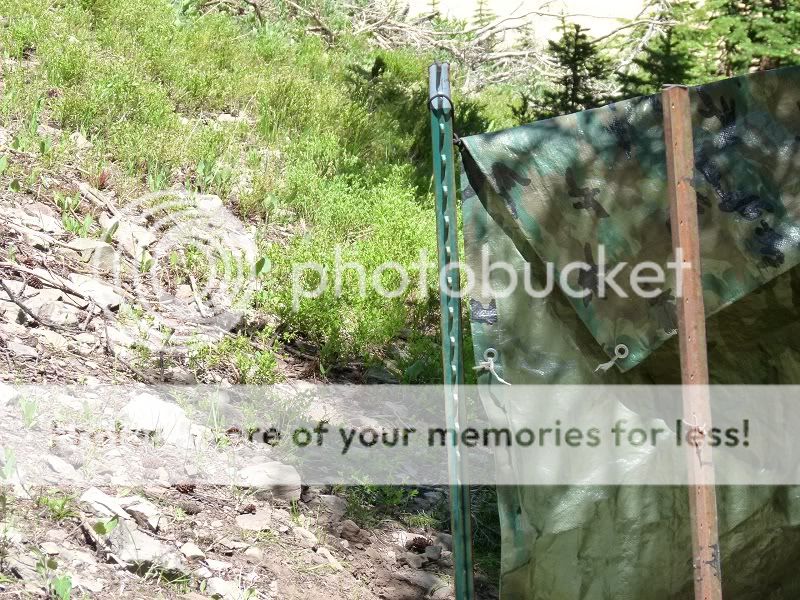

I added a shelf and some spikes for clambering up and about to hang a solar shower from.
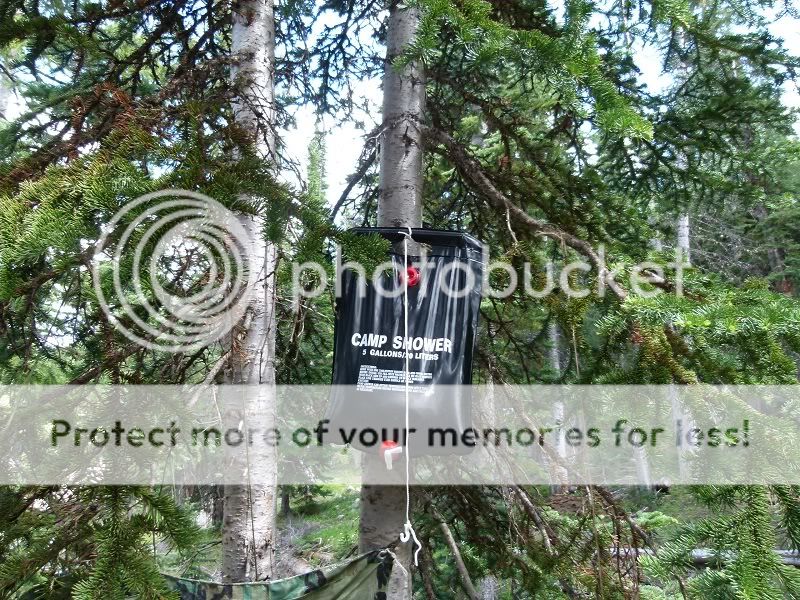
I’d have to time the moment right during the day though, too early and the shower wouldn’t warm up in time, too late and the mosquito’s would be out and about you!
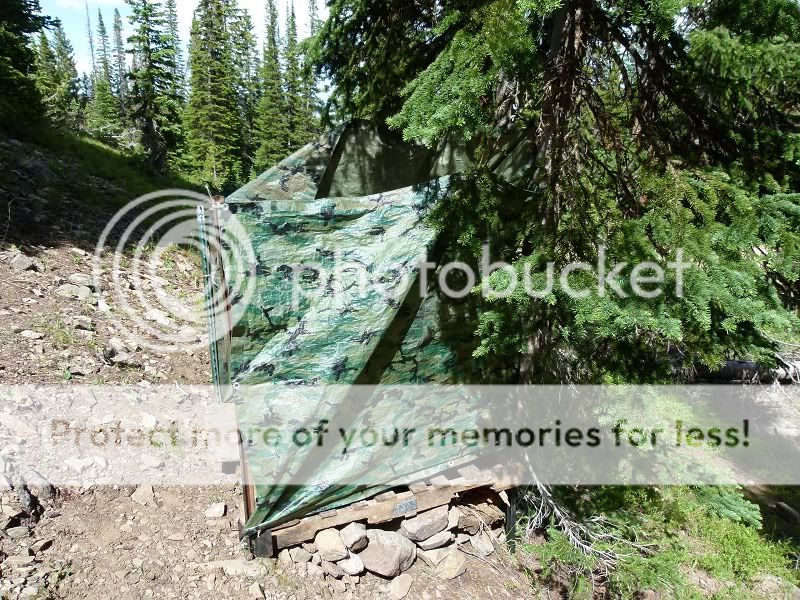
Video to follow...
Databurst Ends, for now
Originally posted by lonewolf10
amazing.
and yet they wont let bottles of baby milk onboard.
You are allowed baby milk in hold luggage, which is where my shotgun was stowed.
Hope that clears things up for you.
reply to post by WatchRider
amazing thread watchryder. descriptions and photos are splendid and i guess i'm a tad envious at the moment with commitments preceding one of my favourite pastimes, namely the outside wilderness.
regards fakedirt
btw currently collecting husky hair off the living room, hall, kitchen, stairs etc etc for that warmer experience when it's time to go sub-zero!
edit on 20-7-2012 by fakedirt because: add
Databurst Resumes...
DIY Shower Video
Mike set up his new solar power generator.
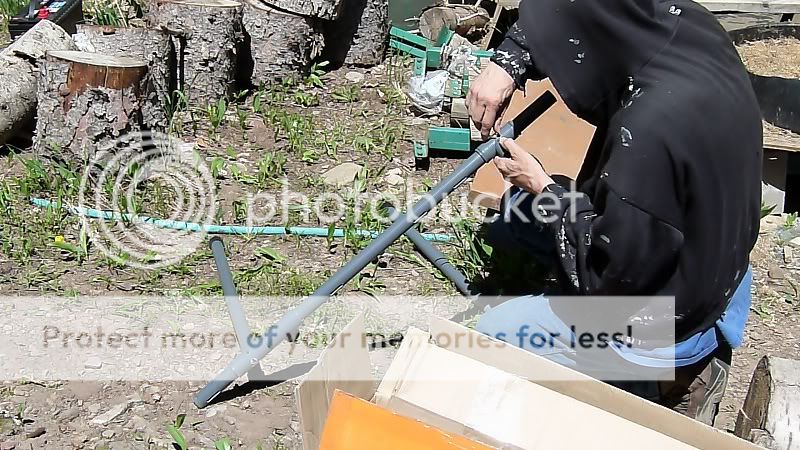
I gave him a bit of hand when I wasn’t to-ing and fro-ing getting gear to set up the shower. It works really well, allowing our 21st century gadgets to co-exist and keep powered up amid old-school surroundings.
Survivalist Water Resupply!
While we have our slow but sure method’s of refilling water from the hose and can method, one of the other neighbors uses the redneck method.
It’s a high-octane way of pickup, big 500 gallon + container and tubing, plus some support posts. I’ll let the video do the talking…
DIY Shower Video
Mike set up his new solar power generator.

I gave him a bit of hand when I wasn’t to-ing and fro-ing getting gear to set up the shower. It works really well, allowing our 21st century gadgets to co-exist and keep powered up amid old-school surroundings.
Survivalist Water Resupply!
While we have our slow but sure method’s of refilling water from the hose and can method, one of the other neighbors uses the redneck method.
It’s a high-octane way of pickup, big 500 gallon + container and tubing, plus some support posts. I’ll let the video do the talking…
Sounds like you had a kickass adventure, I am jealous
Great photojournalism too
Great photojournalism too
edit on Sat, 28 Jul 2012 21:04:07 -0500 by TKDRL because: (no reason given)
14 June 2012 - Out House Overhaul!
Mike’s field-latrine had seen better days. Indeed it needed an overhaul.
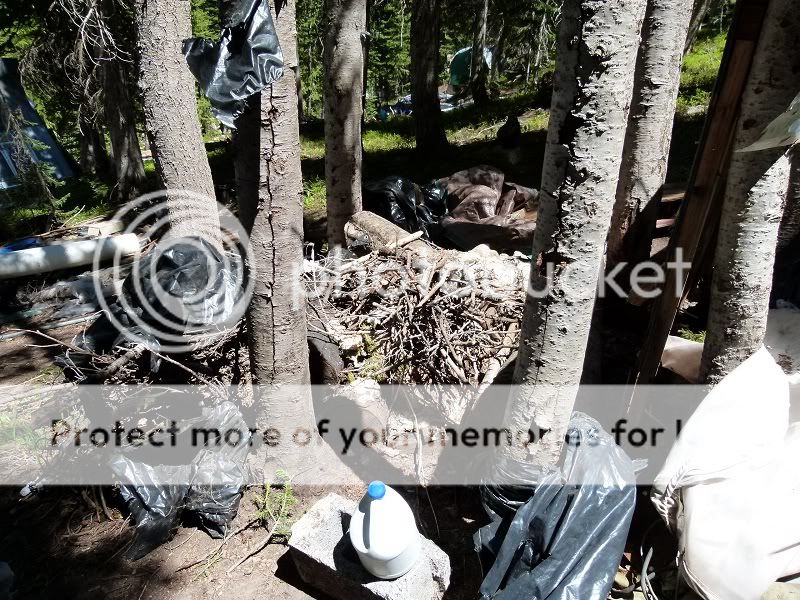
Perhaps against my better judgement I pushed Mike into making this a priority on day 2.
We managed to incinerate the human waste after several hours but it was a tricky job and tempers flared late in the day!
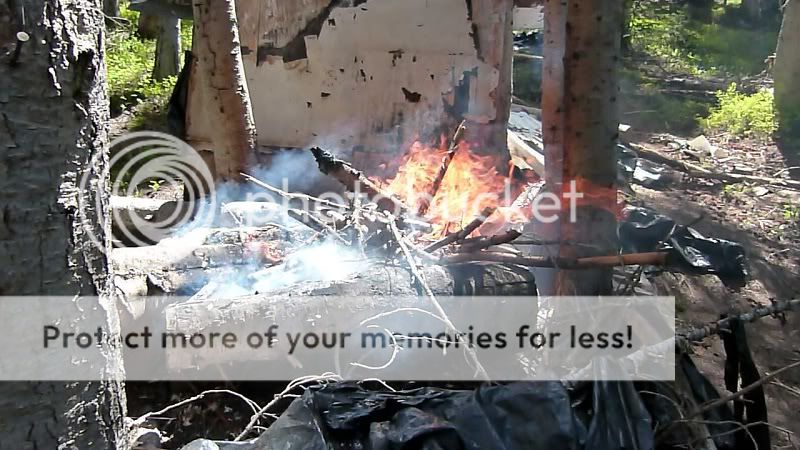
The smell wasn’t as repulsive as I expected but the biggest issue was keeping the adjacent tree’s soaked in water. Just in case they ignited.
Mike was a stalwart, he’d done this before and managed the fire well.
We had to keep a steady stream of water going in buckets from the spring.
As the blaze raged on for a while it kept trying to creep out underneath to another storage catche of materials. The memory of the horrendous forest fire in Colorado was fresh in our minds and we didn’t want any of Wyoming’s lush forest suffering the same fate.
Nevertheless it did nearly ignite a part of a catche nearby.
The initial ‘whoomph’ of the fire roaring up in the air gave us a big shock. Only a half-dozen buckets made it think again.
The smell of some synthetic materials was atrocious and it gave me a willowy head-ache for a few hours.
Mike was certain it wouldn’t of started a forest fire due to the surroundings etc. Plus he’d done it many times before safely.
By the end of the day we’d had enough and doused the fire completely.
In the following few days we resumed the work…
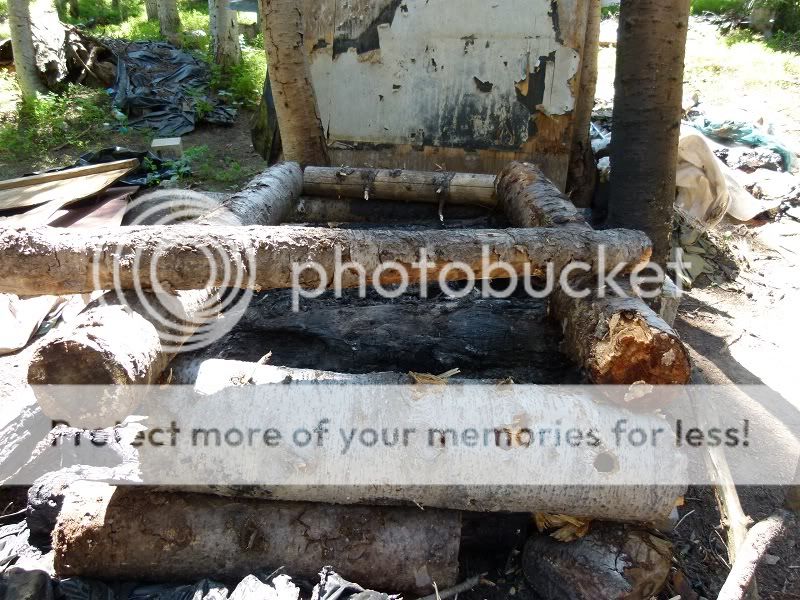

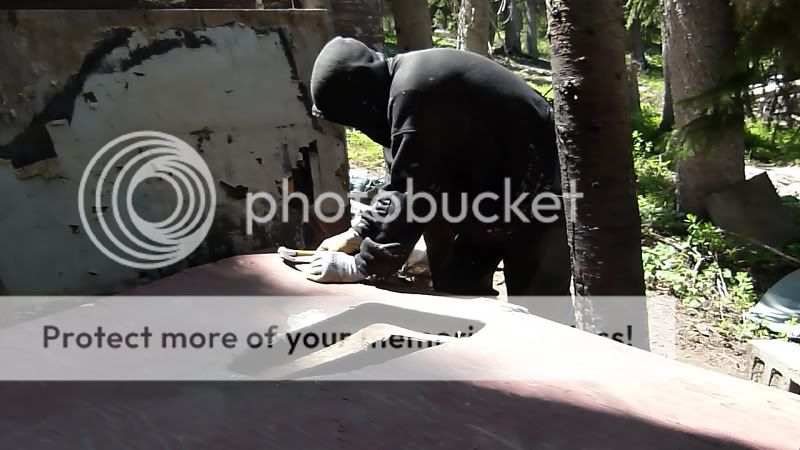
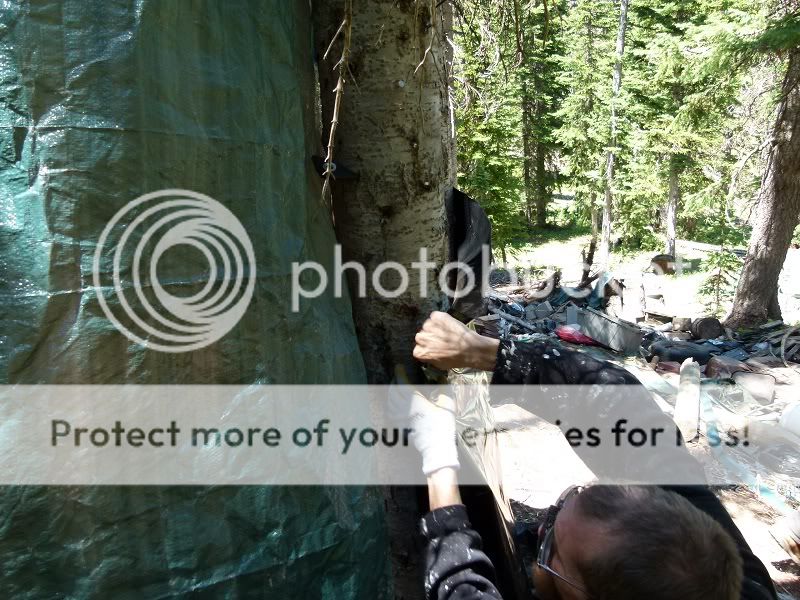
We finished off the Outhouse with privacy trappings, replaced the twin-plywood boards and MMM widened the ‘hole’.
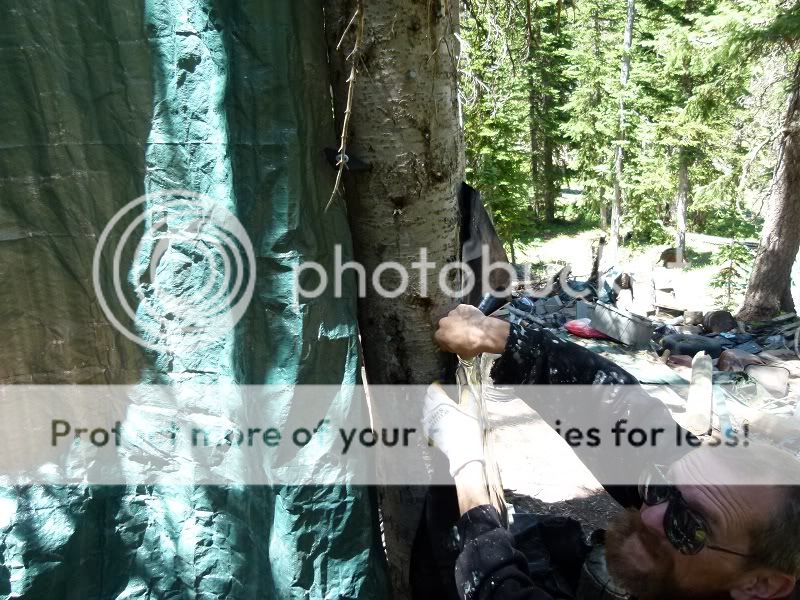
As a finishing touch Mike added a thick plastic sheet to act as a swinging door for more privacy.
It’s a squat-type toilet, which may take some getting used to for those who have never used one before.
It also may not be rated to 200 pound + rated beef-cakes so if you climb atop it make sure you gingerly test your weight first!!
Mike’s field-latrine had seen better days. Indeed it needed an overhaul.

Perhaps against my better judgement I pushed Mike into making this a priority on day 2.
We managed to incinerate the human waste after several hours but it was a tricky job and tempers flared late in the day!

The smell wasn’t as repulsive as I expected but the biggest issue was keeping the adjacent tree’s soaked in water. Just in case they ignited.
Mike was a stalwart, he’d done this before and managed the fire well.
We had to keep a steady stream of water going in buckets from the spring.
As the blaze raged on for a while it kept trying to creep out underneath to another storage catche of materials. The memory of the horrendous forest fire in Colorado was fresh in our minds and we didn’t want any of Wyoming’s lush forest suffering the same fate.
Nevertheless it did nearly ignite a part of a catche nearby.
The initial ‘whoomph’ of the fire roaring up in the air gave us a big shock. Only a half-dozen buckets made it think again.
The smell of some synthetic materials was atrocious and it gave me a willowy head-ache for a few hours.
Mike was certain it wouldn’t of started a forest fire due to the surroundings etc. Plus he’d done it many times before safely.
By the end of the day we’d had enough and doused the fire completely.
In the following few days we resumed the work…


We finished off the Outhouse with privacy trappings, replaced the twin-plywood boards and MMM widened the ‘hole’.

As a finishing touch Mike added a thick plastic sheet to act as a swinging door for more privacy.
It’s a squat-type toilet, which may take some getting used to for those who have never used one before.
It also may not be rated to 200 pound + rated beef-cakes so if you climb atop it make sure you gingerly test your weight first!!
edit on
28-7-2012 by WatchRider because: tag edit
15th June
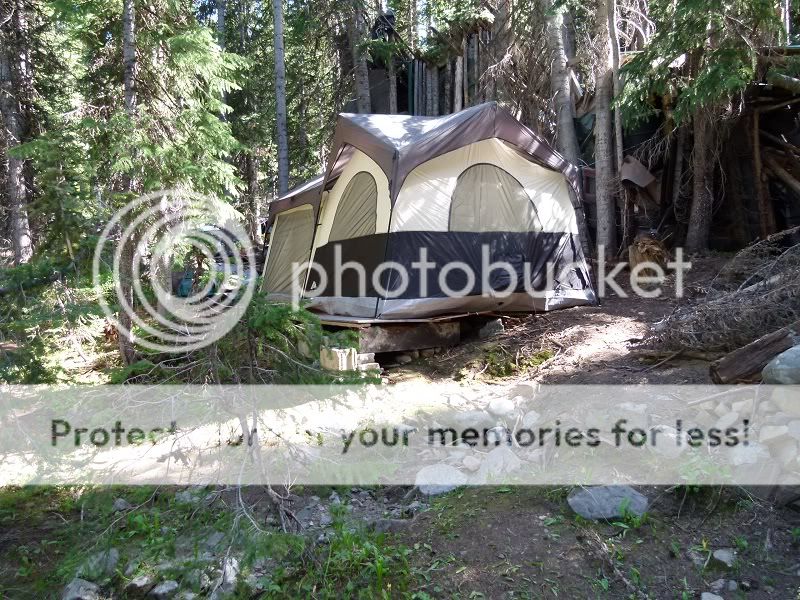
Well, today was setting up my Mountain Cabin Tent.
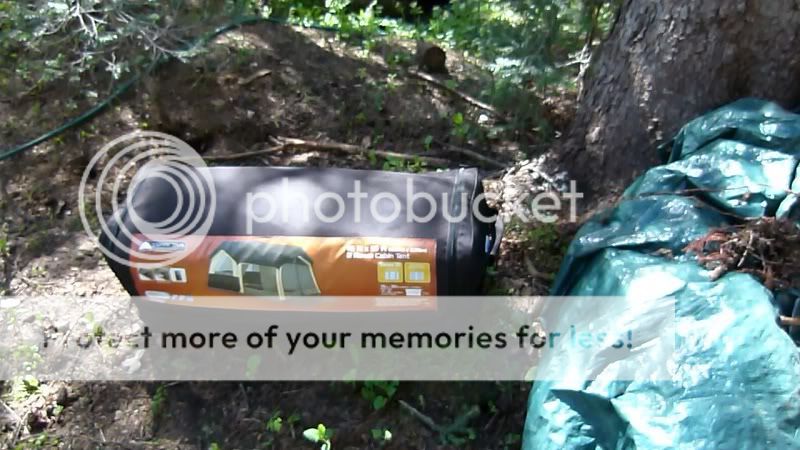
It took nearly 2 hours to erect but before that the site had to be levelled, and that wasn’t easy!

It took nearly 4 hours to get it level!
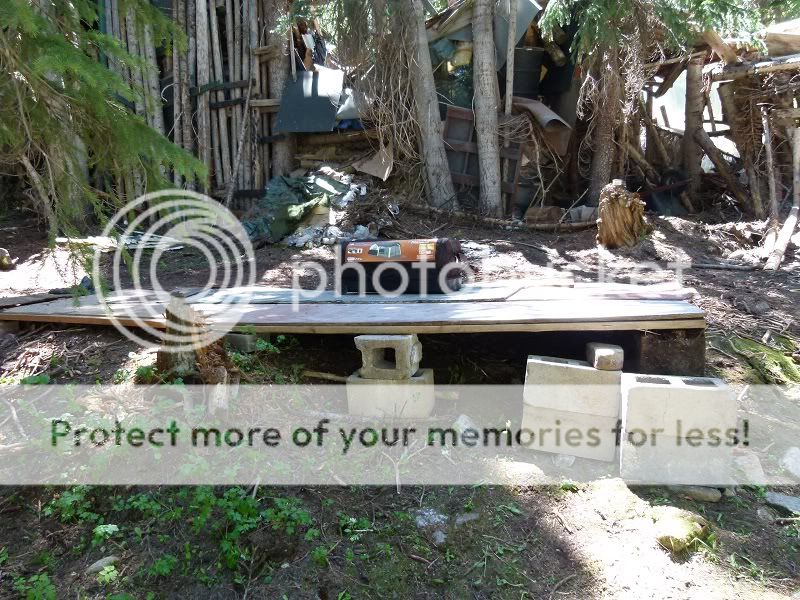
There were cinder blocks, boards, timbers, bricks, stones and even wooden wedges to get things flat enough.
A lot of work but worth it in the long run.
To top it all off a 180 pound rock was in the way, so that had to be shifted!
Then on getting the tent pack opened and set-up I suspected it's Far-East origin's weren't excercising any quality control when this item arrived on US shores...
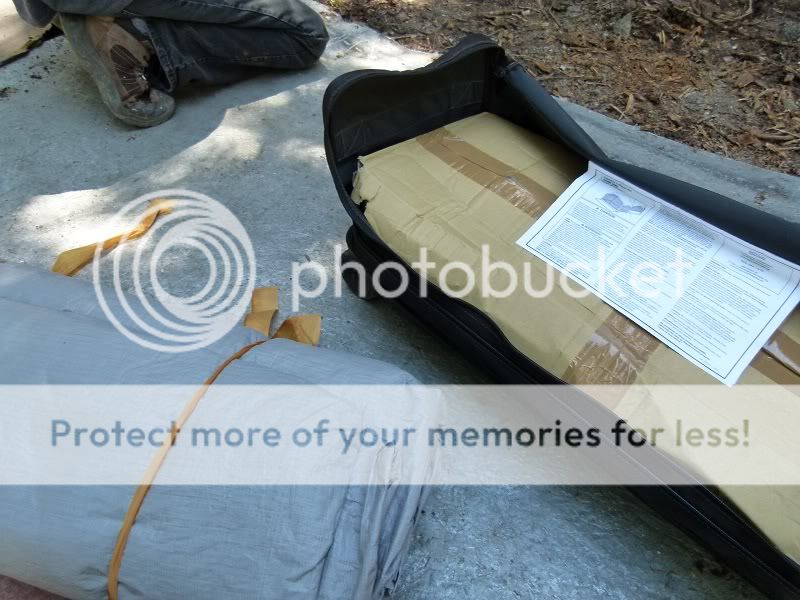
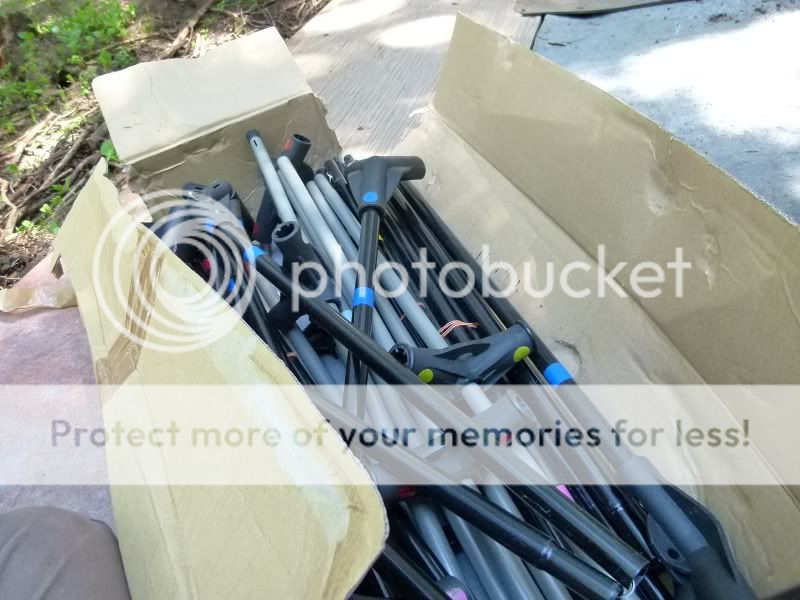
MMM helping out to set this monstrosity up. I could not of done this along without damaging it!
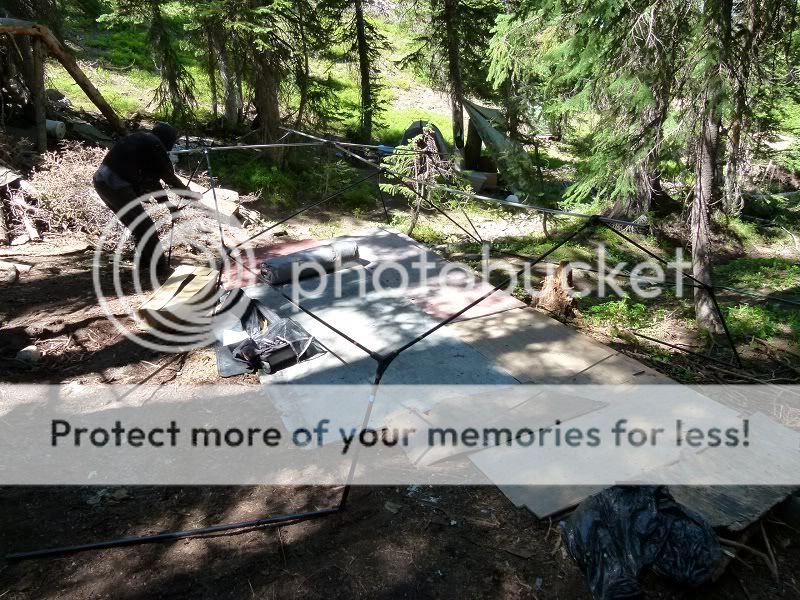
IMG]http://i1048.photobucket.com/albums/s366/MountainHold/P1070693.jpg[/IMG]

In the end we got it up and WR finally had his ‘cabin’ to work and sleep in!
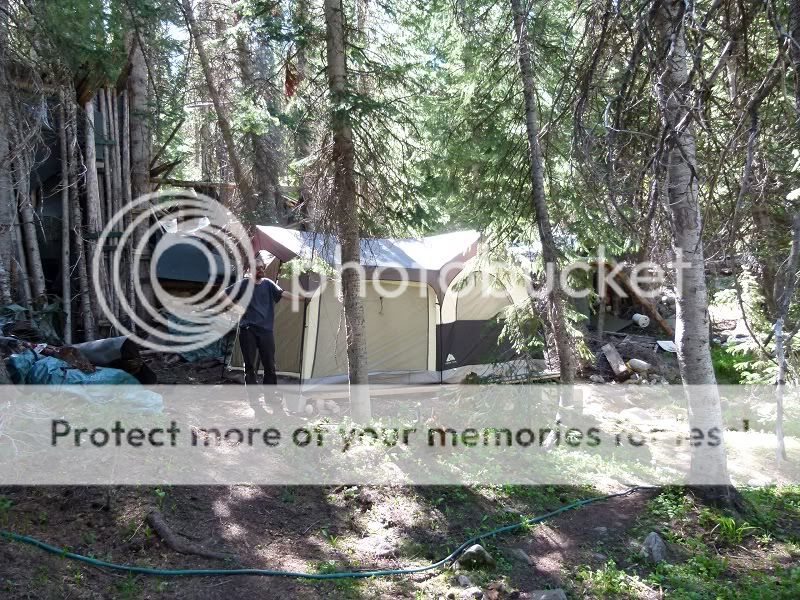
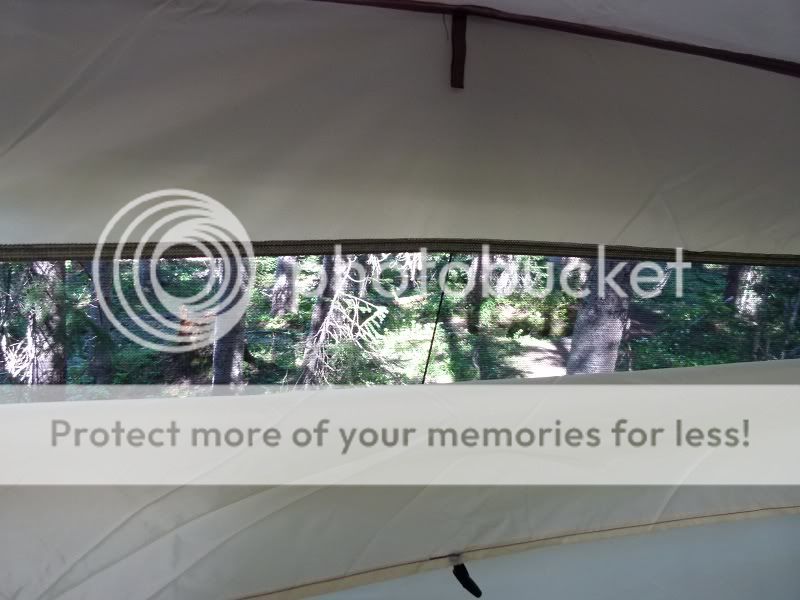
Nice sneak windows with mesh
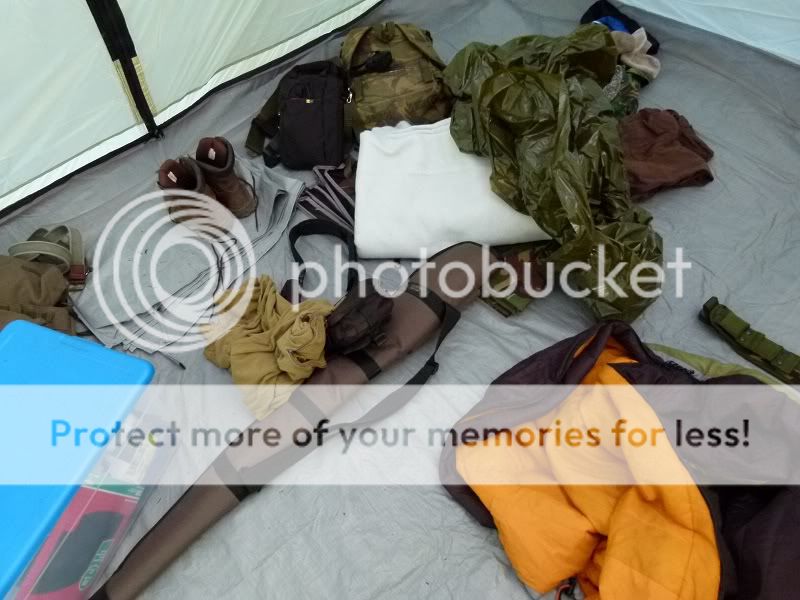
Here's some interior pics.
This is the entry / foyer room. I get it tidier later. I use this for storing all my project's gear, a table and chair. Outside a mosquito burner is usually going by nightfall.
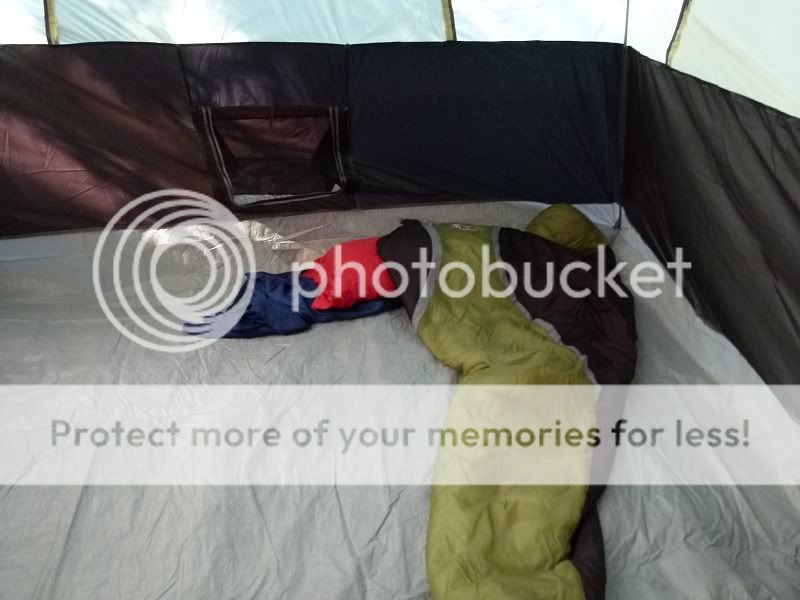
Sleeping area, need to get this area filled with more stuff!
The only issue with it? It’s nearby the big shed-complex and when the wind blows the nearby structure creeks and groans like an olde sailing boat!
Some nights I can hear the resident porcupine gnawing away inside too!
I've had something fairly big 'brush' past my tent at night!
Should anything be daft enough to cut and slash it's way into the Ryder's domain after nightfall while I sleep then....
A 'bang, boom, a bang boom bang' should discourage them
I only part joke on this, a couple were eaten by a bear a few years back and up in Montana a Russian guy got slain (by a two-legged meth animal) then robbed while in his tent :eek:
Well, today was setting up my Mountain Cabin Tent.

It took nearly 2 hours to erect but before that the site had to be levelled, and that wasn’t easy!

It took nearly 4 hours to get it level!

There were cinder blocks, boards, timbers, bricks, stones and even wooden wedges to get things flat enough.
A lot of work but worth it in the long run.
To top it all off a 180 pound rock was in the way, so that had to be shifted!
Then on getting the tent pack opened and set-up I suspected it's Far-East origin's weren't excercising any quality control when this item arrived on US shores...


MMM helping out to set this monstrosity up. I could not of done this along without damaging it!

IMG]http://i1048.photobucket.com/albums/s366/MountainHold/P1070693.jpg[/IMG]

In the end we got it up and WR finally had his ‘cabin’ to work and sleep in!


Nice sneak windows with mesh

Here's some interior pics.
This is the entry / foyer room. I get it tidier later. I use this for storing all my project's gear, a table and chair. Outside a mosquito burner is usually going by nightfall.

Sleeping area, need to get this area filled with more stuff!

The only issue with it? It’s nearby the big shed-complex and when the wind blows the nearby structure creeks and groans like an olde sailing boat!
Some nights I can hear the resident porcupine gnawing away inside too!
I've had something fairly big 'brush' past my tent at night!
Should anything be daft enough to cut and slash it's way into the Ryder's domain after nightfall while I sleep then....
A 'bang, boom, a bang boom bang' should discourage them
I only part joke on this, a couple were eaten by a bear a few years back and up in Montana a Russian guy got slain (by a two-legged meth animal) then robbed while in his tent :eek:
The Other Cabineers
MMM is not completely alone in the area. There are other folks, mostly pretty good and decent people too.
While there are some ideological swings and differences, all pretty much like the idea that they are away from the city and all it’s machinations.
I’d say most are hospitable, indeed good food is always on the table and conversations are interesting and varied!
Waterworks
Mikes water system for replenishing the drinking water was ok, but it was a balancing act and tricky to fill the container with. Also the water flow was mediocre at best.
So I spent a couple of hours on making a new one.
Steve had an effective triple-pipe tapering effect at the height of MMM’s land but unfortunately the distance was so great none of the hoses would reach it.
So I had to work off from the mid-point down the mountain land.
First I tracked down some old garden hoses.
One length of these was pinned under a fallen tree!
Not easy to remove as I had to use a levering bar to lift the tree, then yank the hose through.
A nearby pvc pipe, further up the spring-stream, was how I got the water flow running quickly. I stuffed the hose about one third into the pvc pipe and the pressure increased dramatically at the other end.
Then at a fairly close distance from the cooking area and at where the stream flowed through I made a small platform.
Just a concrete cinder block with a flat stone to level it and I had something the 6 gallon container could be put on.
A wooden ‘L’ piece at hang the hose off instead of it trailing in the stream made it that bit easier to replenish the container.
This was not only much closer than the older one, but it was on the dry trail and not amid the swampy undergrowth.
I made a second water hose pipe in water not far from my tent. That one would be for washing clothes in via a bowel and hand-wash detergent. Some folks may reckon you don’t need a hose pipe of water when you have a stream but that’s not always the case. The water level from the stream may be too low for scooping water etc.
The next thing I did that day was build a sawing platform.
For this I just got six cinder blocks in two pairs of three stacked up.
A piece of thick wood (6 x 8) to bridge them in a pair and it looked ready. Except it needed levelling.
Which I did with stones and masonry.
Now I can start sawing up stuff for other projects
Some other stuff I did was to use a couple of wooden lengths and some battening to make wooden platforms to cross the streams easily with. In other places I just found some thick decent tiles to use as stepping stones.
Mike reckoned that a simple board would do but I went further and got most of the main trailways to have dry stepping stones where it was soggy.
Over time it would speed up passage to and fro areas etc.
new topics
-
Let's talk planes.
General Chit Chat: 1 hours ago -
January 6th report shows disturbing trend (nobody is shocked)
US Political Madness: 3 hours ago -
Inexplicable military simulation - virtual reality showdown in the night..
The Gray Area: 3 hours ago -
The Truth about Migrant Crime in Britain.
Social Issues and Civil Unrest: 4 hours ago -
Trudeau Resigns! Breaking
Other Current Events: 6 hours ago -
Live updates: Congress meets to certify Trump's presidential election victory
US Political Madness: 7 hours ago -
Gravitic Propulsion--What IF the US and China Really Have it?
General Conspiracies: 7 hours ago -
Greatest thing you ever got, or bought?
General Chit Chat: 8 hours ago
top topics
-
Trudeau Resigns! Breaking
Other Current Events: 6 hours ago, 22 flags -
January 6th report shows disturbing trend (nobody is shocked)
US Political Madness: 3 hours ago, 16 flags -
Live updates: Congress meets to certify Trump's presidential election victory
US Political Madness: 7 hours ago, 12 flags -
Gravitic Propulsion--What IF the US and China Really Have it?
General Conspiracies: 7 hours ago, 9 flags -
The Truth about Migrant Crime in Britain.
Social Issues and Civil Unrest: 4 hours ago, 9 flags -
Greatest thing you ever got, or bought?
General Chit Chat: 8 hours ago, 3 flags -
Let's talk planes.
General Chit Chat: 1 hours ago, 3 flags -
Inexplicable military simulation - virtual reality showdown in the night..
The Gray Area: 3 hours ago, 2 flags
active topics
-
Gravitic Propulsion--What IF the US and China Really Have it?
General Conspiracies • 11 • : YouSir -
January 6th report shows disturbing trend (nobody is shocked)
US Political Madness • 9 • : BeyondKnowledge3 -
Let's talk planes.
General Chit Chat • 3 • : Shoshanna -
Trudeau Resigns! Breaking
Other Current Events • 54 • : Flyingclaydisk -
Meta Llama local AI system is scary good
Science & Technology • 41 • : glend -
Sorry to disappoint you but...
US Political Madness • 29 • : Kaiju666 -
The Truth about Migrant Crime in Britain.
Social Issues and Civil Unrest • 11 • : putnam6 -
Greatest thing you ever got, or bought?
General Chit Chat • 20 • : lilzazz -
-@TH3WH17ERABB17- -Q- ---TIME TO SHOW THE WORLD--- -Part- --44--
Dissecting Disinformation • 3952 • : AianawaQ1320 -
Live updates: Congress meets to certify Trump's presidential election victory
US Political Madness • 17 • : Dalamax
