It looks like you're using an Ad Blocker.
Please white-list or disable AboveTopSecret.com in your ad-blocking tool.
Thank you.
Some features of ATS will be disabled while you continue to use an ad-blocker.
0
share:
Well, I've managed to weave the magic once again.
A more portable and compact version of the Lasertron is a lot handier.
It's more user-friendly and can be adjusted a bit easier.
The housing was exactly the same as the one on the original (see this thread):
www.abovetopsecret.com...
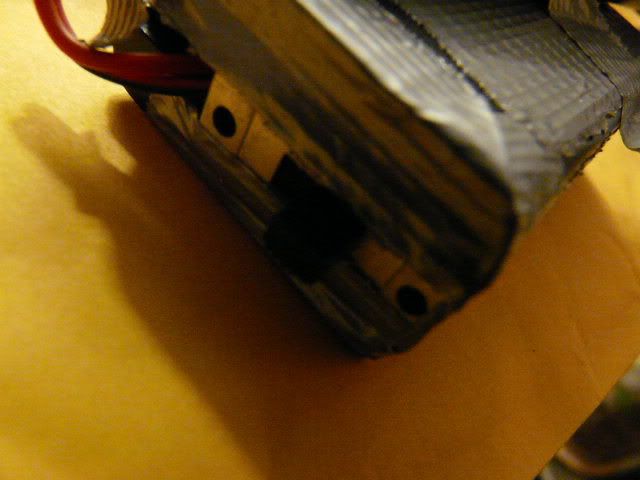
Set the switch to OFF, don't want a laserbeam to the eyeball!
Once the battery 9V was installed and wired to the switch with wires running out to the laser housing, the fun and games began.
Having drilled out the old torch housing the soldering was a bit tricky when it came to turning it into the lasertron housing.
So I did some trickery of my own.
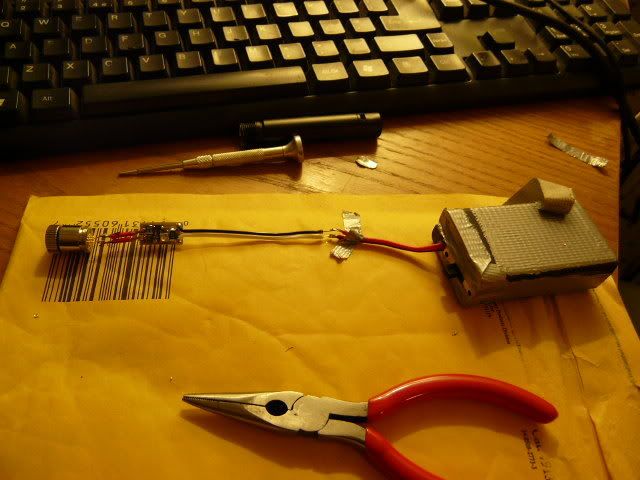
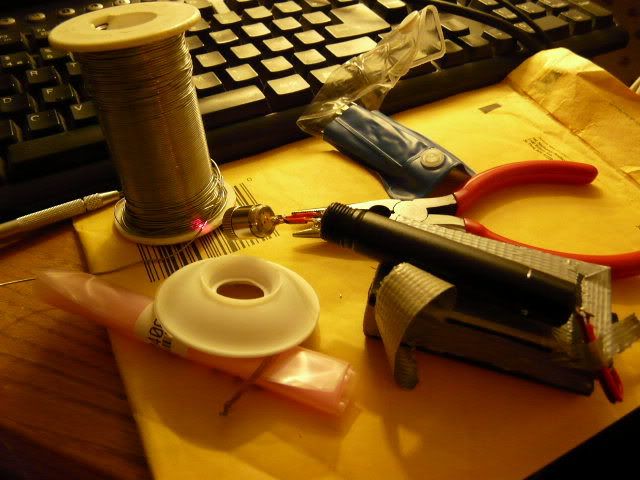
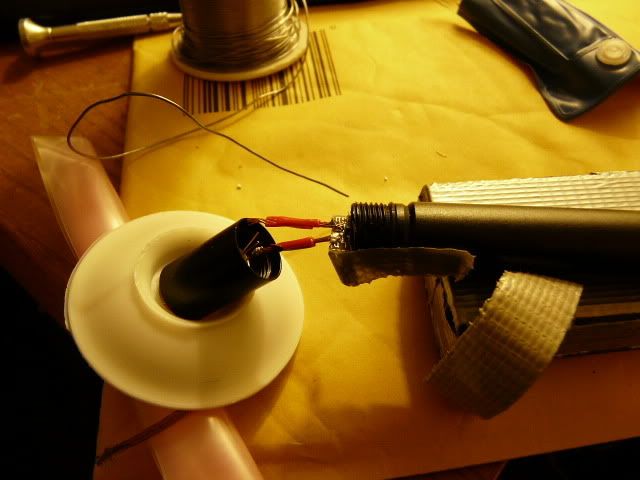
The driver is exposed in the above photo, once again, with little room to spare it was time to solder the tiny metal contacts to the bulky copper-braided wire.
Solid wire is easier, BUT it snaps if you flex it too much. And the housing is likely to flex as I'll be adjusting the beam strength from time to time.
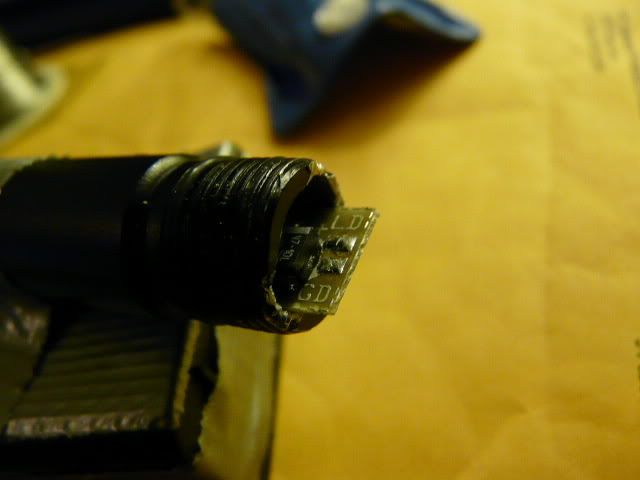
Once the driver is soldered to the exit wire from the switch and battery housing its the final bit. Soldering the diode, adjusting the beam and ensuring a snug fit into the housing.
Soldering the diode was childs play. Beam configuration was simple enough.
Beam configuration, more than 43 Ohms resistance. Fully anticlockwise:
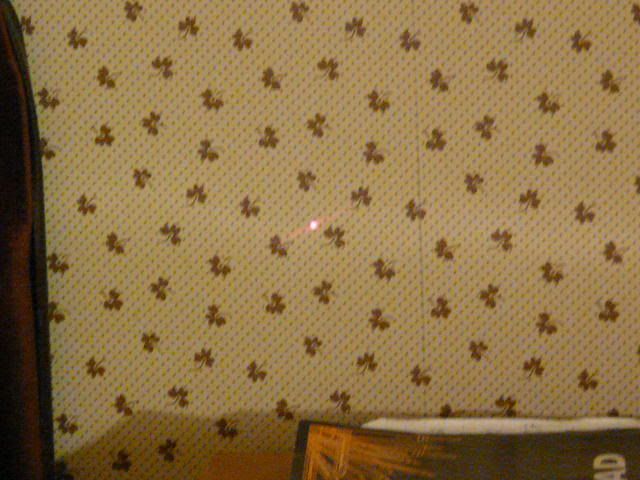
Beam configuration, less than 25 Ohms resistance. 1 Full turn clockwise:
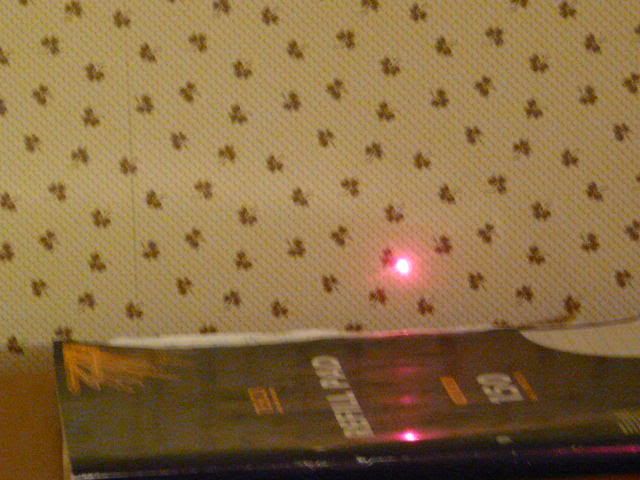
I keep it to this, not quite burning potential but close.
Battery drain very conservative now.
When it came to fitting a shim to snugly fit the diode housing into the black torch housing the fun and games began!
Firstly the shim was too big, them it began interfering with the diodes focusing ring when it was slotted and screwed into the housing.
At my wits end I stuck gaffertape around the diode housing ring and it went in flushly.
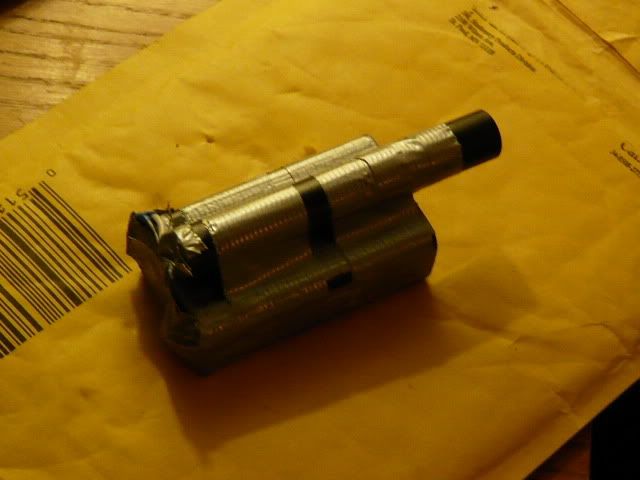
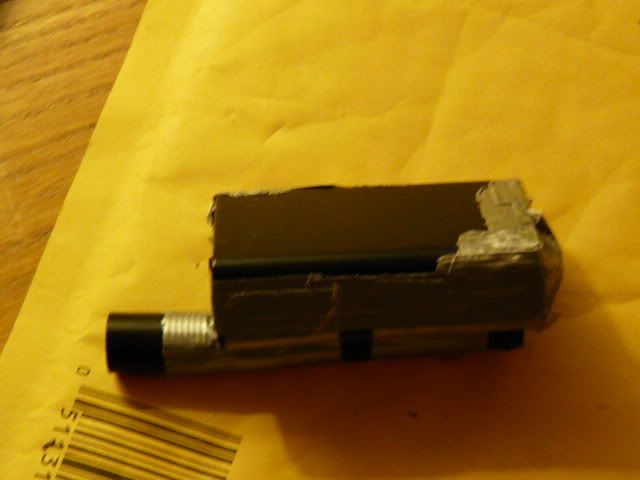
Pocket sized, no wires dangling and with space to graft on a normal LED pen torch. It will happily slot into my belt pouch
The Lasertron MK II is ready for use
[edit on 9-10-2008 by WatchRider]
[edit on 9-10-2008 by WatchRider]
A more portable and compact version of the Lasertron is a lot handier.
It's more user-friendly and can be adjusted a bit easier.
The housing was exactly the same as the one on the original (see this thread):
www.abovetopsecret.com...

Set the switch to OFF, don't want a laserbeam to the eyeball!
Once the battery 9V was installed and wired to the switch with wires running out to the laser housing, the fun and games began.
Having drilled out the old torch housing the soldering was a bit tricky when it came to turning it into the lasertron housing.
So I did some trickery of my own.


The driver is exposed in the above photo, once again, with little room to spare it was time to solder the tiny metal contacts to the bulky copper-braided wire.
Solid wire is easier, BUT it snaps if you flex it too much. And the housing is likely to flex as I'll be adjusting the beam strength from time to time.

Once the driver is soldered to the exit wire from the switch and battery housing its the final bit. Soldering the diode, adjusting the beam and ensuring a snug fit into the housing.
Soldering the diode was childs play. Beam configuration was simple enough.
Beam configuration, more than 43 Ohms resistance. Fully anticlockwise:

Beam configuration, less than 25 Ohms resistance. 1 Full turn clockwise:

I keep it to this, not quite burning potential but close.
Battery drain very conservative now.
When it came to fitting a shim to snugly fit the diode housing into the black torch housing the fun and games began!
Firstly the shim was too big, them it began interfering with the diodes focusing ring when it was slotted and screwed into the housing.
At my wits end I stuck gaffertape around the diode housing ring and it went in flushly.


Pocket sized, no wires dangling and with space to graft on a normal LED pen torch. It will happily slot into my belt pouch
The Lasertron MK II is ready for use
[edit on 9-10-2008 by WatchRider]
[edit on 9-10-2008 by WatchRider]
new topics
-
Paramilitary Leaks - John Williams
Whistle Blowers and Leaked Documents: 3 hours ago -
Some sausage, some chicken, some sauce, some onions and some garlic...and some peppers!
Food and Cooking: 4 hours ago -
Hearing more ambulances lately
Medical Issues & Conspiracies: 4 hours ago -
Los Angeles brush fires latest: 2 blazes threaten structures, prompt evacuations
Mainstream News: 4 hours ago -
House Passes Laken Riley Act
Mainstream News: 5 hours ago -
The more I think about it
General Chit Chat: 6 hours ago -
What Comes After January 20th
Mainstream News: 8 hours ago -
Canada as a state .. how would it work?
General Chit Chat: 8 hours ago -
Those stupid GRAVITE commercials
Rant: 8 hours ago -
Let's Buy Greenland
General Chit Chat: 9 hours ago
0
