It looks like you're using an Ad Blocker.
Please white-list or disable AboveTopSecret.com in your ad-blocking tool.
Thank you.
Some features of ATS will be disabled while you continue to use an ad-blocker.
19
share:
So I recently spent some time doing something with my son that I used to do as a kid. It was great. I highly recommend this hobby for several reasons
but mostly you get to reuse old and BROKEN toys.
Basically, you can "spruce" up a lame, cheap toy or you can upgrade a broken or about to be tossed junk toy into a new awesome favorite.
Anyways here are the details about the build:
It's a PJ masks troop carrier and dinosaur safari vehicle.
There was a need for such. LoL.
It has a laser pointer lens built into the arm of the mount for a working pen-based missile launcher. It fires a pen and dart based projectile on a string.
The string leads through a small hole in the upper deck under the missile clip into a working hand cranked spool in a drum in front of the troop compartment. When you crank it all the way back it actually locks the projectile into place on the deck.
The second crank spool and string are built into the turret mount above the cab. It is a hook on a string that winds into the base of the turret itself.
The truck has one blue LED for the moment built into the base of turret mount. Its powered by 6 large watch batteries in a cut highlighter tube and attached to the back of the roof mount.
The laser pointer lens has its own power from 6 watch batteries mounted inside the arm of the turret itself.
Both the laser pointer and blue LED have independent switches wired separately and independently of each other's battery packs.
The back compartment closes and fits 4 PJ masks figures. The cab fits 2 more. The entire back deck and rear door lift to open the rear compartment
It was an old cement truck for toddlers. My son hadn't played with it in a while. Now it's his favorite. The best part is we made it together.


I have other builds I might take pictures of and upload later. I've actually made a few of these so far. It's lots of fun.
You don't need much beyond basic tools and junk. Any junk. I used anything and everything. Not just toy parts.
The mechanical pieces and different components may need to be made from scratch or found in the damndest of things. Start taking junk apart and make a mess.
Have a good one and good luck!
Basically, you can "spruce" up a lame, cheap toy or you can upgrade a broken or about to be tossed junk toy into a new awesome favorite.
Anyways here are the details about the build:
It's a PJ masks troop carrier and dinosaur safari vehicle.
There was a need for such. LoL.
It has a laser pointer lens built into the arm of the mount for a working pen-based missile launcher. It fires a pen and dart based projectile on a string.
The string leads through a small hole in the upper deck under the missile clip into a working hand cranked spool in a drum in front of the troop compartment. When you crank it all the way back it actually locks the projectile into place on the deck.
The second crank spool and string are built into the turret mount above the cab. It is a hook on a string that winds into the base of the turret itself.
The truck has one blue LED for the moment built into the base of turret mount. Its powered by 6 large watch batteries in a cut highlighter tube and attached to the back of the roof mount.
The laser pointer lens has its own power from 6 watch batteries mounted inside the arm of the turret itself.
Both the laser pointer and blue LED have independent switches wired separately and independently of each other's battery packs.
The back compartment closes and fits 4 PJ masks figures. The cab fits 2 more. The entire back deck and rear door lift to open the rear compartment
It was an old cement truck for toddlers. My son hadn't played with it in a while. Now it's his favorite. The best part is we made it together.


I have other builds I might take pictures of and upload later. I've actually made a few of these so far. It's lots of fun.
You don't need much beyond basic tools and junk. Any junk. I used anything and everything. Not just toy parts.
The mechanical pieces and different components may need to be made from scratch or found in the damndest of things. Start taking junk apart and make a mess.
Have a good one and good luck!
edit on 11 17 2018 by tadaman because: (no reason given)
Should you ever decide to buy weapons grade uranium, the world would never be the same...
Duplicate post... or maybe it is an isotope...
edit on 17-11-2018 by madmac5150 because: Why not...
Here are some pics of another. It has a hook on a spring recoiled string that winds back up into the grill. It still needs more paint.
The figure gets locked in by the wing section flipping down and locking it in place.
It was made with parts from a toddlers tow truck and bobble figure car. It has bits of computer casing, hardware drawer scraps of metal and plastic. And more. LoL


It's a PJ Mask /Cat Boy rescue racer car. In case you were wondering.
The figure gets locked in by the wing section flipping down and locking it in place.
It was made with parts from a toddlers tow truck and bobble figure car. It has bits of computer casing, hardware drawer scraps of metal and plastic. And more. LoL


It's a PJ Mask /Cat Boy rescue racer car. In case you were wondering.
edit on 11 17 2018 by tadaman because: (no reason given)
Great thread! Indeed quality time, especially if you build it together
Is it okay if we post our stuff, too?
Is it okay if we post our stuff, too?
a reply to: tadaman
Good news everyone, Macguver has been found alive and well.
That is the most badass truck i've ever seen,and i've watched Mad Max.If your son shares your passion and knowledge he may end up on robot wars in the future. I had a similar idea about push bikes, rescuing old bikes at the tip, sanding the rust off, realigning the derailleurs and brakes, a fresh coat of paint, it's like restoring old cars but much lamer.
a reply to: tadaman
You...you spend time with your son, and teach him things?
Hmm. It's a rather odd technique for parenting that I'VE never seen before, but you know, it just might be crazy enough to work.
I give you an A for not being afraid to try new and crazy things
Just don't let CPS catch wind of this. They don't really like it when parents involve themselves in their childs development, no, just step back and let "nature" (aka pop culture) take it's course, that's what they want.
edit on 11/18/2018 by 3n19m470 because: (no reason given)
a reply to: tadaman
Alright, still a long way to go, "I tend to overdo things", I was told...
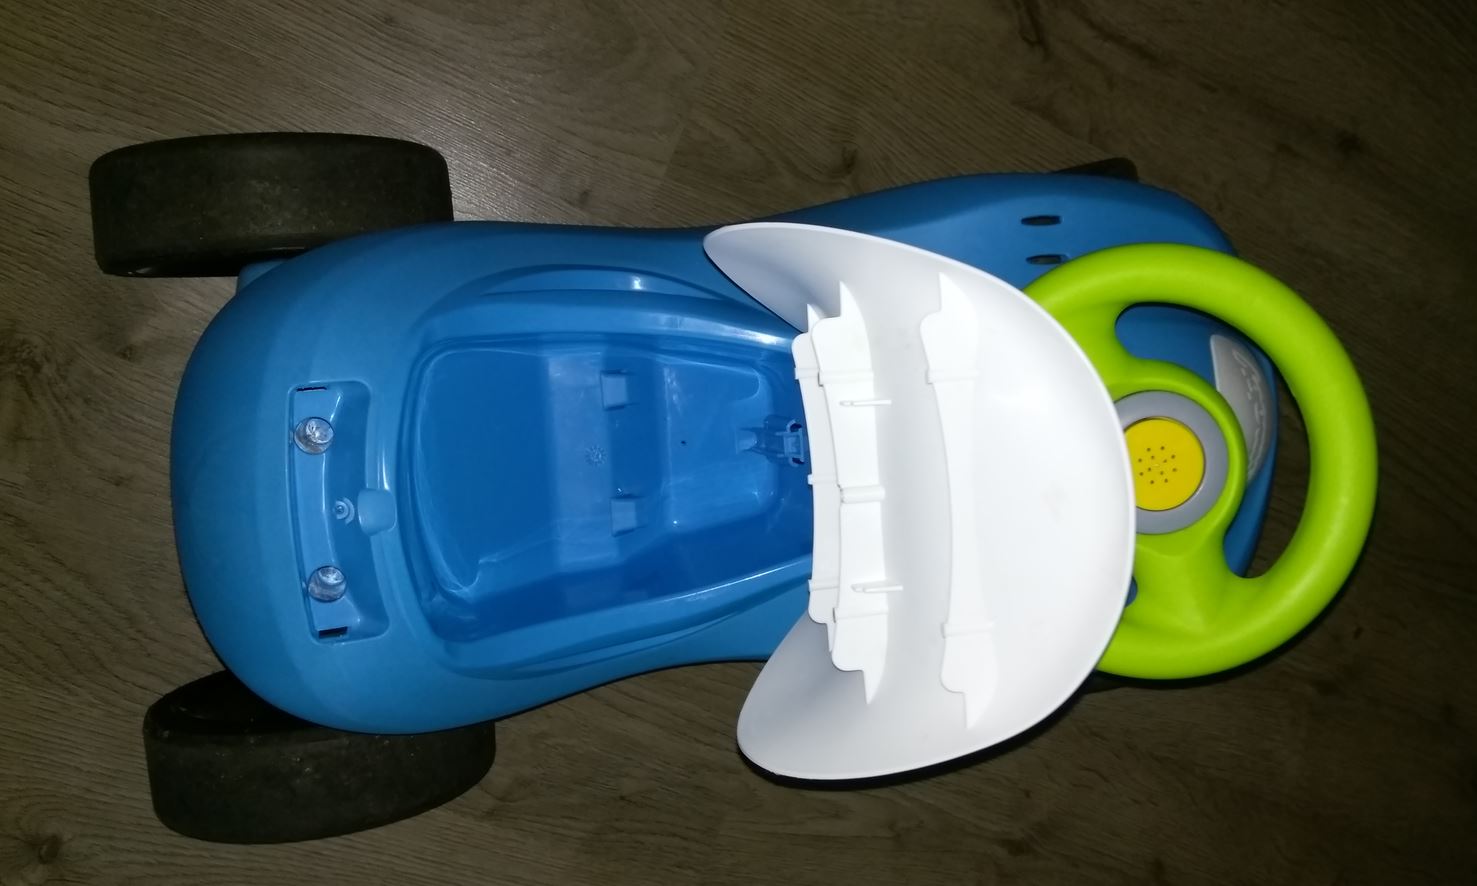
My granddaughter loves "driving" this thing, problem is, we live at a hill and the main street is the lowest point on most of the town so everything that once begins to roll, will end up on a busy main street. Of course we always supervise her but if you know how fast these things can pick up speed... anyways..
At first, I just wanted to install a remote brake system. It will bring the thing to a stop if it get´s too fast down a slope and also, if I hit the button on the remote control I made.
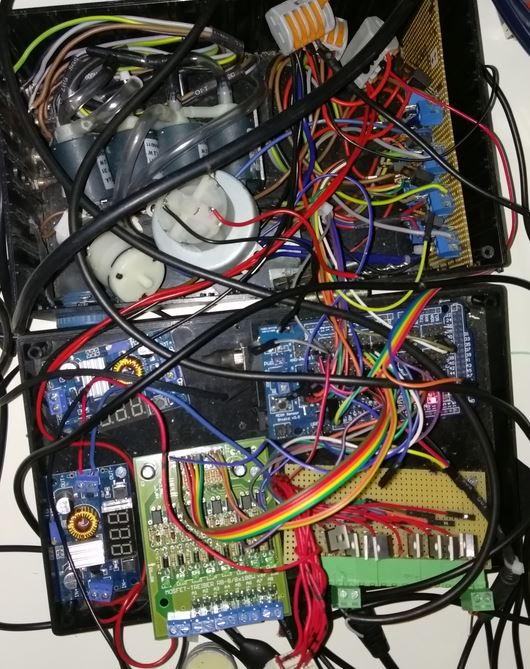
Then of course, after I finished and tested this before I installed it, I thought, that´s way to easy... I need to optimize a bit if I´m at it. Since I already hat a 54+16 channel arduino on board, I thought I may as well install some gadgetery.
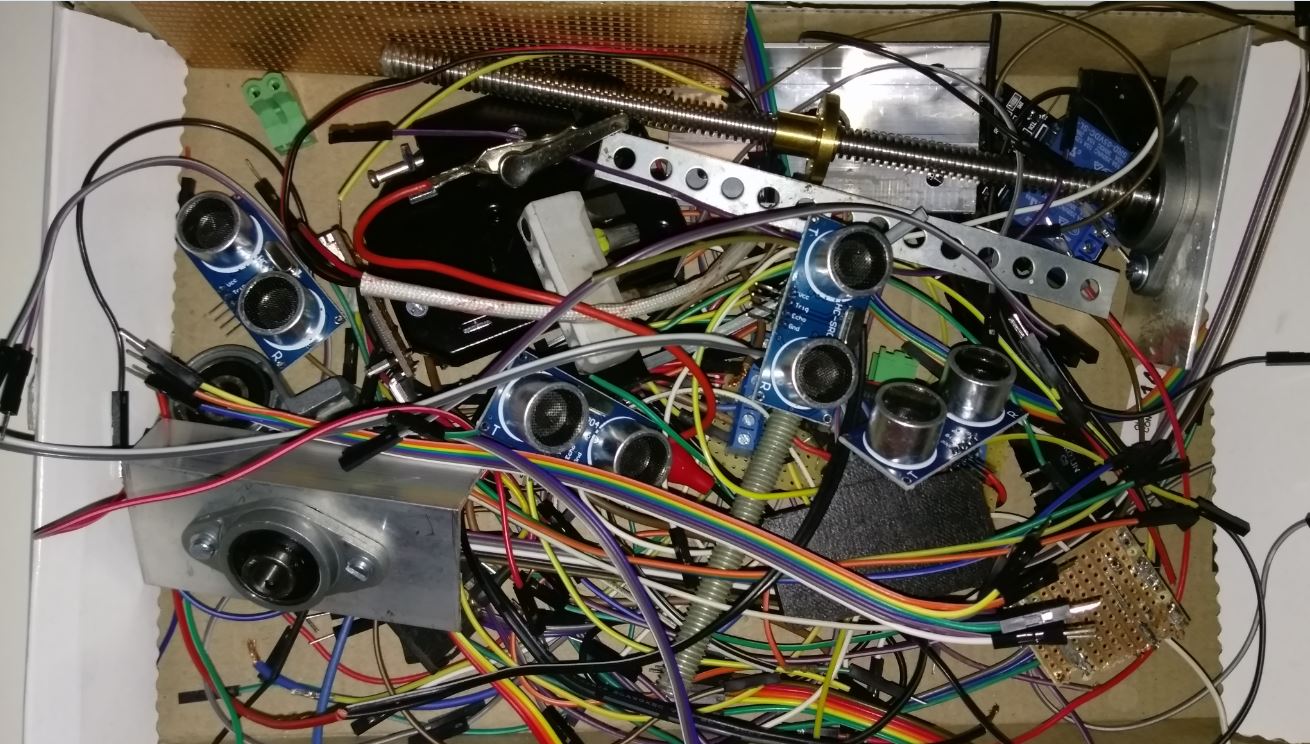
So I began to buy and wire together sensors that would give me the steering angle and I built a spring loaded potentiometer (that I used for another project, see signature). So now it can also control RC toys because I hacked the remote controls with some NPN transistors.
It´s all sloppy and in test phase but the software is running, connection is stable and the basic functions work. Because I was at it, I slapped a few leftover pneumatic valces into it, too. You can never have enough of those. It enables me other stuff like popup water canons.
What´s left to do is finally order the PCB and bring it all together on one board to downsize it and install the accelerometer, BT module, brakesystem (a springloaded brake that is activated my the safe lock you can see in the last picture) and all the sensors.
It will then have:
- remote emergency brake system
- ability to control a 2channel RC toy (steering and speed+brake) via the steering wheel and a finger pedal.
- popup water canon on the front white part that you can see through the spokes of the steering wheel.
- maybe some force-feedback.
I learned from previous projects to wait until everything runs smooth and then I start taking off material where I need it and bolt stuff into it. That´s why you won´t see much changes currently and my granddaughter uses it daily. So it will be an overnight job to install everything.


Your´s is awesome, I like the adhoc approach. My granddaughter also has a cleaning simulator (toy vacuum cleaner) and the part that moves over the floor is fixed so I 3D printed a hinge like the original ones have so she can simulate propperly.
Overkill?
Alright, still a long way to go, "I tend to overdo things", I was told...
My granddaughter loves "driving" this thing, problem is, we live at a hill and the main street is the lowest point on most of the town so everything that once begins to roll, will end up on a busy main street. Of course we always supervise her but if you know how fast these things can pick up speed... anyways..
At first, I just wanted to install a remote brake system. It will bring the thing to a stop if it get´s too fast down a slope and also, if I hit the button on the remote control I made.
Then of course, after I finished and tested this before I installed it, I thought, that´s way to easy... I need to optimize a bit if I´m at it. Since I already hat a 54+16 channel arduino on board, I thought I may as well install some gadgetery.
So I began to buy and wire together sensors that would give me the steering angle and I built a spring loaded potentiometer (that I used for another project, see signature). So now it can also control RC toys because I hacked the remote controls with some NPN transistors.
It´s all sloppy and in test phase but the software is running, connection is stable and the basic functions work. Because I was at it, I slapped a few leftover pneumatic valces into it, too. You can never have enough of those. It enables me other stuff like popup water canons.
What´s left to do is finally order the PCB and bring it all together on one board to downsize it and install the accelerometer, BT module, brakesystem (a springloaded brake that is activated my the safe lock you can see in the last picture) and all the sensors.
It will then have:
- remote emergency brake system
- ability to control a 2channel RC toy (steering and speed+brake) via the steering wheel and a finger pedal.
- popup water canon on the front white part that you can see through the spokes of the steering wheel.
- maybe some force-feedback.
I learned from previous projects to wait until everything runs smooth and then I start taking off material where I need it and bolt stuff into it. That´s why you won´t see much changes currently and my granddaughter uses it daily. So it will be an overnight job to install everything.


Your´s is awesome, I like the adhoc approach. My granddaughter also has a cleaning simulator (toy vacuum cleaner) and the part that moves over the floor is fixed so I 3D printed a hinge like the original ones have so she can simulate propperly.
Overkill?
edit on 18-11-2018 by verschickter because: (no reason given)
To add: The brake systems job is a last line of defense should anything happen, not to make life easier for me. She´s of course also not always at a
slope but sometimes we take long walks and it´s a nice feature to have a little bit of speed and distance control.
Range is more than 100m outdoors with a failsafe should the connection cut out for more than 500ms.
Edit: Cycle time is ~10ms and during a several day test, it never once cut out when I was sending strings back and forth, not one false or missing string.
Range is more than 100m outdoors with a failsafe should the connection cut out for more than 500ms.
Edit: Cycle time is ~10ms and during a several day test, it never once cut out when I was sending strings back and forth, not one false or missing string.
edit on 18-11-2018 by verschickter because: (no reason given)
a reply to: verschickter
My God, it's going to be awesome. No that's not overkill. That's just the right amount of fraking great!
Keep us updated I would love to see it completed.
I used to plan my builds more. I moved a lot recently and lost most of my junk. My wife slowly eliminates it little by little I am sure. She denies it but I don't trust her with my junk. LoL
One day I will have all my treasures again.
It's cool to see what other people do to solve problems or make improvements to things. Good stuff
Have a good one.
Hold it down.
a reply to: tadaman
Thank you for the kind words. I learned that if I spend to long in the planing stage, it wont succeed. So the last few years with some toys that allow me rapid prototyping, I just iterate through instead of trying to force the perferct layout.
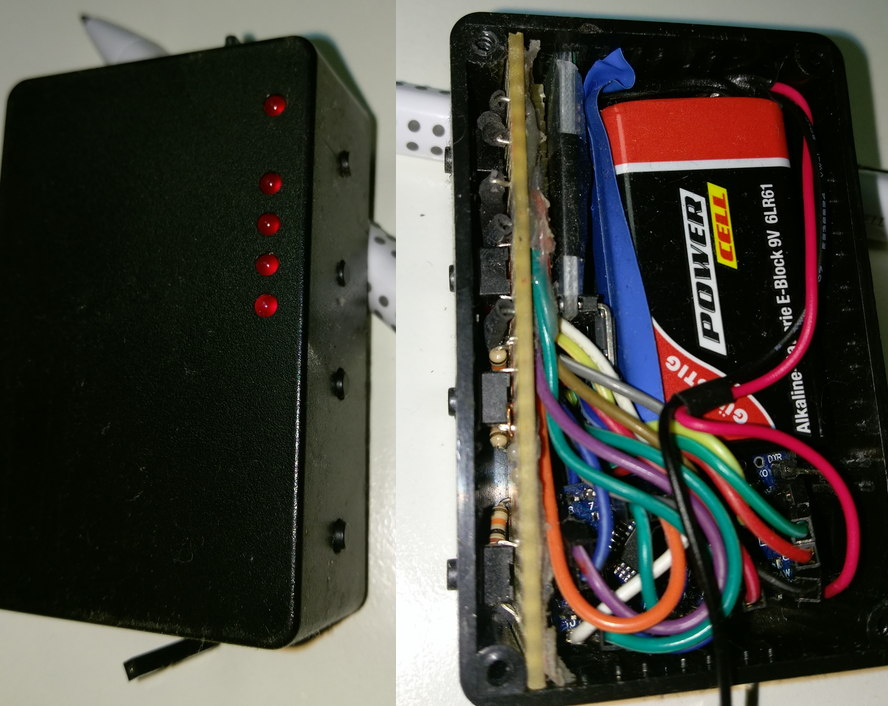
That remote control, I´ve actually done it for another project. I started after dinner and I finished buying the 9V block the second the shops opened at 7am. I love that. Normally I´m OCD about arangements on my desk. Not since this time.
I was 3D printing, soldering, writing firmware all multitasked the whole time. You should have seen my desk, I had a few cm to move my mouse and I had to overreach on the keyboard to not get poked by tools, and hardware bits all the time.
Just love it. That´s why I like your adhoc approach. Just do it. Keep on rocking, seems you are a great dad.
Have a nice day
So I wanted to give an update. The laser pointer lens was eating through watch batteries. So I changed the battery to a rechargeable one from an old
Ryobi drill. Now we can charge the laser battery with the old drill's power adapter.
I have yet to find a pretty casing or make one but for now its in place.


I have yet to find a pretty casing or make one but for now its in place.


edit on 11 18 2018 by tadaman because: (no reason given)
Last update for a bit.
I just cleaned up the lousy tape job I did last time around the new battery and redid the bulky wiring. I'm not using a casing for it since aesthetically the wires are better left exposed.


I added a small green aluminum cap at the end of the battery to protect the anode and battery edges.
I just cleaned up the lousy tape job I did last time around the new battery and redid the bulky wiring. I'm not using a casing for it since aesthetically the wires are better left exposed.


I added a small green aluminum cap at the end of the battery to protect the anode and battery edges.
edit on 11 18 2018 by tadaman because: (no reason given)


Added a stabilizer for the turret and changed the clamp. Added thicker tape for better protection. The stabilizer has the added bonus of guiding the string for the missile. It also looks like horns so woohoo.
edit on 11 18 2018 by tadaman because: (no reason given)
Slap a flux compensator and some activated plutonium on it... if my calculations are correct and this baby hit´s 88 miles per hour, you´re going to
see some serious #!
edit on 19-11-2018 by verschickter because: (no reason given)
new topics
-
D.B. Cooper mystery may be solved
General Conspiracies: 4 minutes ago
top topics
-
D.B. Cooper mystery may be solved
General Conspiracies: 4 minutes ago, 0 flags
active topics
-
Joe Biden Dabs Away Tears at Farewell White House Dinner
Politicians & People • 27 • : chr0naut -
D.B. Cooper mystery may be solved
General Conspiracies • 0 • : blend -
Results of the use of the Oreshnik missile system in Dnepropetrovsk
World War Three • 241 • : andy06shake -
Why isn't Psychiatry involved?
Social Issues and Civil Unrest • 14 • : BrucellaOrchitis -
Well, here we go red lines crossed Biden gives the go ahead to use long range missiles
World War Three • 396 • : andy06shake -
Petition Calling for General Election at 564,016 and rising Fast
Political Issues • 94 • : Freeborn -
-@TH3WH17ERABB17- -Q- ---TIME TO SHOW THE WORLD--- -Part- --44--
Dissecting Disinformation • 3384 • : brewtiger123 -
BIDEN Admin Begins Planning For January 2025 Transition to a New President - Today is 4.26.2024.
2024 Elections • 59 • : WeMustCare -
DOJ Special Counsel Robert HUR Says JOE BIDEN Can Be ARRESTED After Jan 20th 2025.
Above Politics • 30 • : WeMustCare -
On Nov. 5th 2024 - AMERICANS Prevented the Complete Destruction of America from Within.
2024 Elections • 160 • : WeMustCare
19
